Getting started
Tap Join the beta on cartwhiz.net and leave your name and email. We'll email you an invite when your spot is ready.
Open the app and tap Create your account. Use the same email we invited.
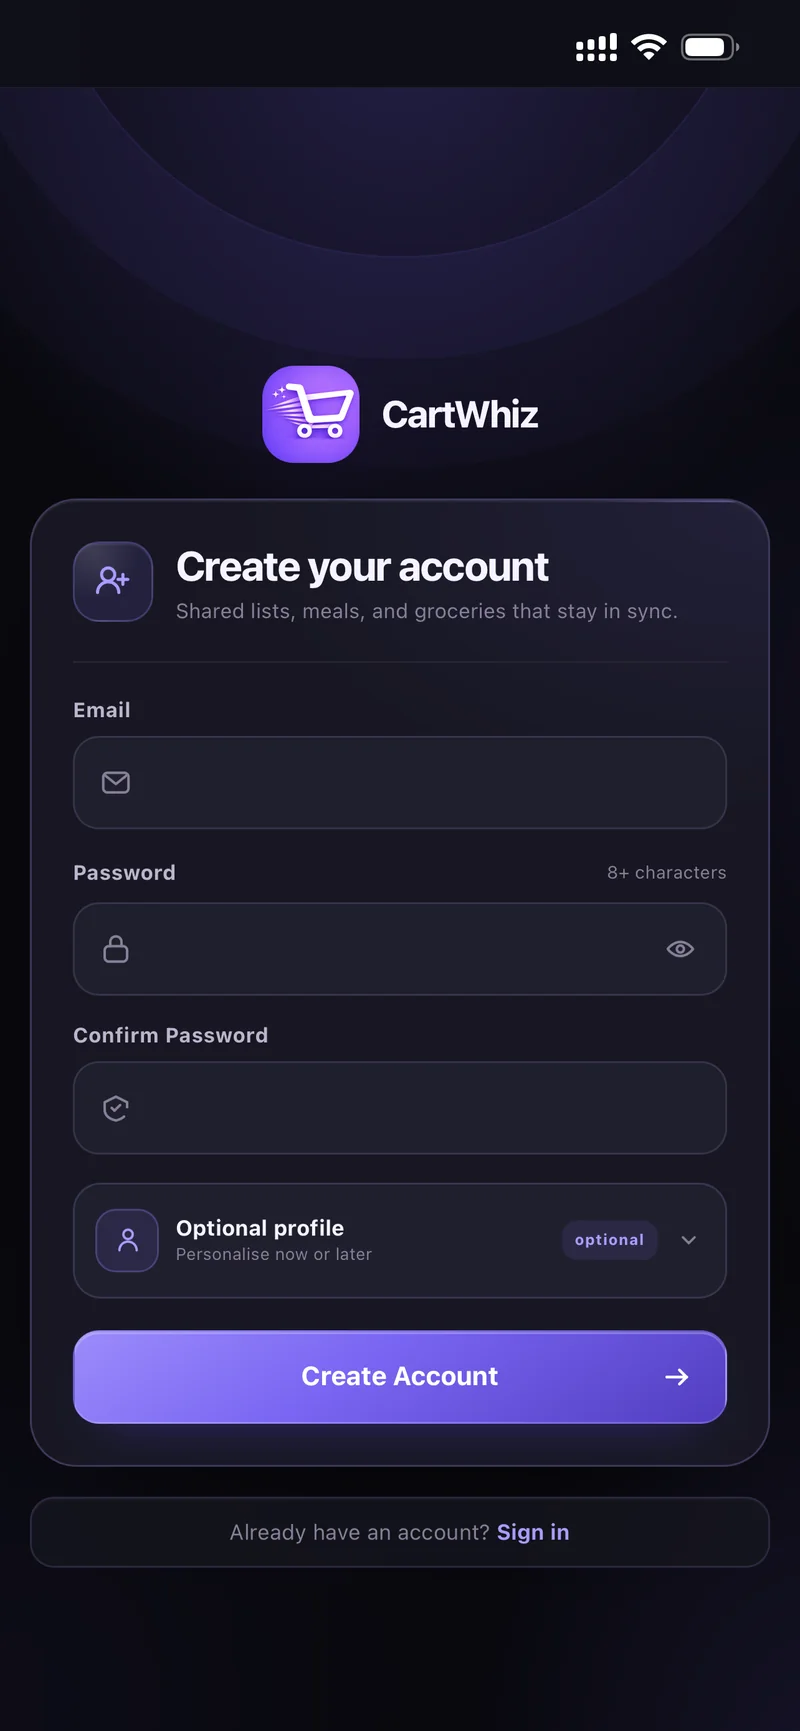
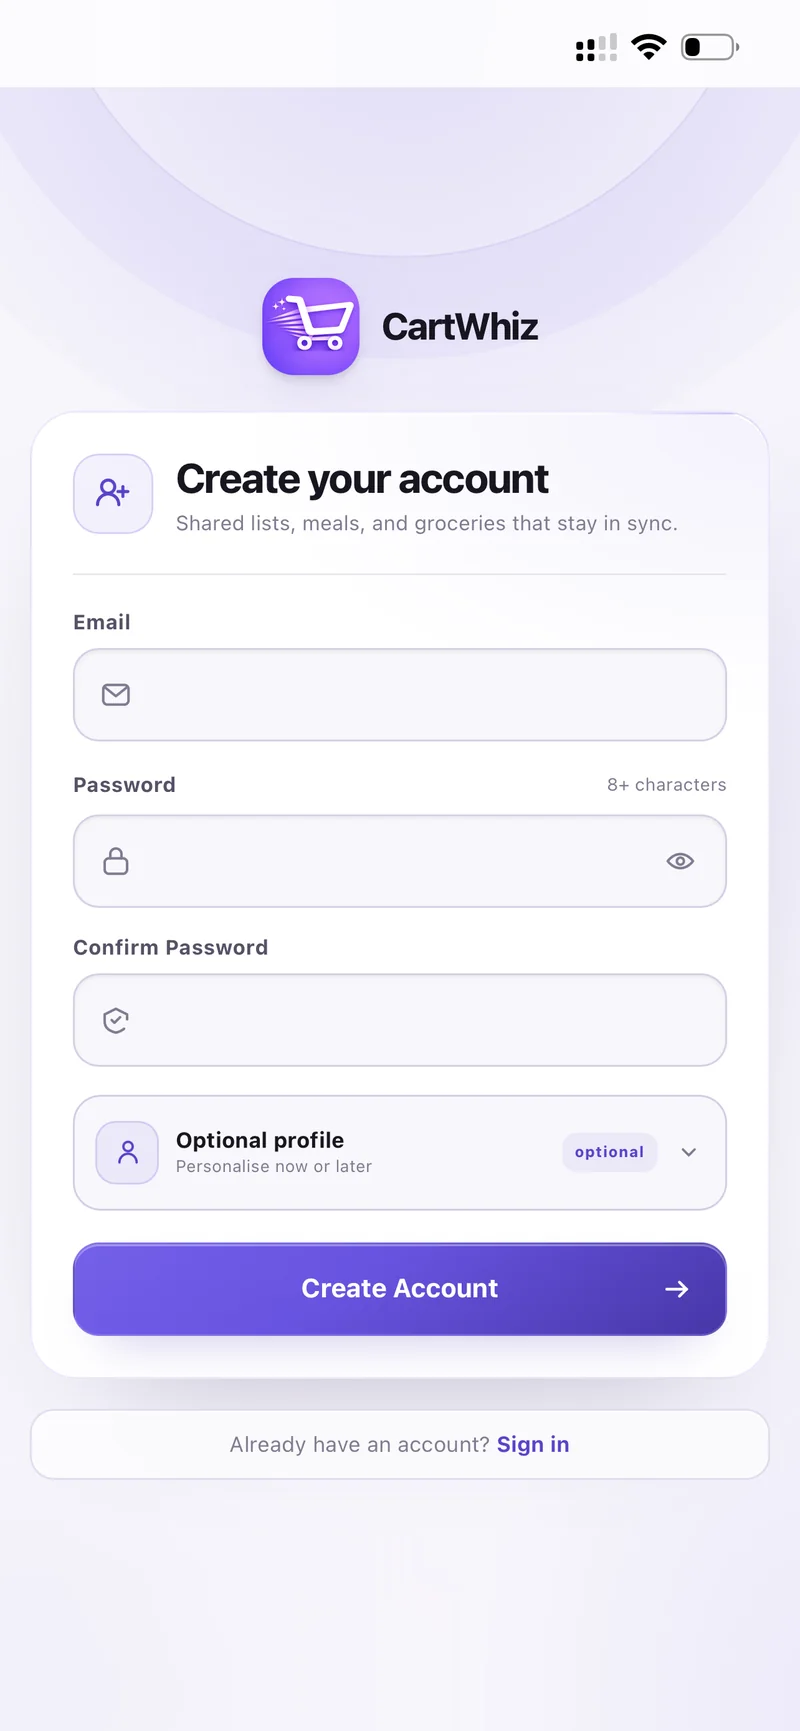
Create your account — email, password, optional profile
Add an optional profile now or skip it — you can set your name and avatar later in Settings.
The first time you open CartWhiz you get a six-step tour. Here it is if you skipped it.
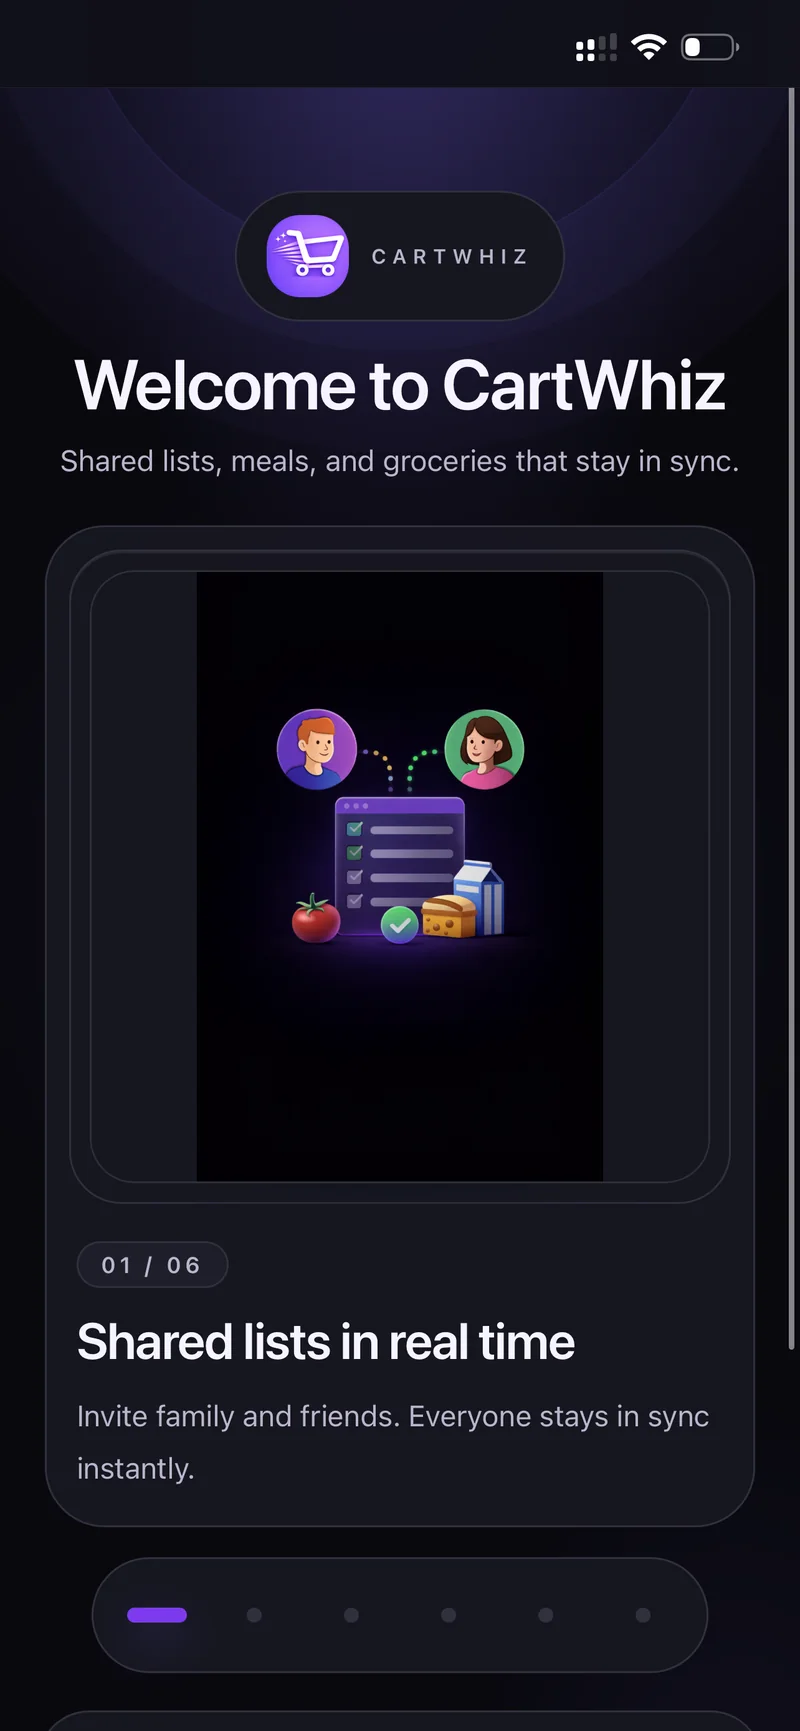
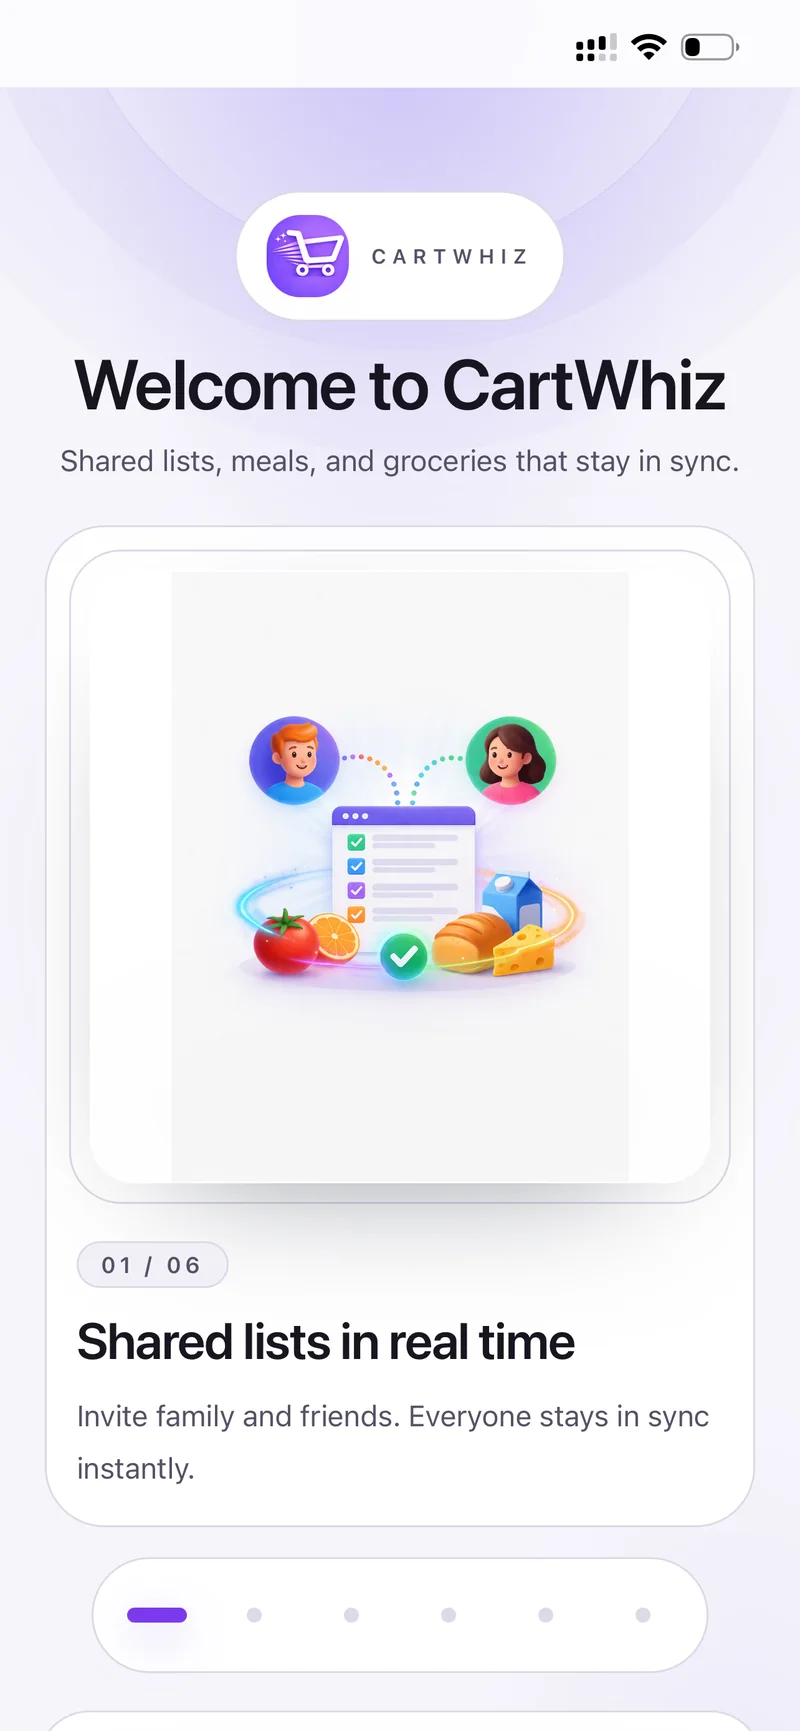
01 / 06 — Shared lists in real time. Invite family and friends. Everyone stays in sync instantly.
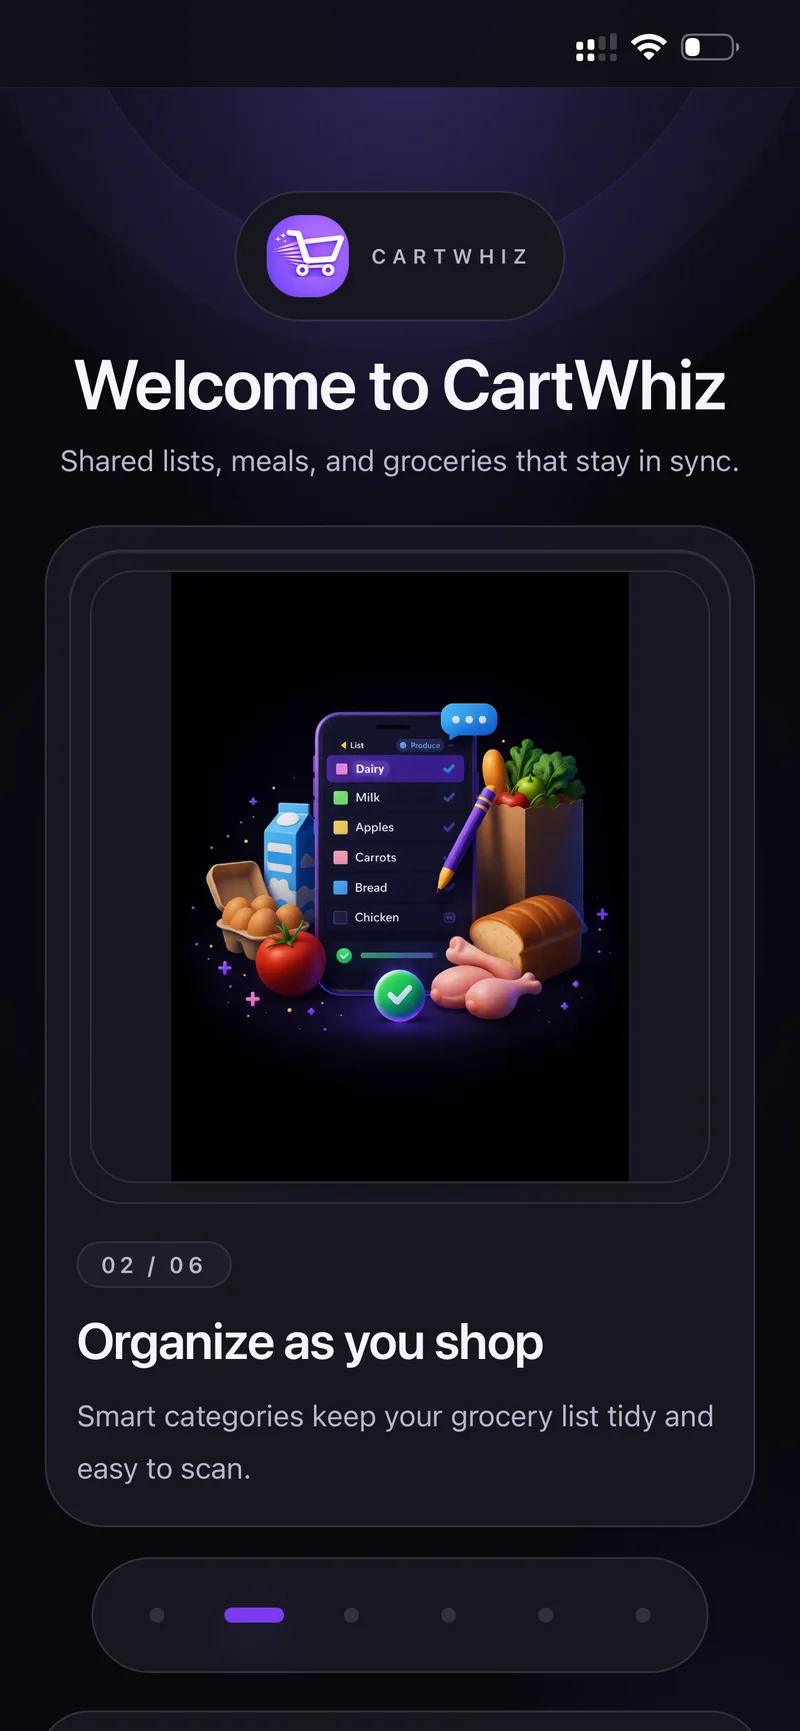
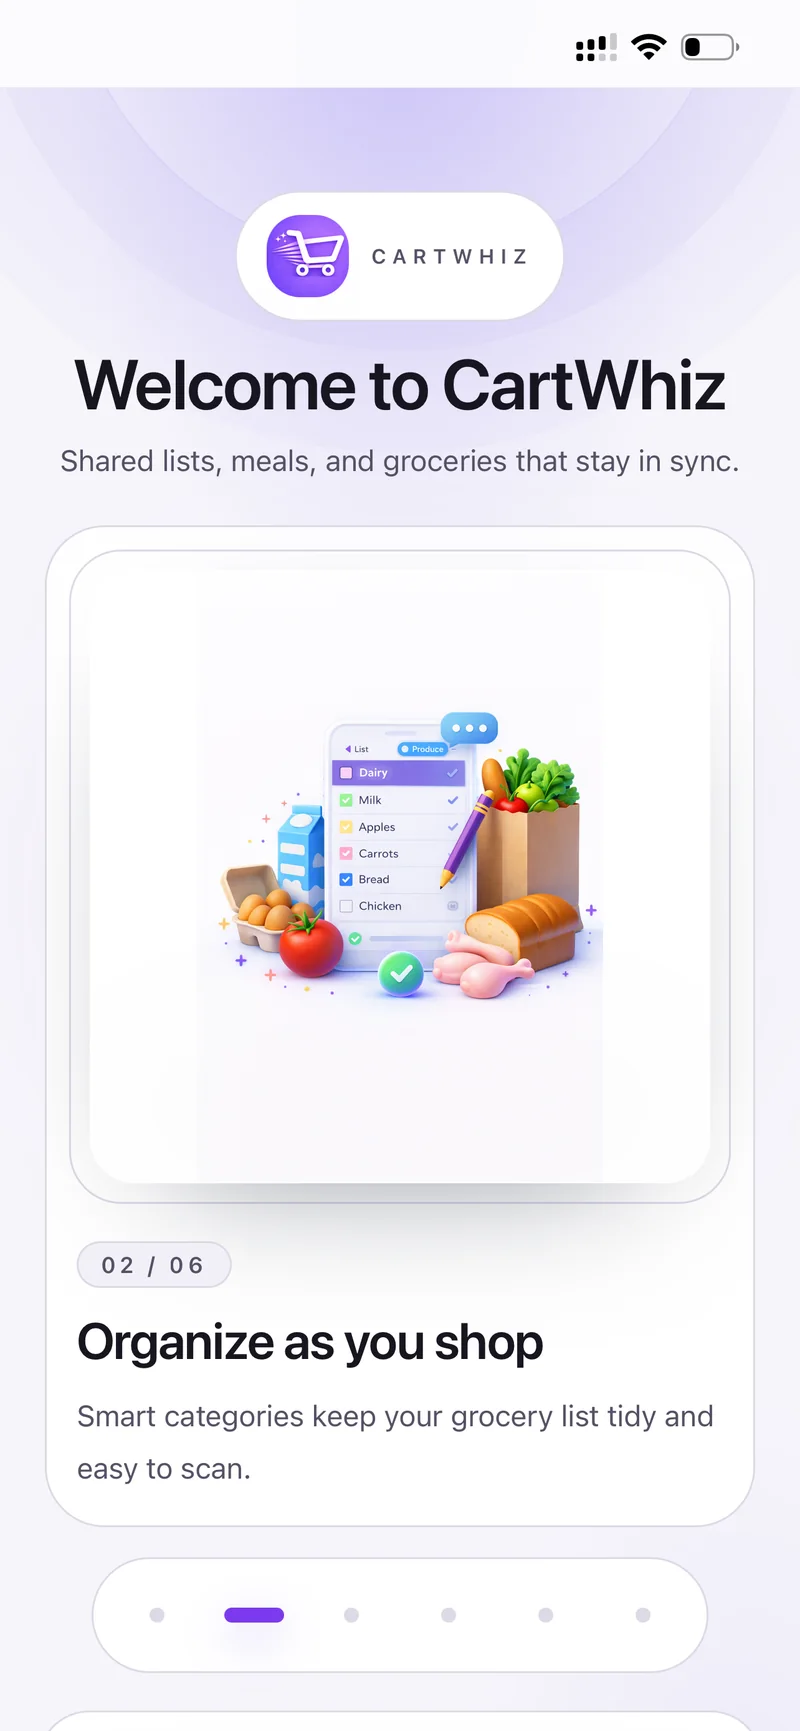
02 / 06 — Organize as you shop. Smart categories keep your grocery list tidy and easy to scan.
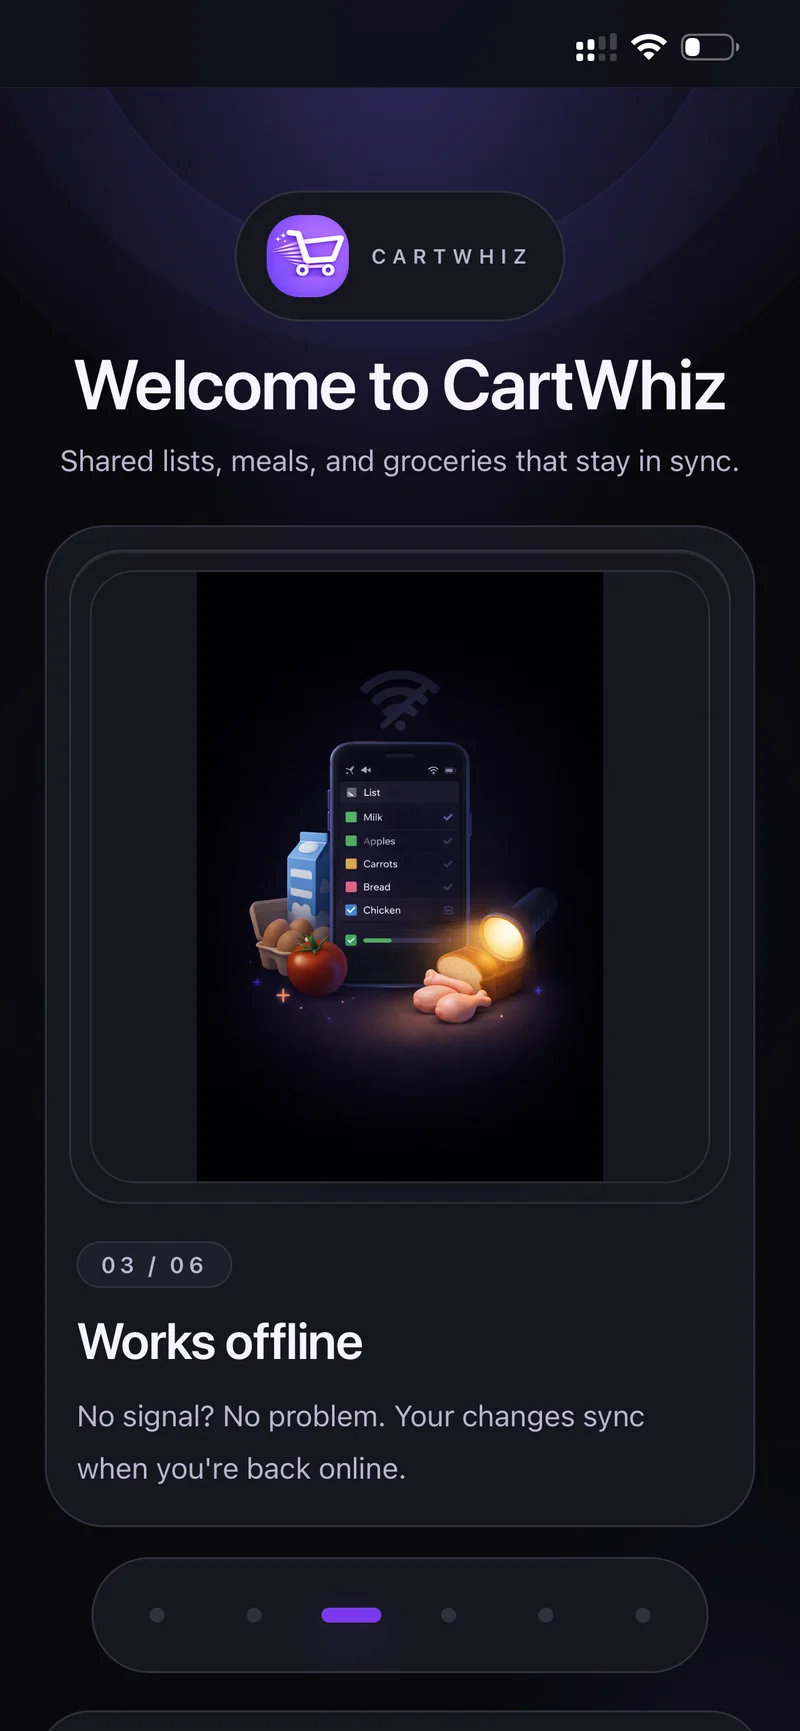
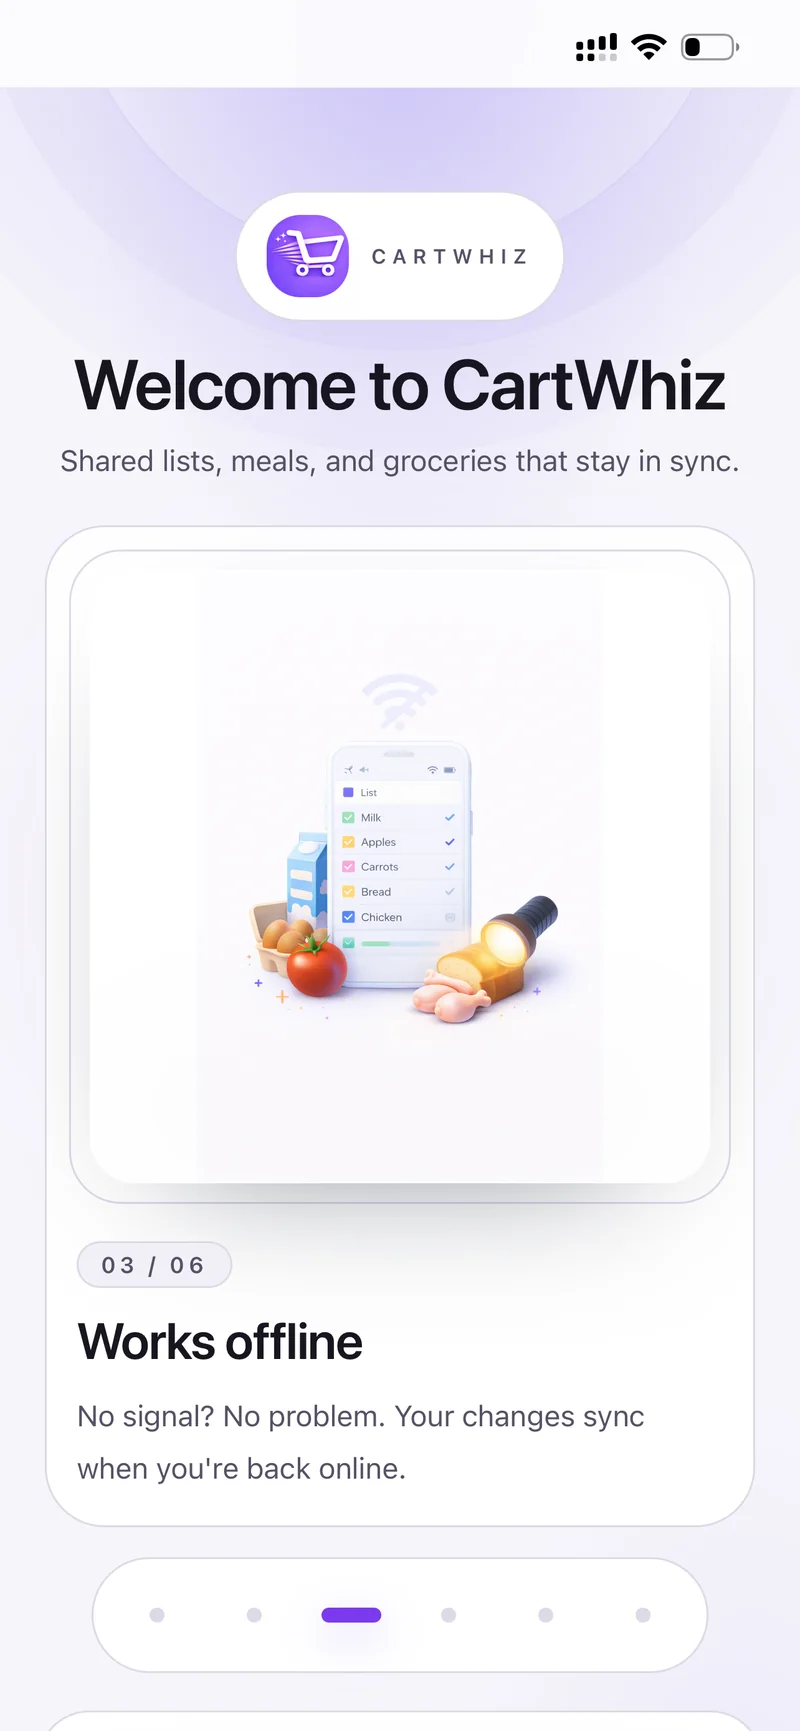
03 / 06 — Works offline. No signal? No problem. Your changes sync when you are back online.
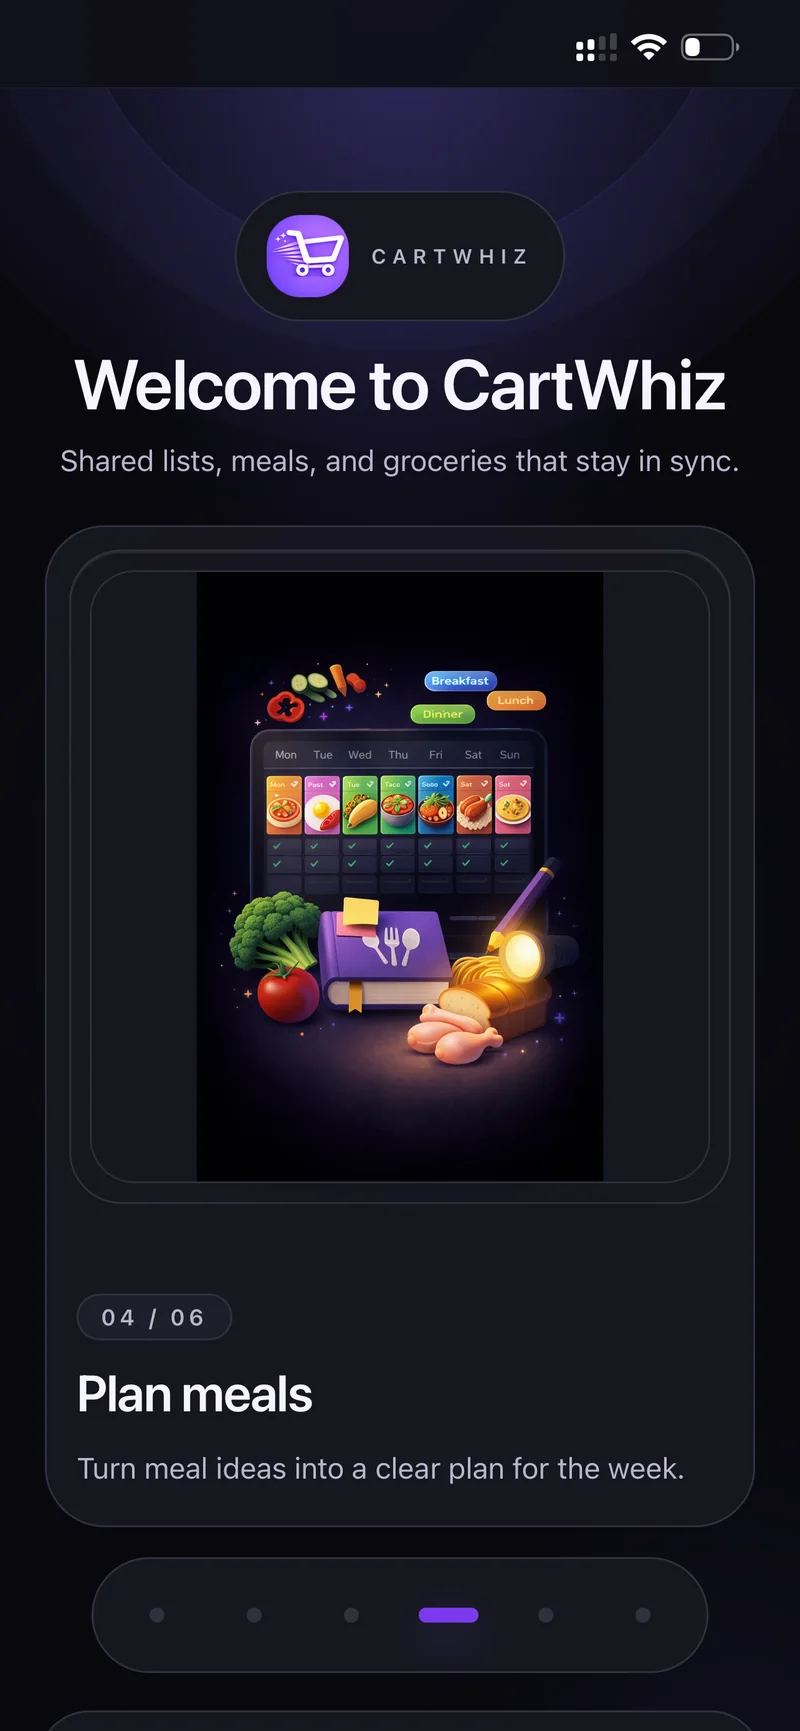
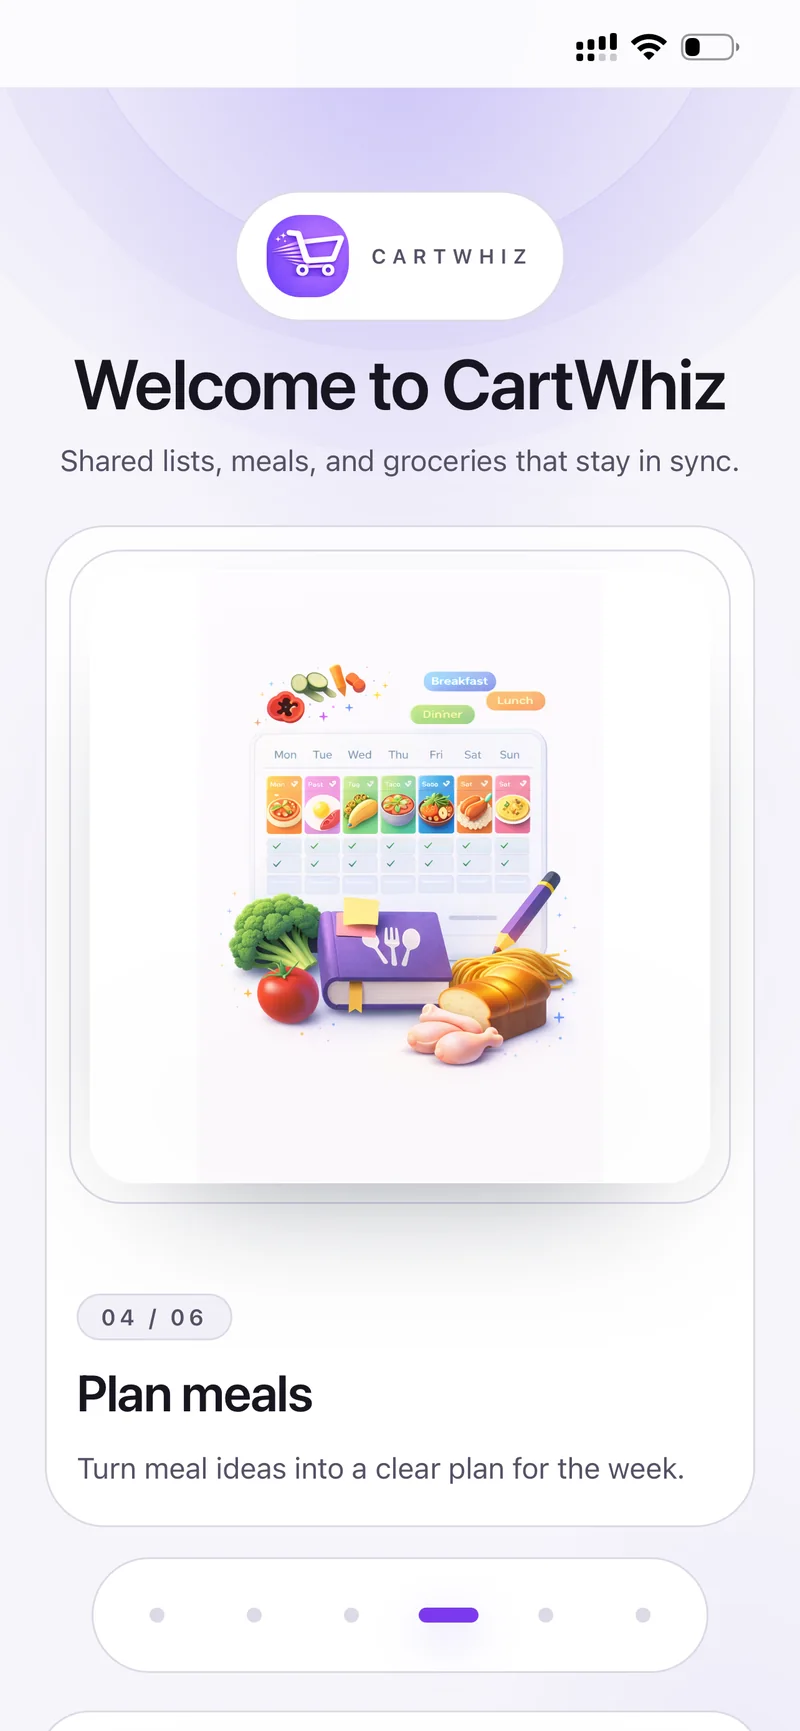
04 / 06 — Plan meals. Turn meal ideas into a clear plan for the week.
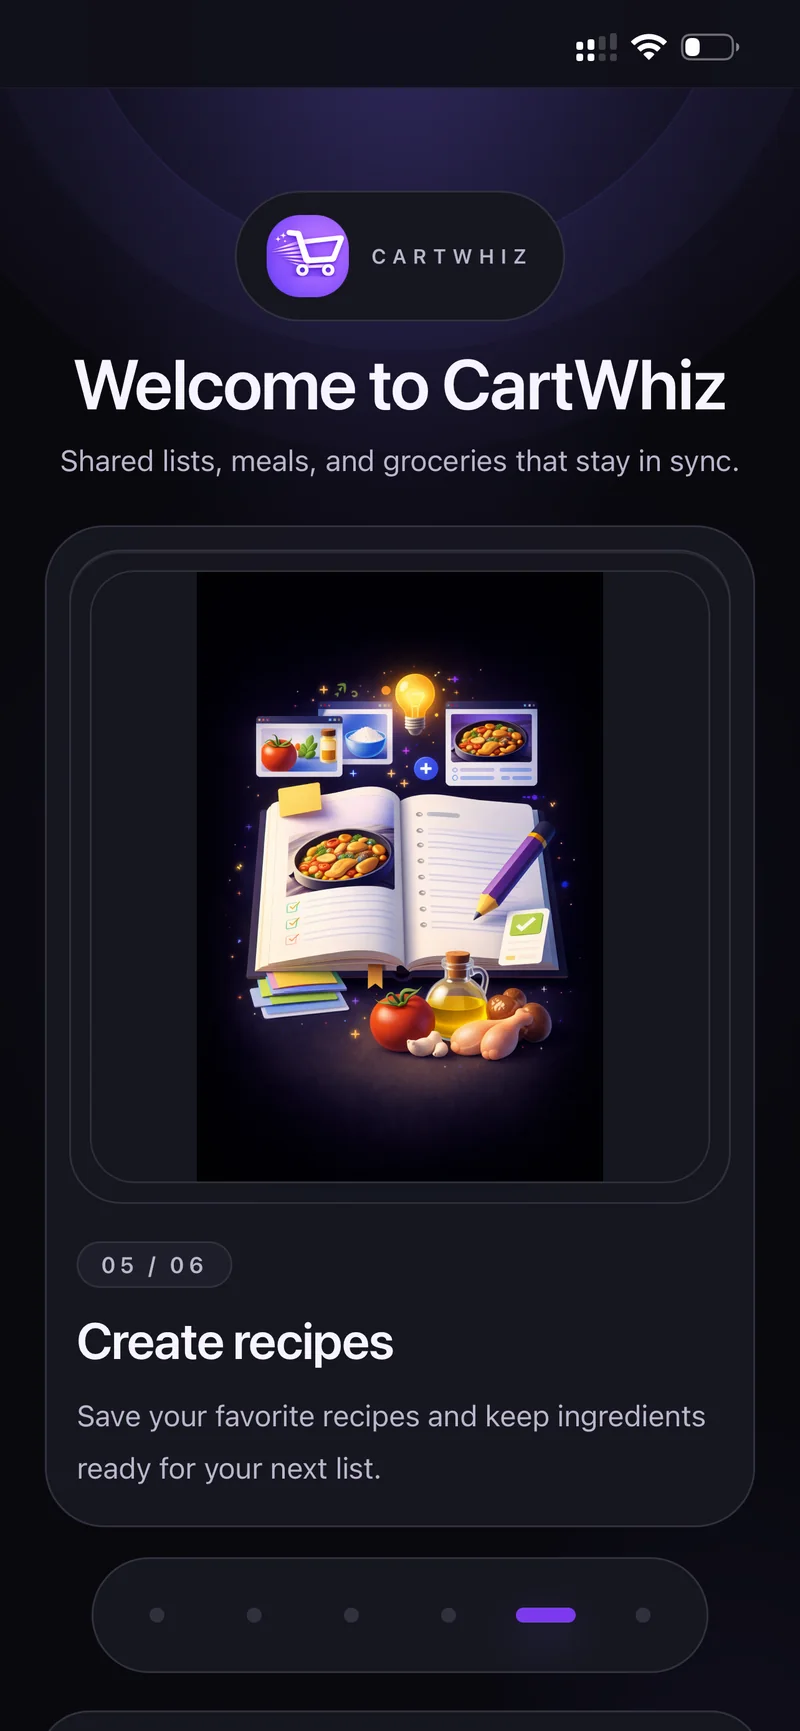
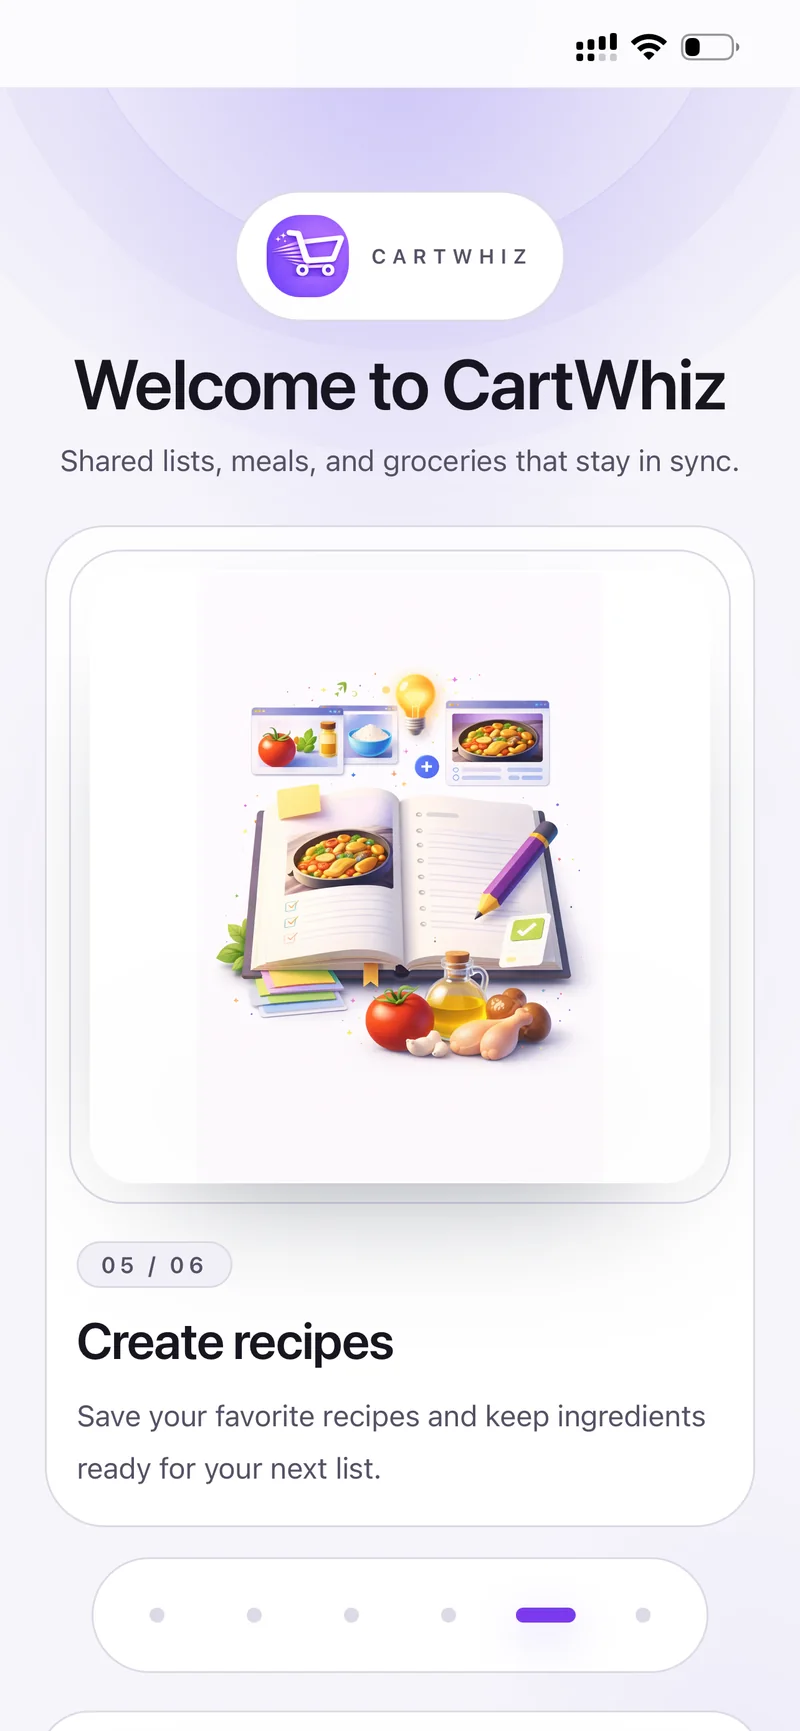
05 / 06 — Create recipes. Save your favourite recipes and keep ingredients ready for your next list.
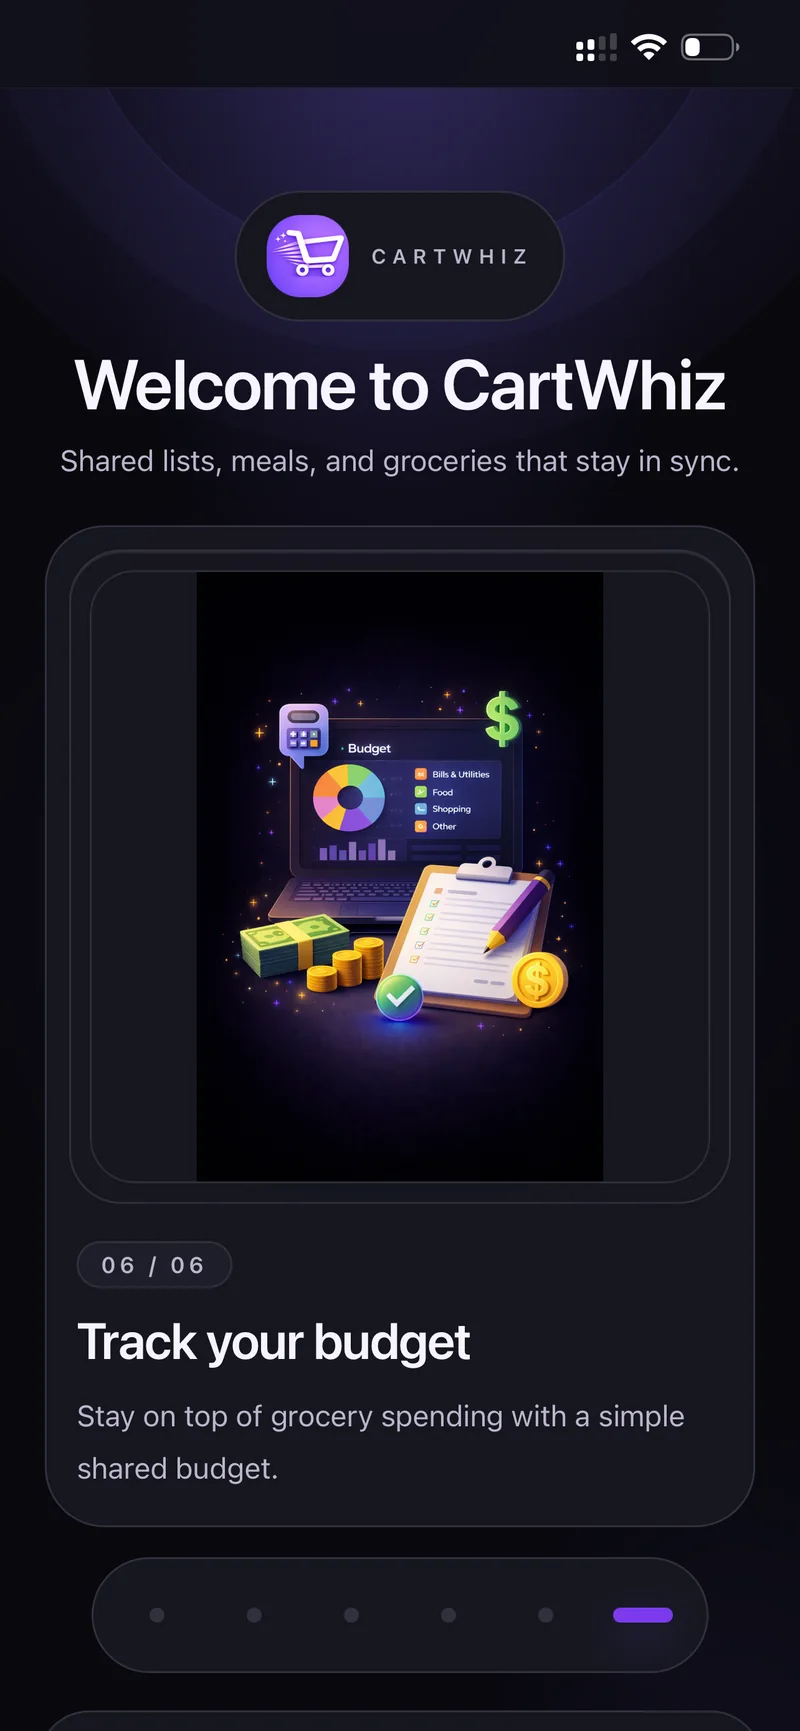
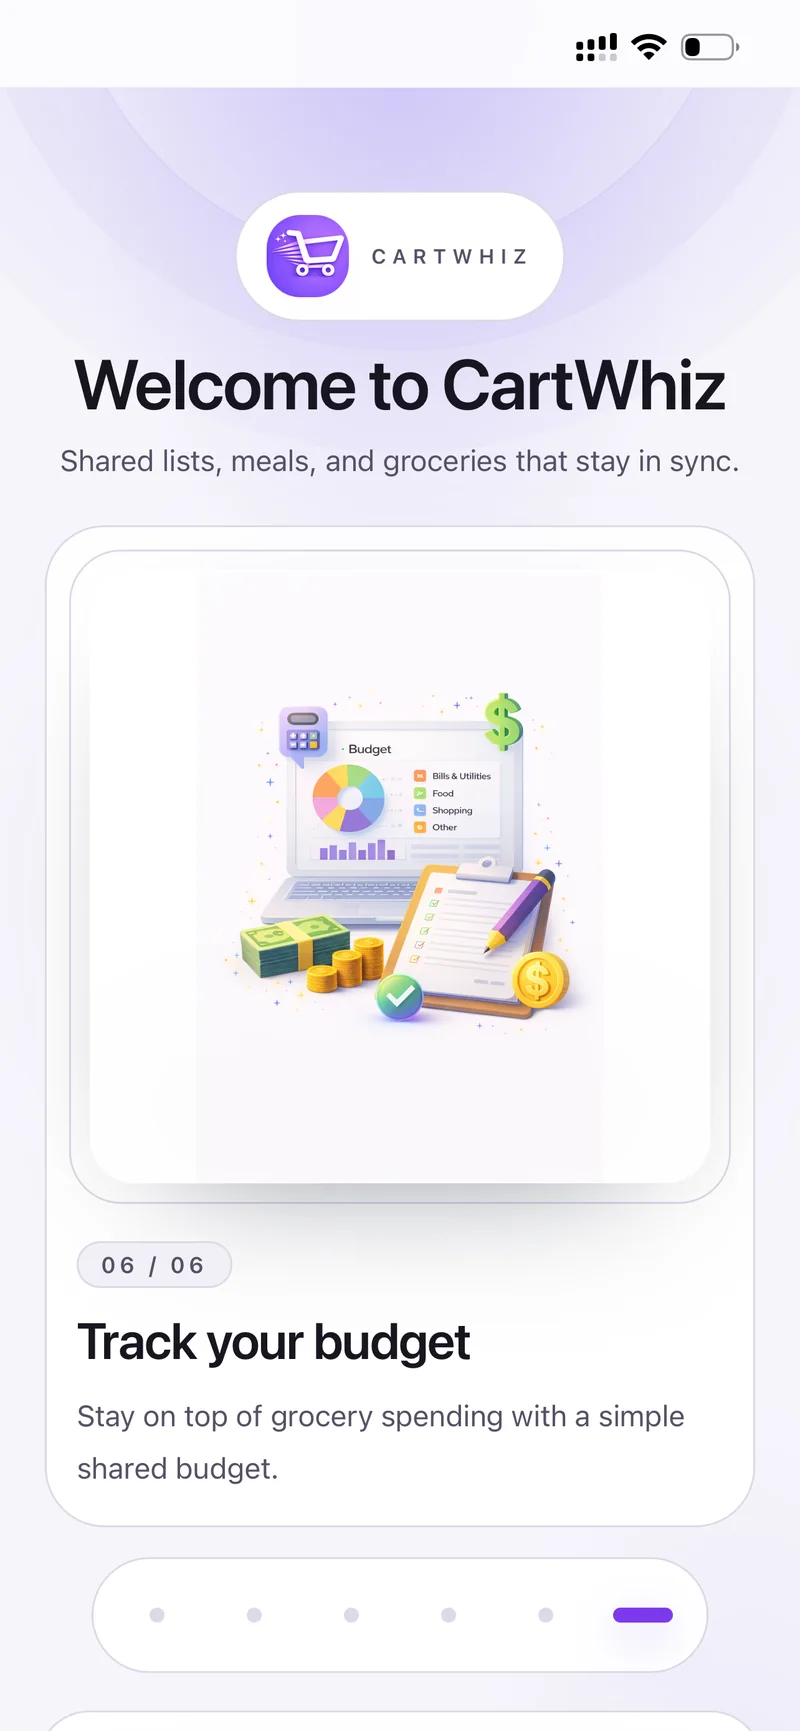
06 / 06 — Track your budget. Stay on top of grocery spending with a simple shared budget.
A household is the shared space everything lives in — the grocery list, chores, pets, meals, budget and chat all belong to the household you are currently in.
Open Settings → Households. The one marked ACTIVE is the one you see everywhere else in the app.
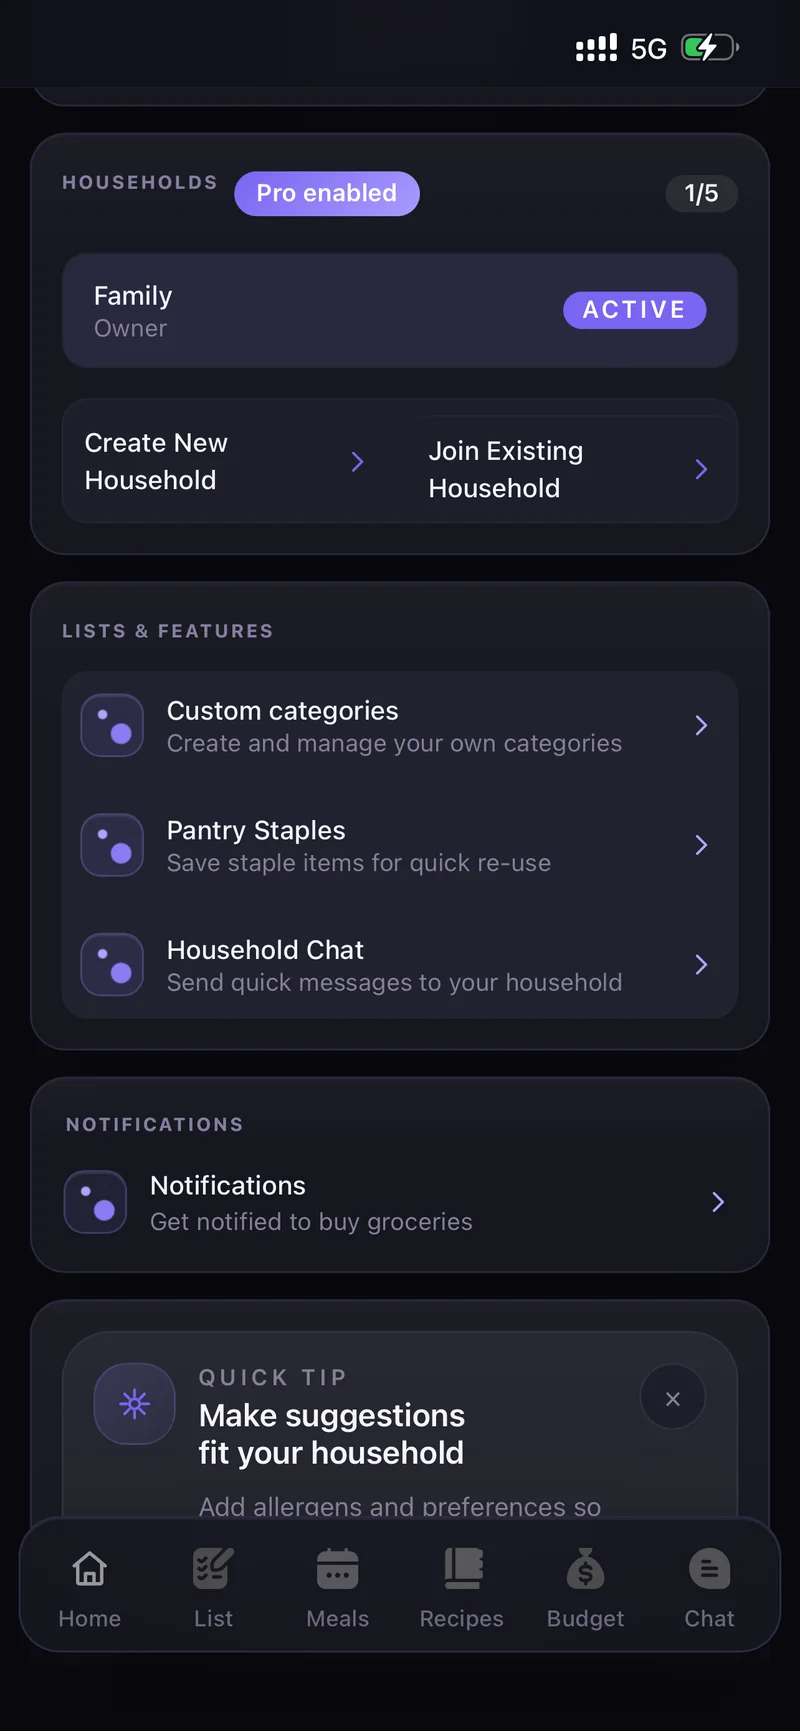
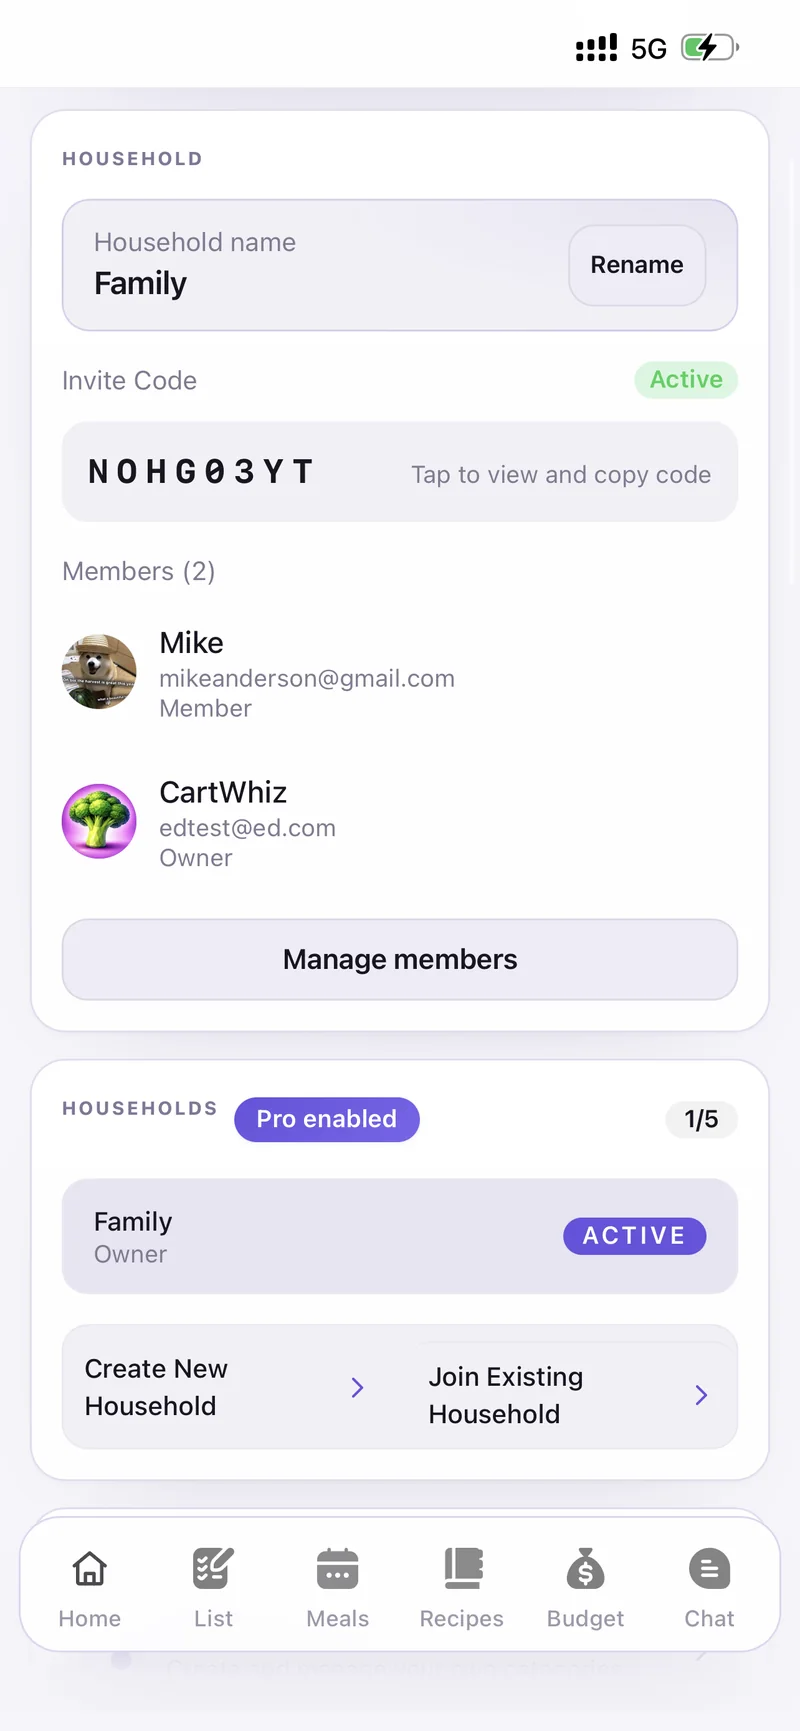
Settings → Households
Create New Household starts a fresh one that you own.
Join Existing Household asks for the short invite code someone shared with you.
Tap any household in the list to switch to it. With Pro enabled you can be in up to 5.
Everything about who is in the household lives in its settings.
Manage members lists everyone in the household, shows who the Owner is, and lets you remove or ban people.
Open the List tab and tap the + next to the member avatars in the header.
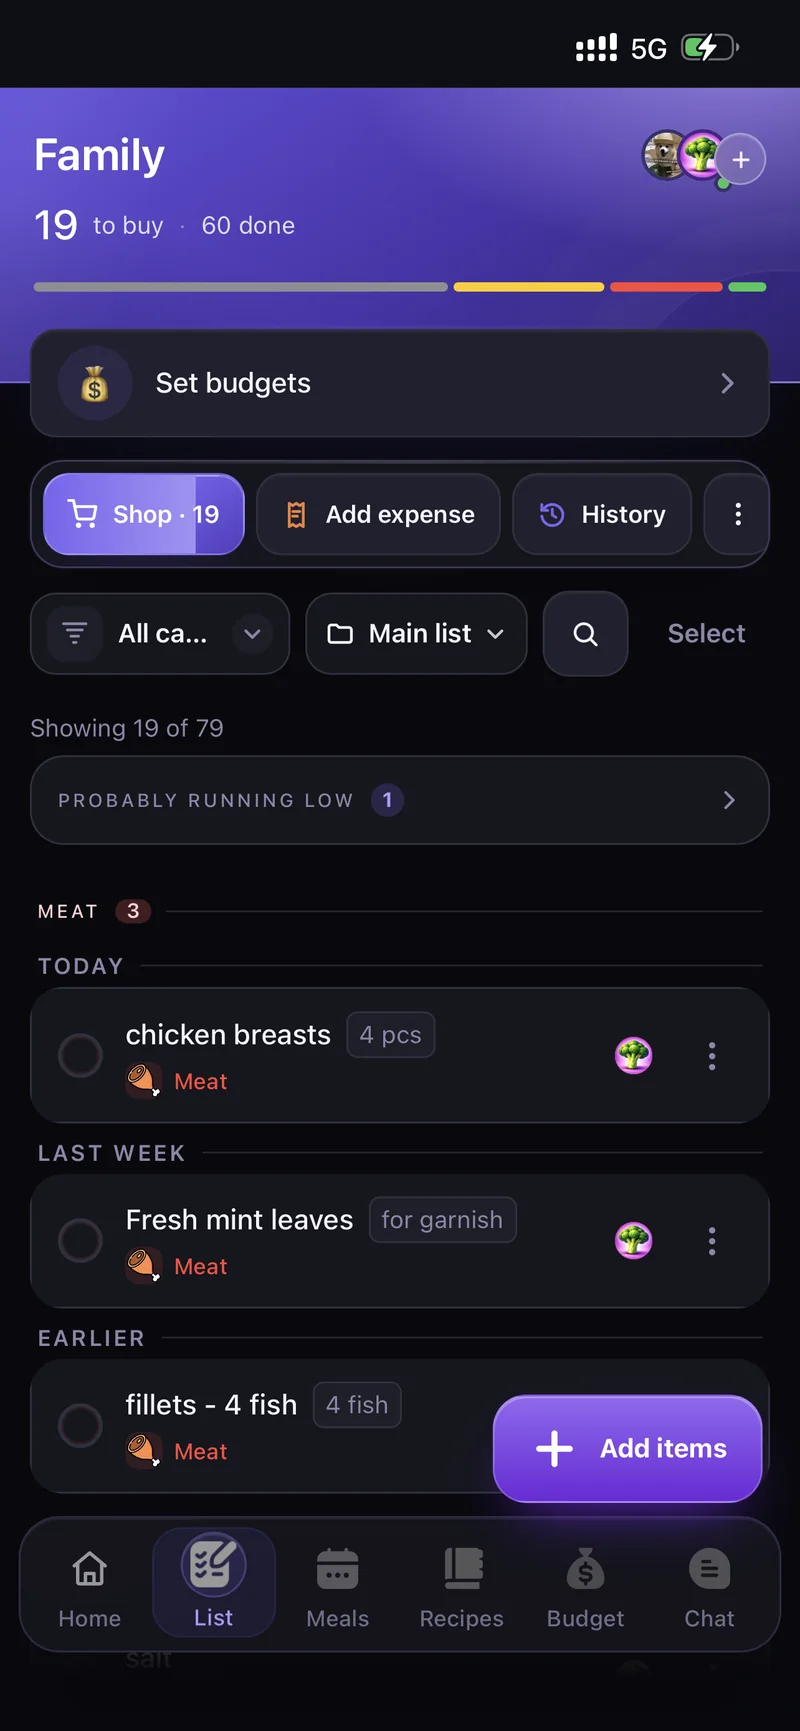
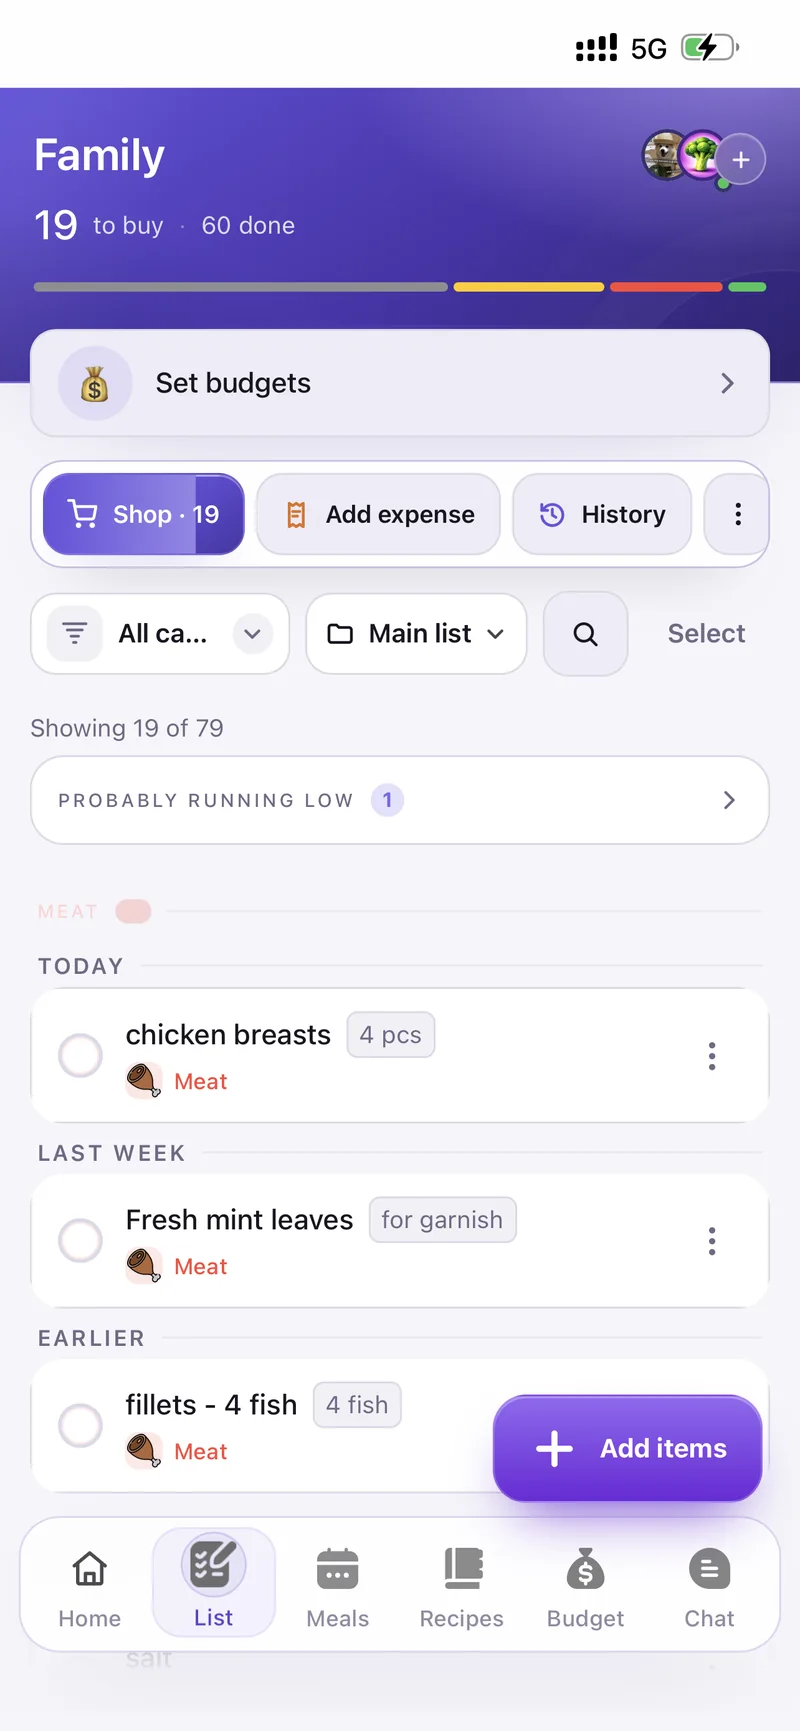
The + sits next to the avatars
The Invite to household sheet shows your code — for example X Z 3 J R K Y G — along with how long it stays Active before it expires.
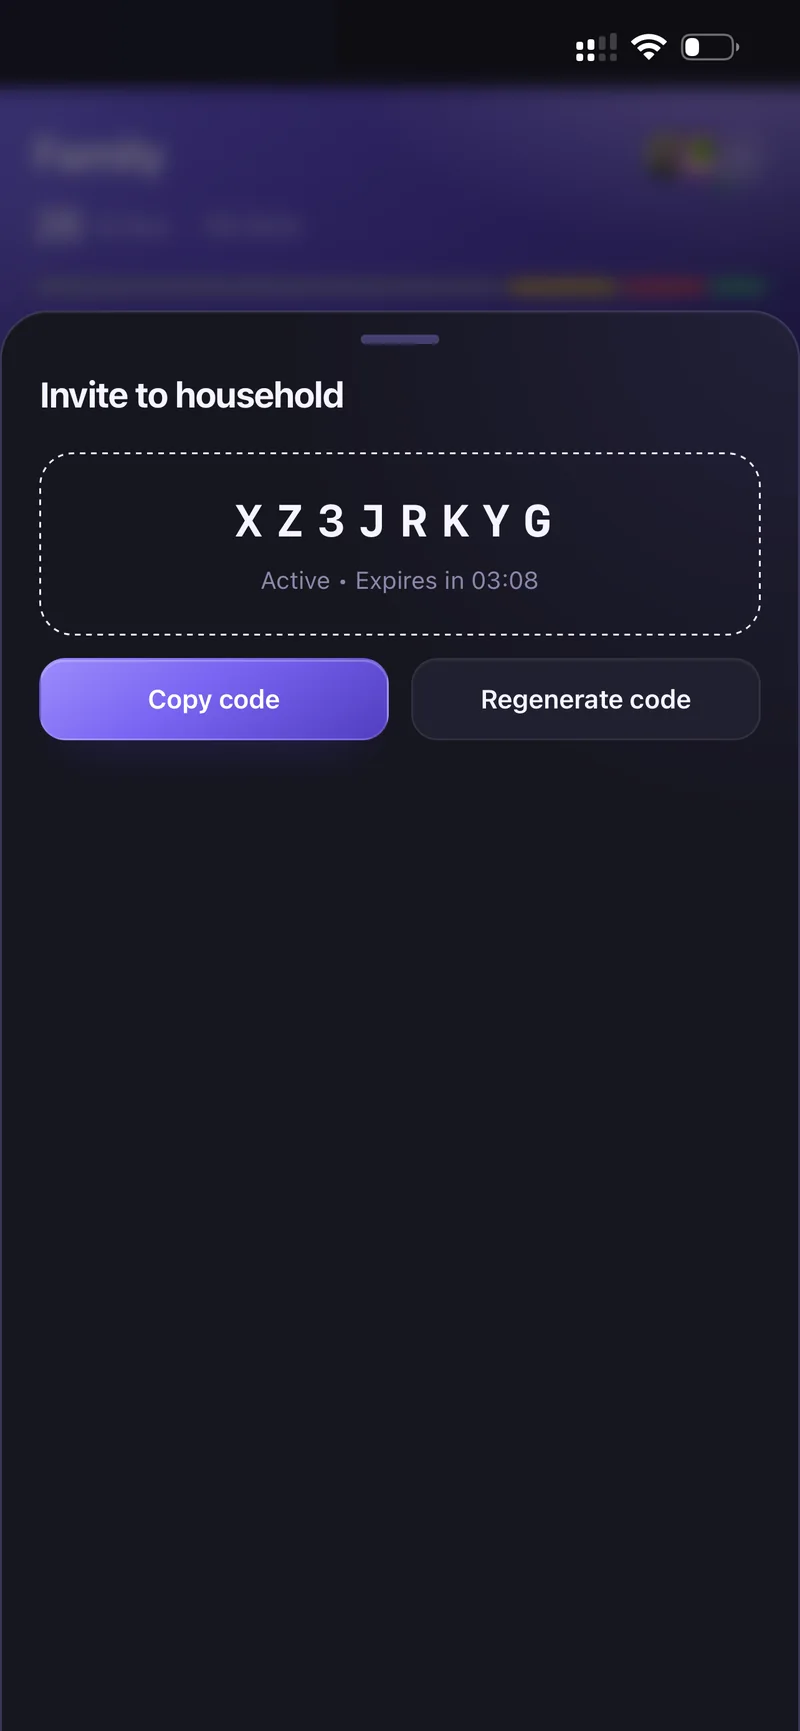
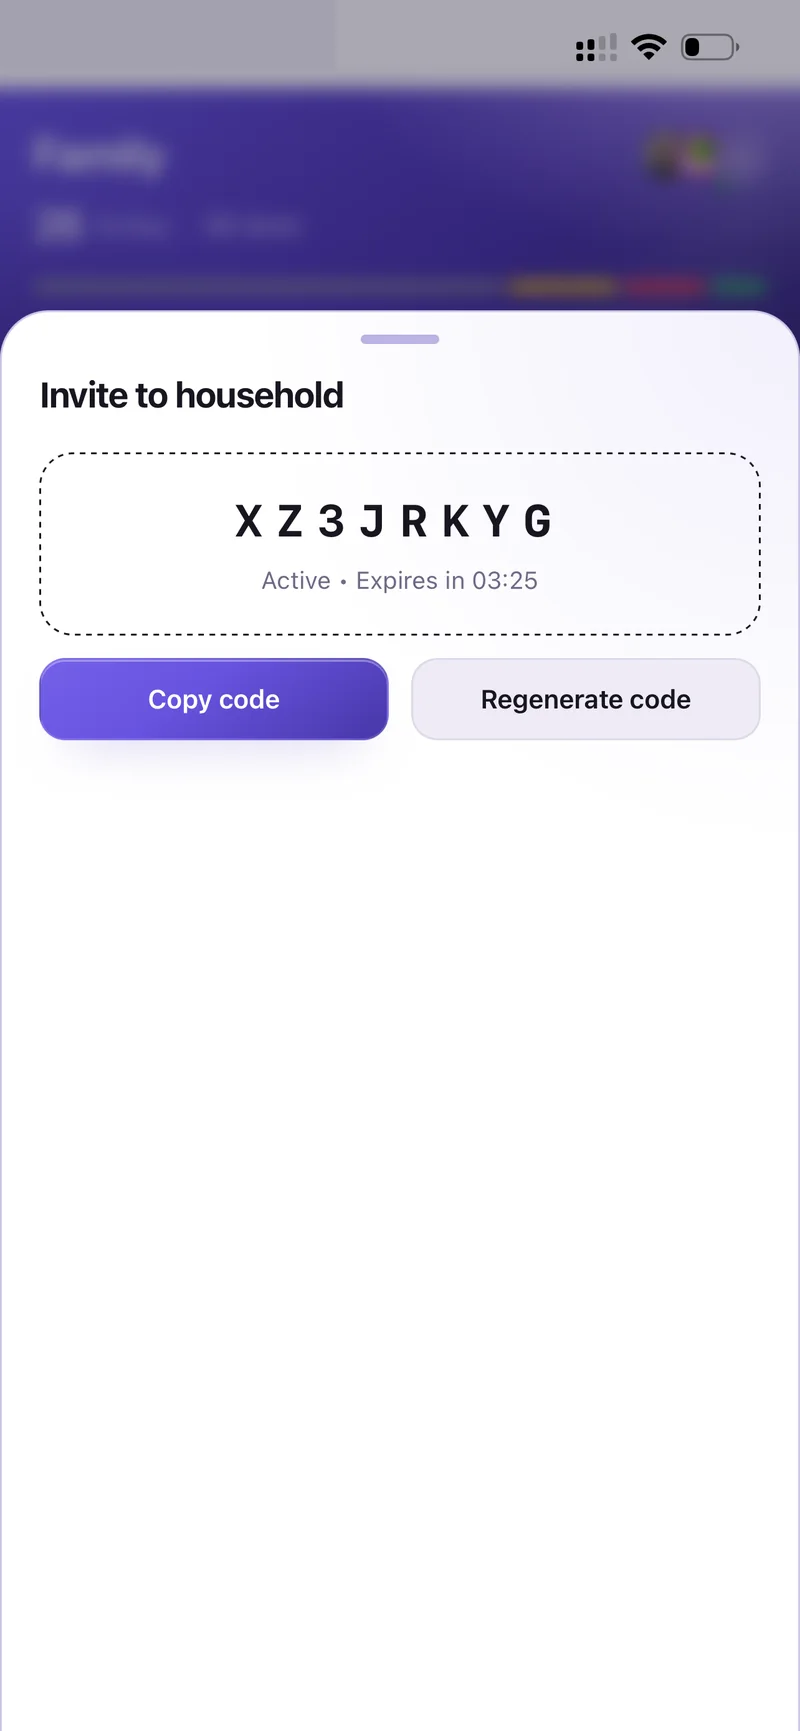
Invite to household — code, Copy code, Regenerate code
Tap Copy code and send it to whoever is joining. They enter it under Join Existing Household.
If a code leaks or gets old, tap Regenerate code — the previous one stops working immediately.
On the sign-in screen tap Forgot password?
Enter the email you signed up with and tap Send reset code.
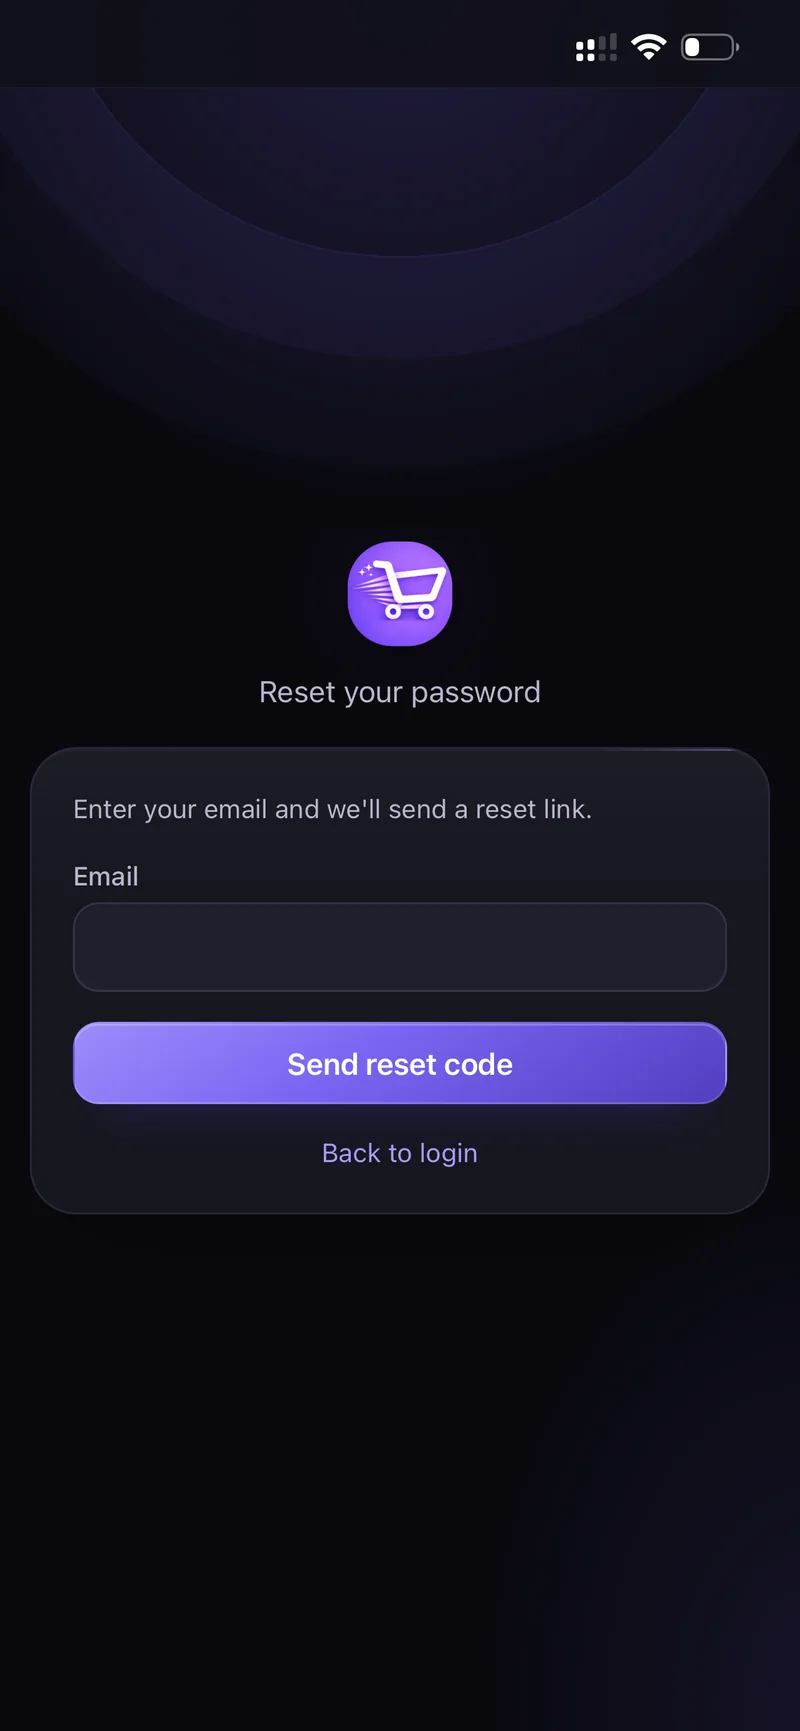
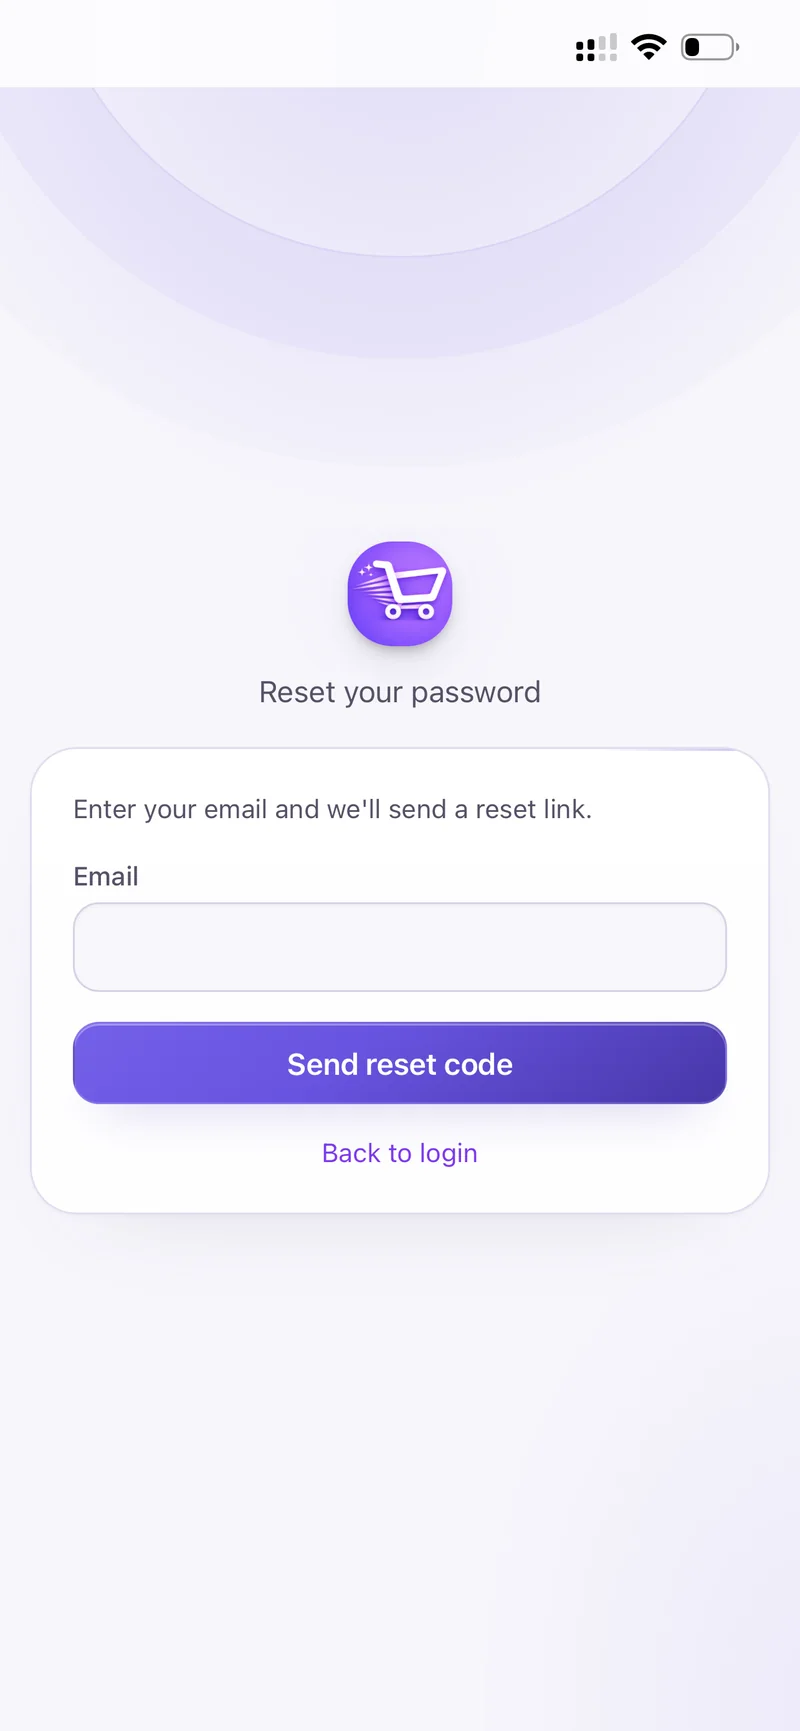
Reset your password
Check your inbox for the code, then follow the link back into the app to set a new password. Back to login returns you to sign-in at any point.
Grocery list
Open the List tab and tap Add items.
Type naturally — quantities work too, like "2 milk". Tap Add after each one, then Done.
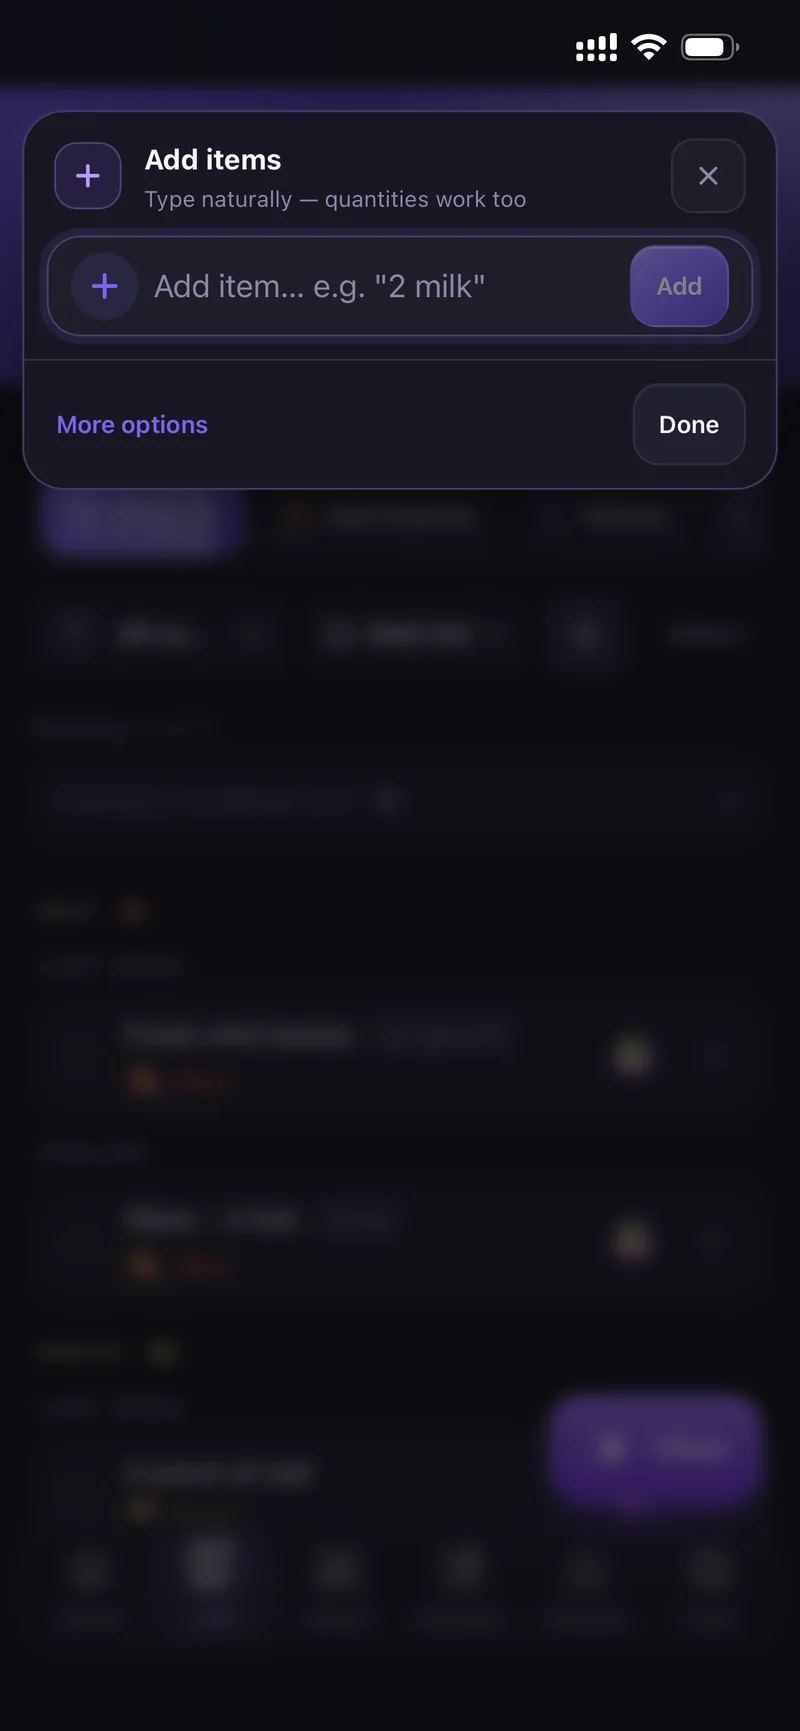
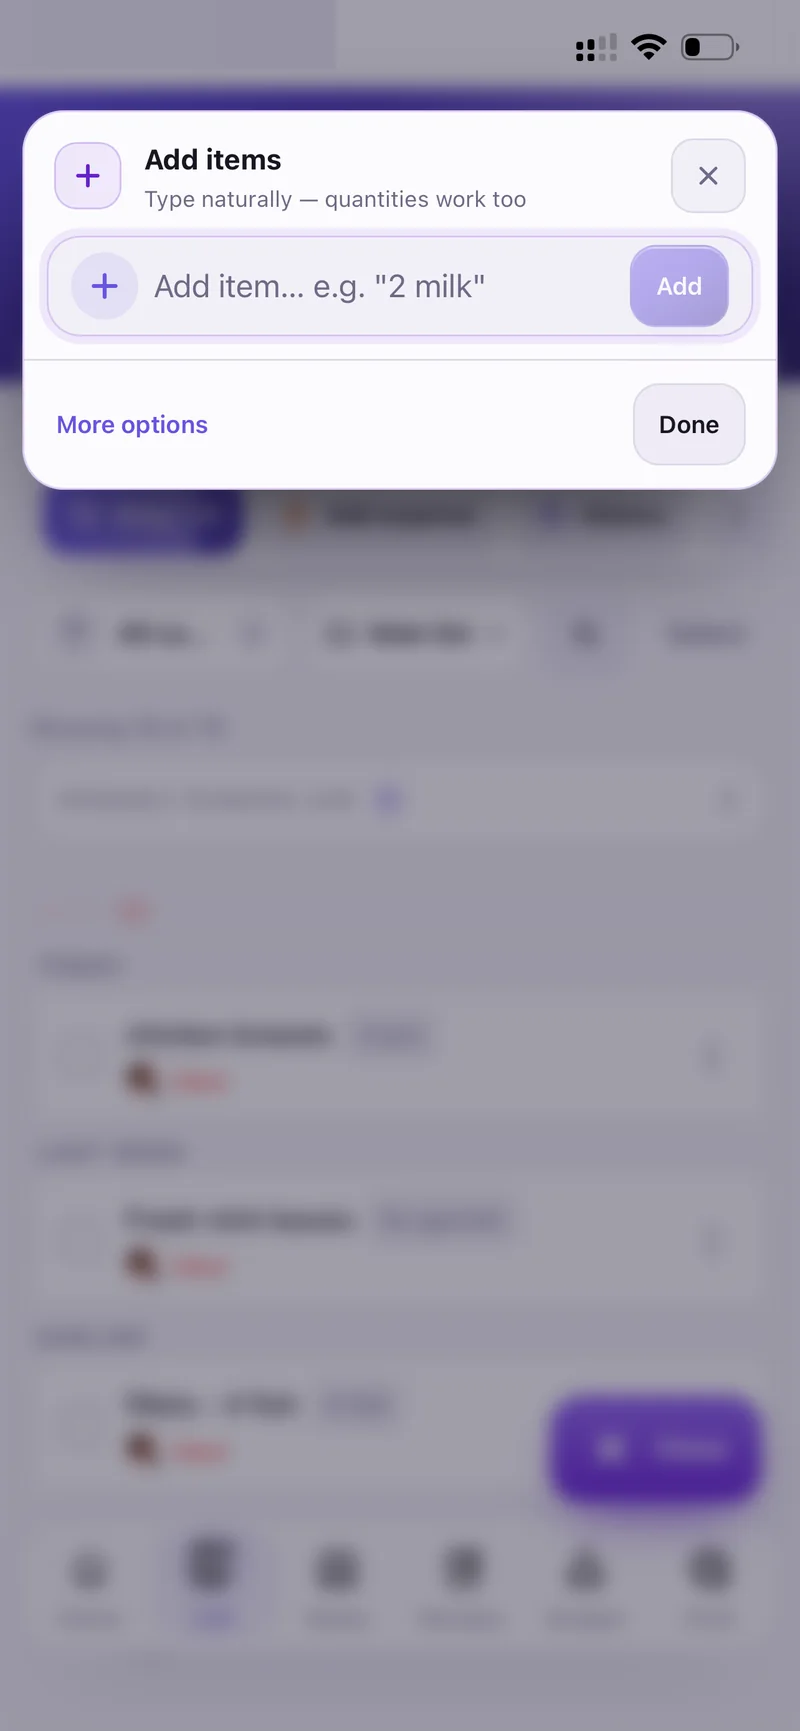
Type naturally — quantities work too
Items land in categories automatically — Meat, Pantry, Produce and so on. Use More options to set a category or note yourself.
Tap Shop to enter shopping mode. The header tracks how many items are left, how many are done, and your progress as a percentage.
Tick items off as you put them in the trolley — everyone in the household sees it update live. Use the − / + steppers to adjust a quantity on the spot.
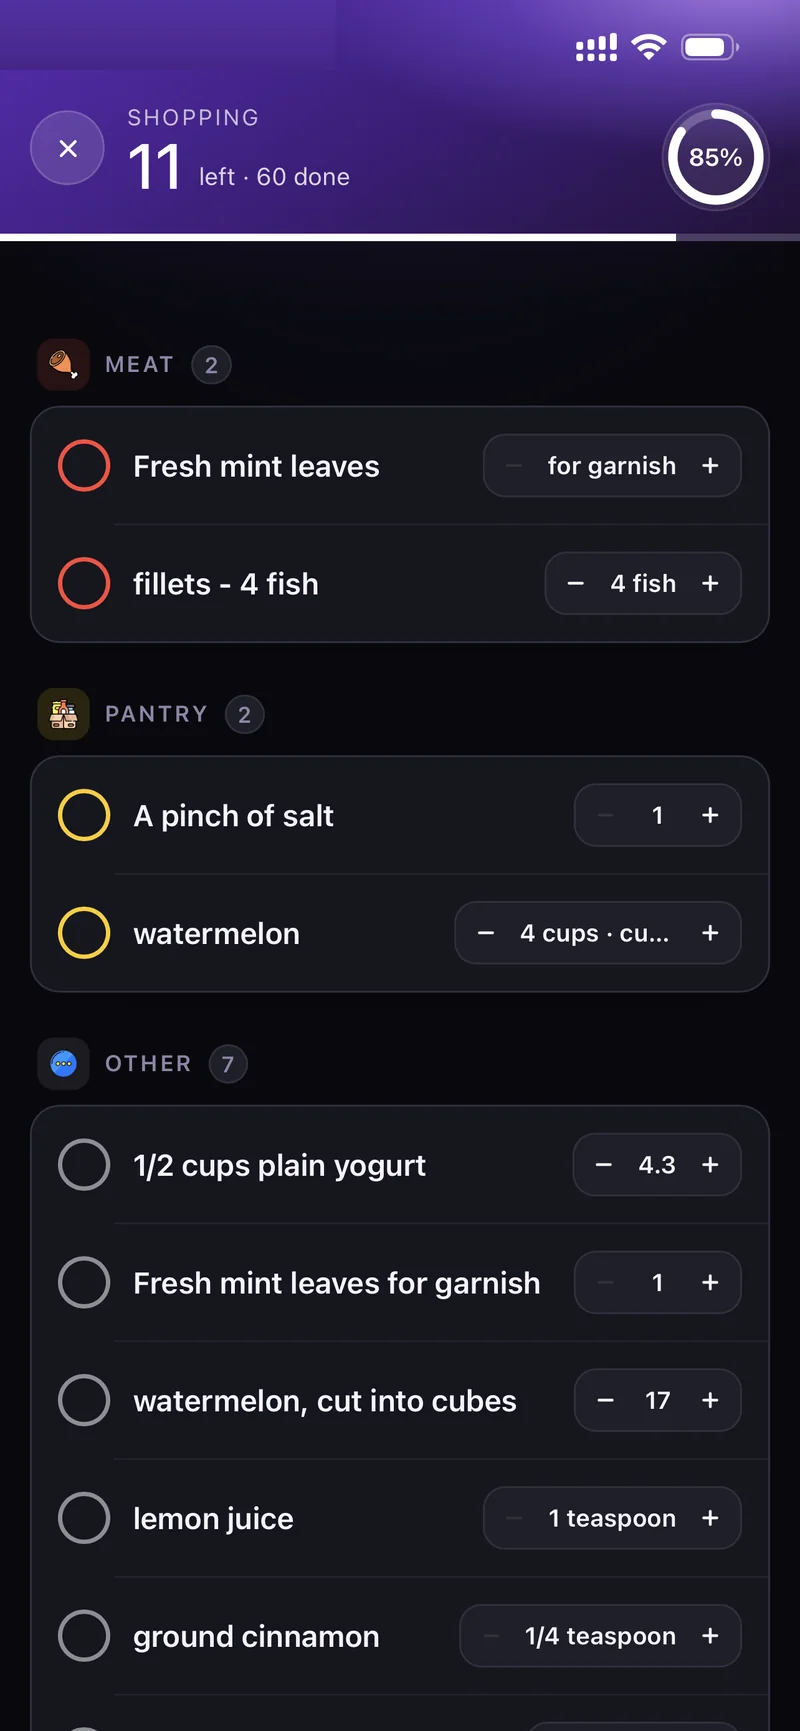
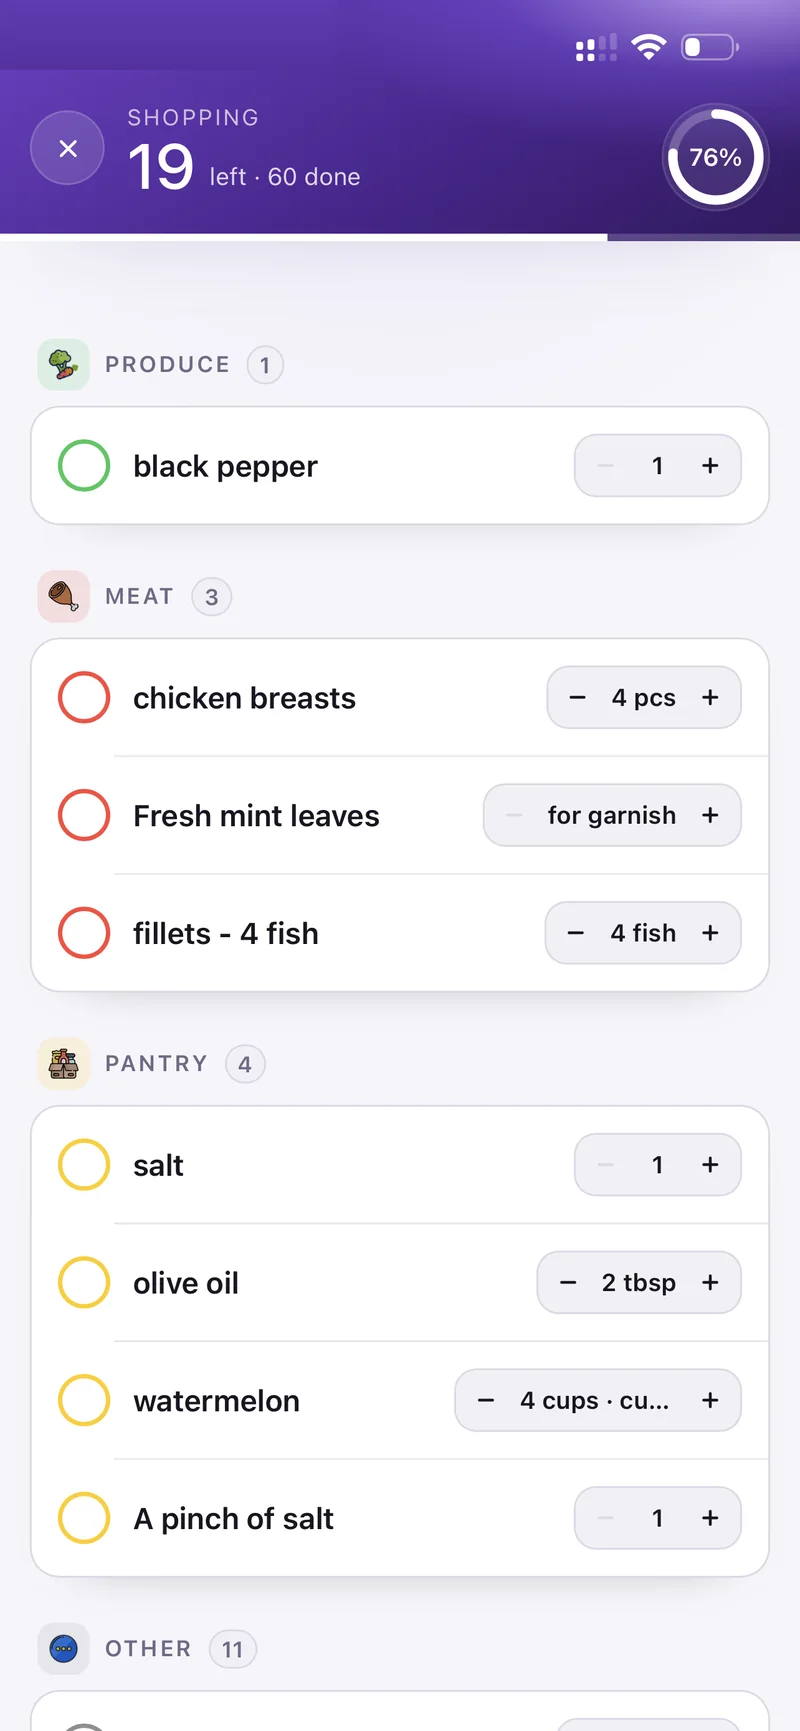
Shopping mode — 11 left · 60 done
Tap Add expense from the List or Budget tab.
Enter the amount, pick a category, set the date, and add an optional note. Toggle Personal (only me) if it should not count towards the household budget. Tap Save.
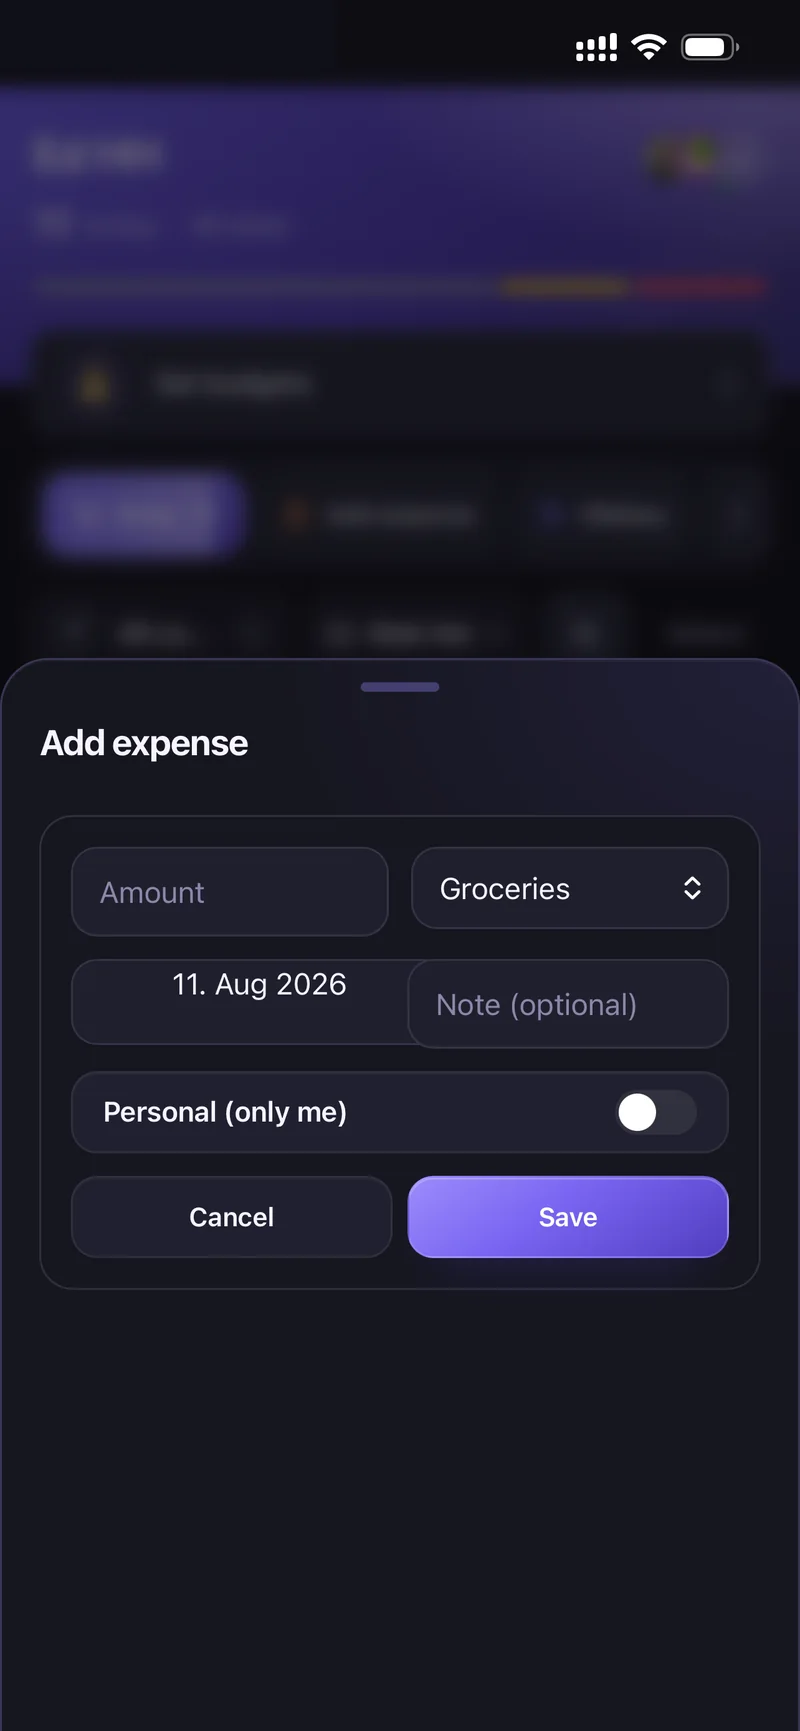
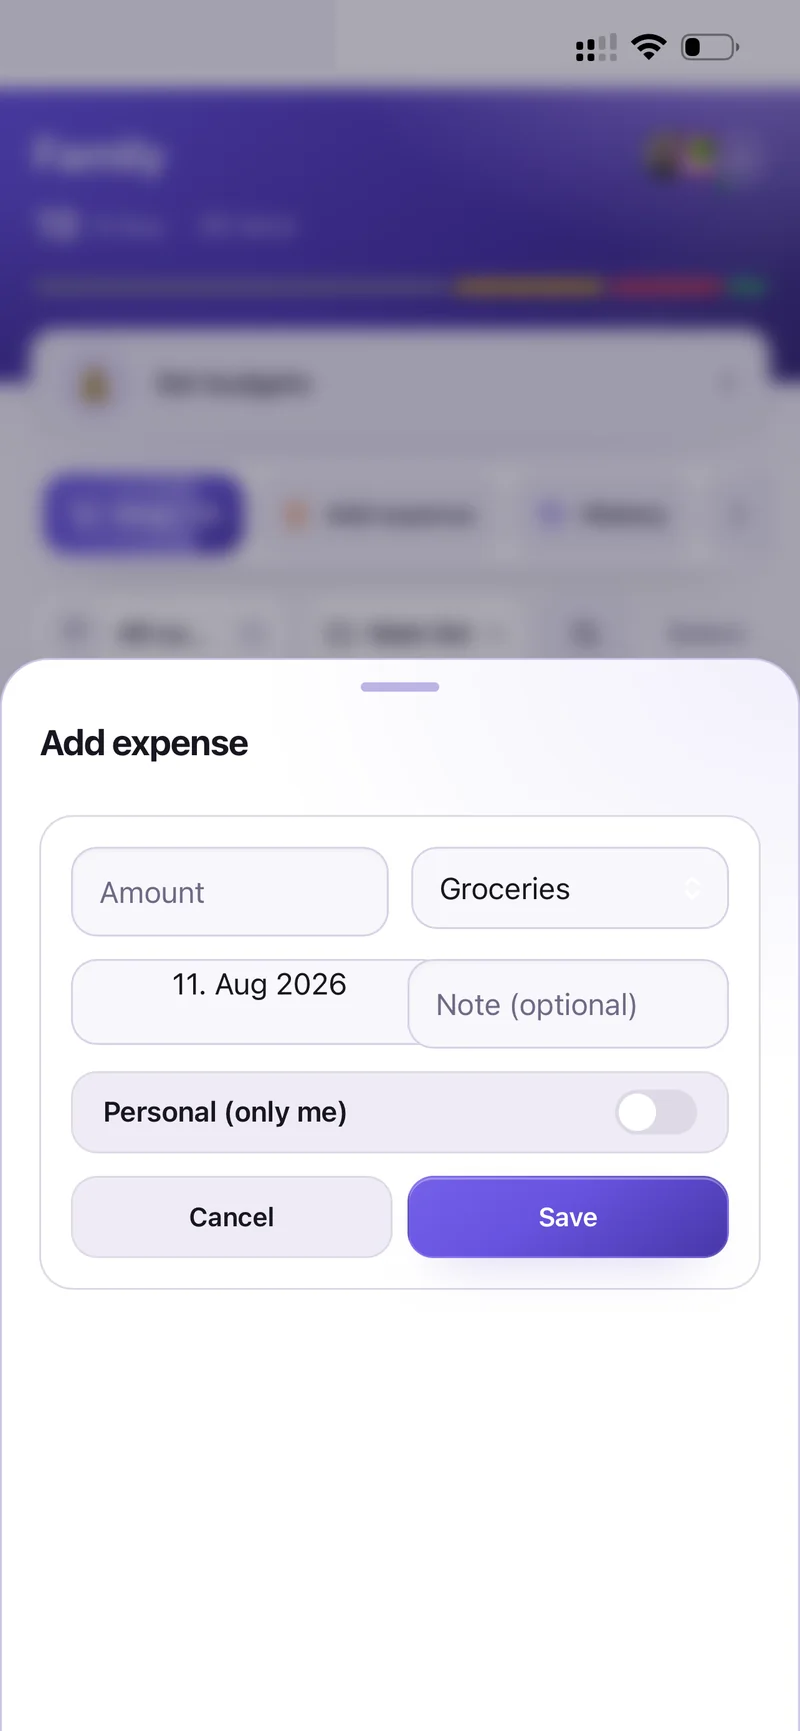
Add expense — amount, category, date, note
History shows everything you have checked off before, grouped by day, with Add again next to each item.
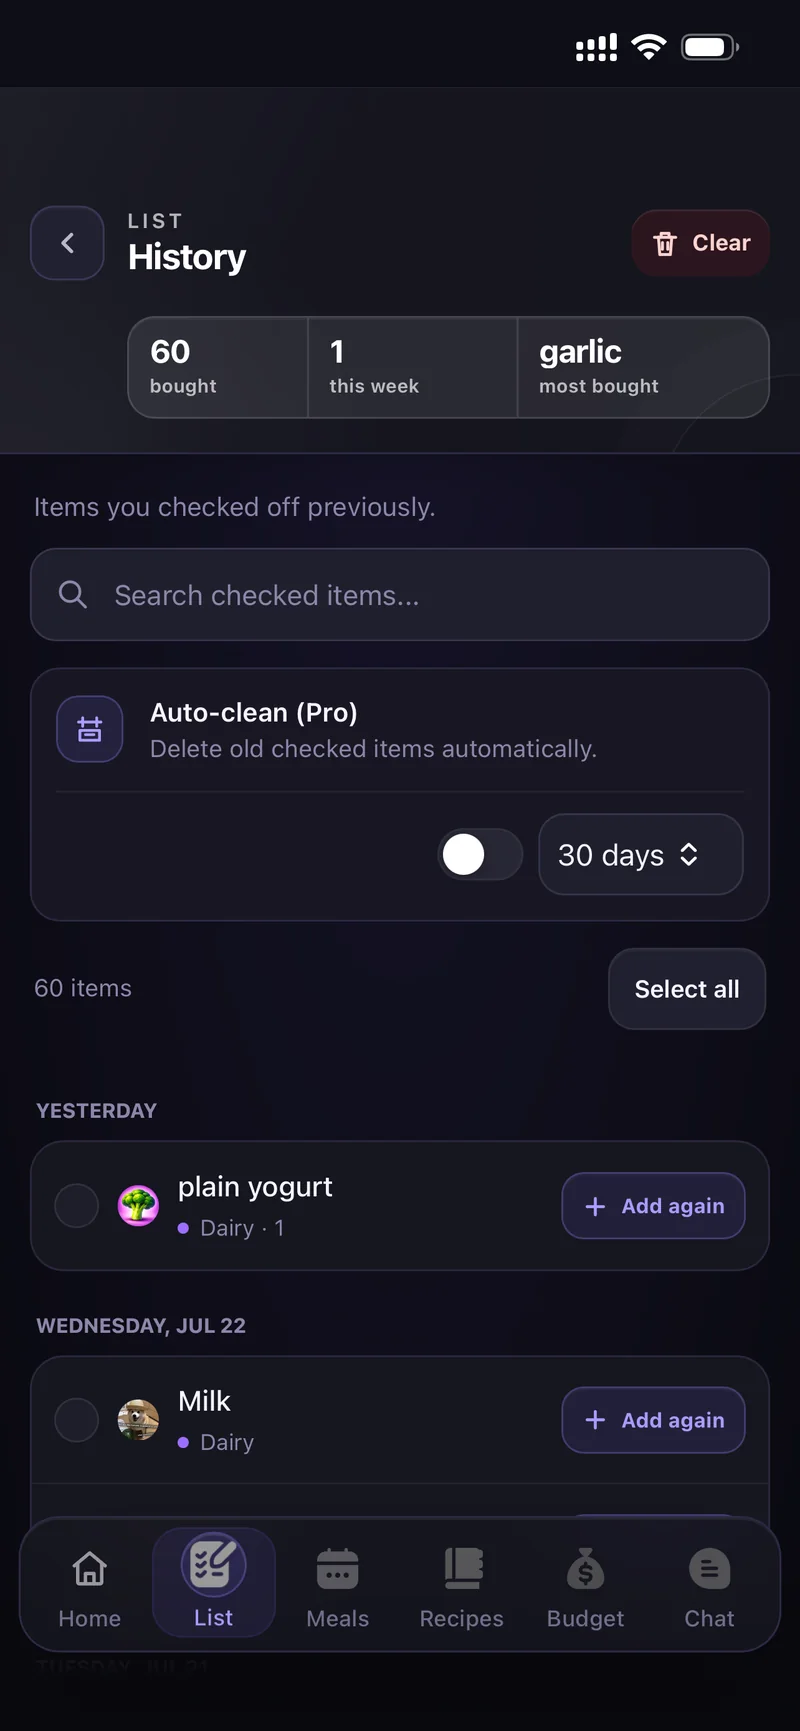
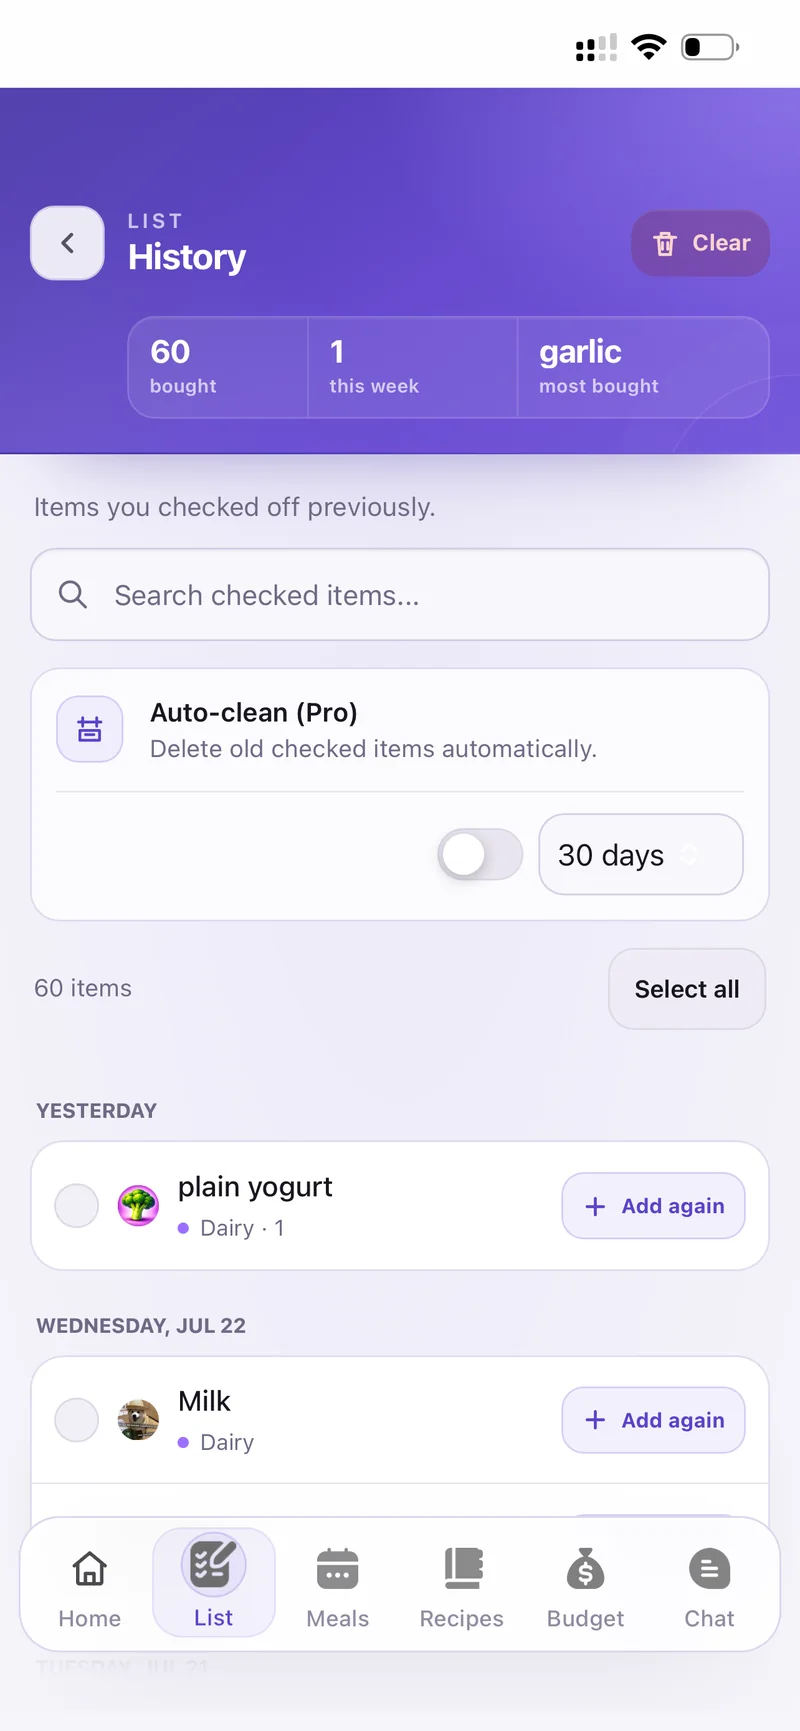
History — with Auto-clean (Pro)
CartWhiz notices things you buy regularly and have not bought in a while, and collects them under Probably running low at the top of the list.
Tap it to see the suggestions and add any of them in one go.
Both live under Settings → Lists & features.
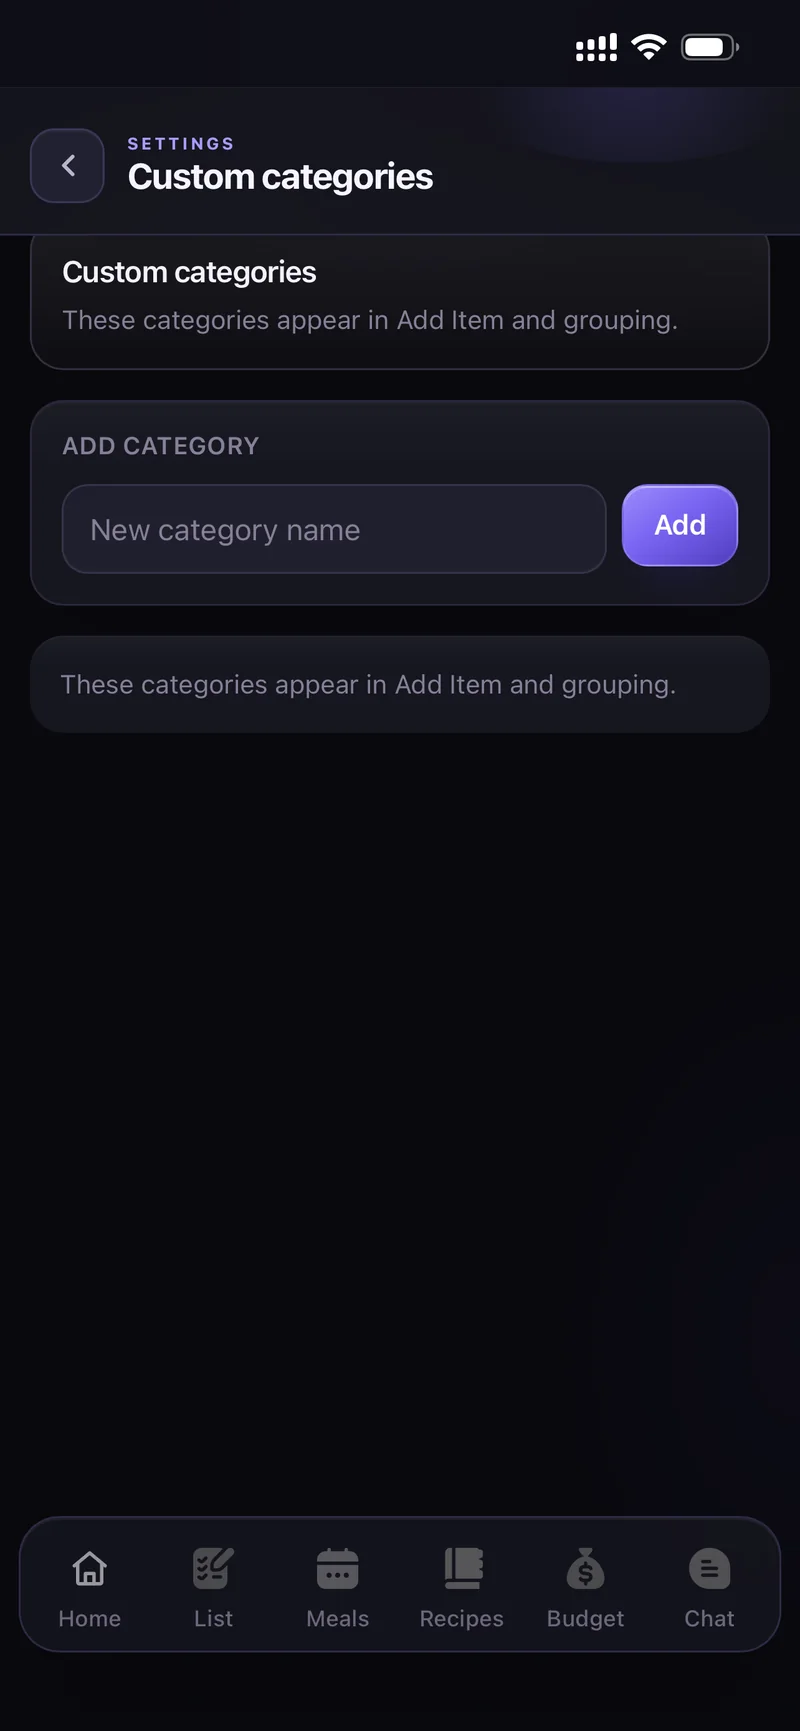
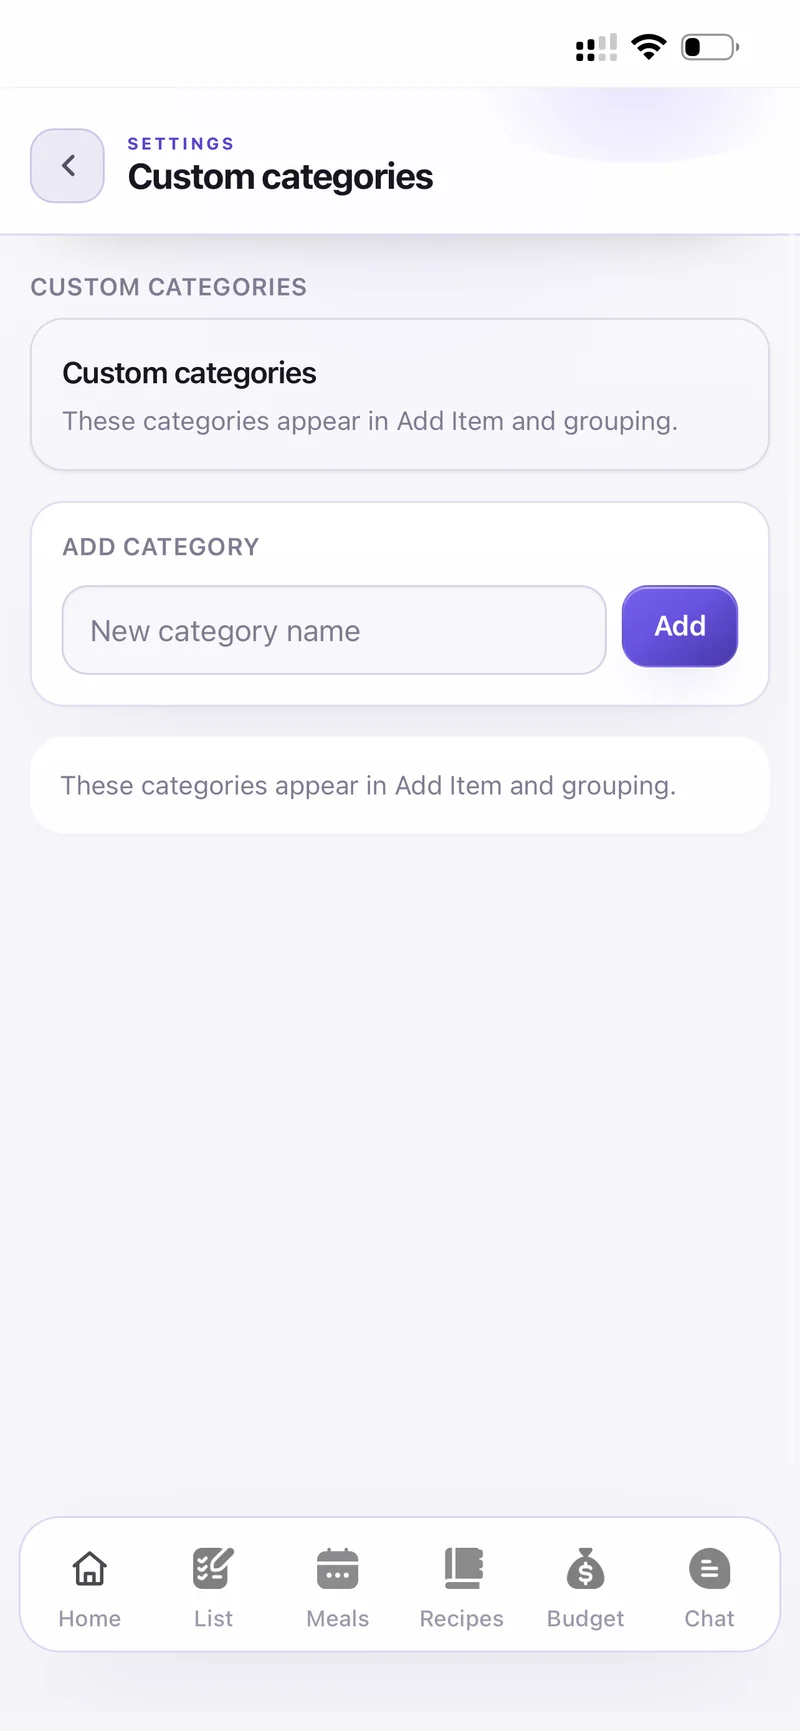
Custom categories
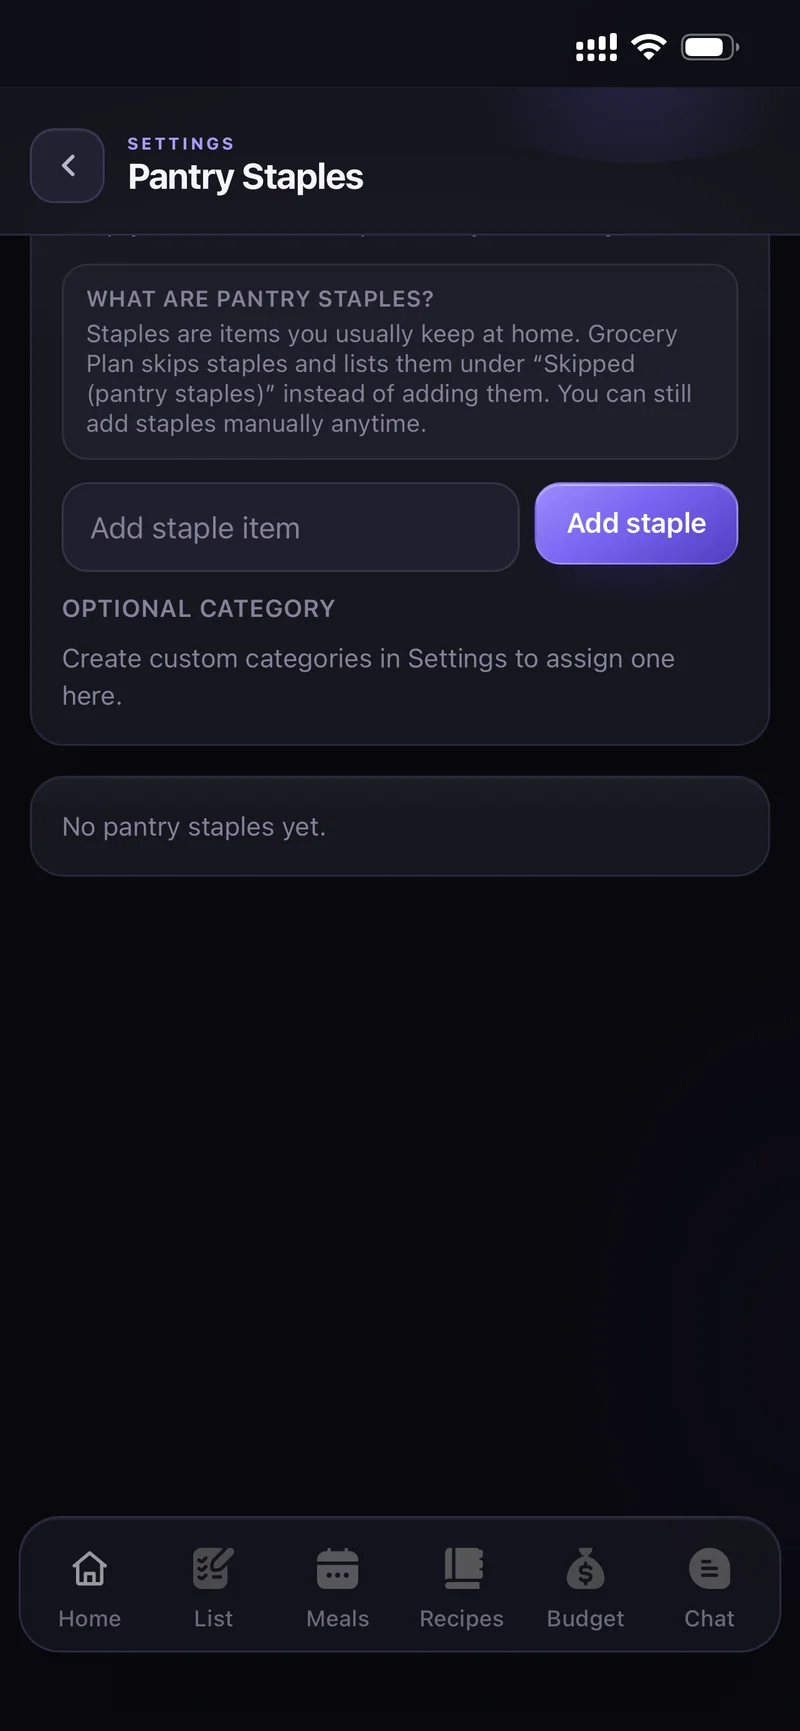
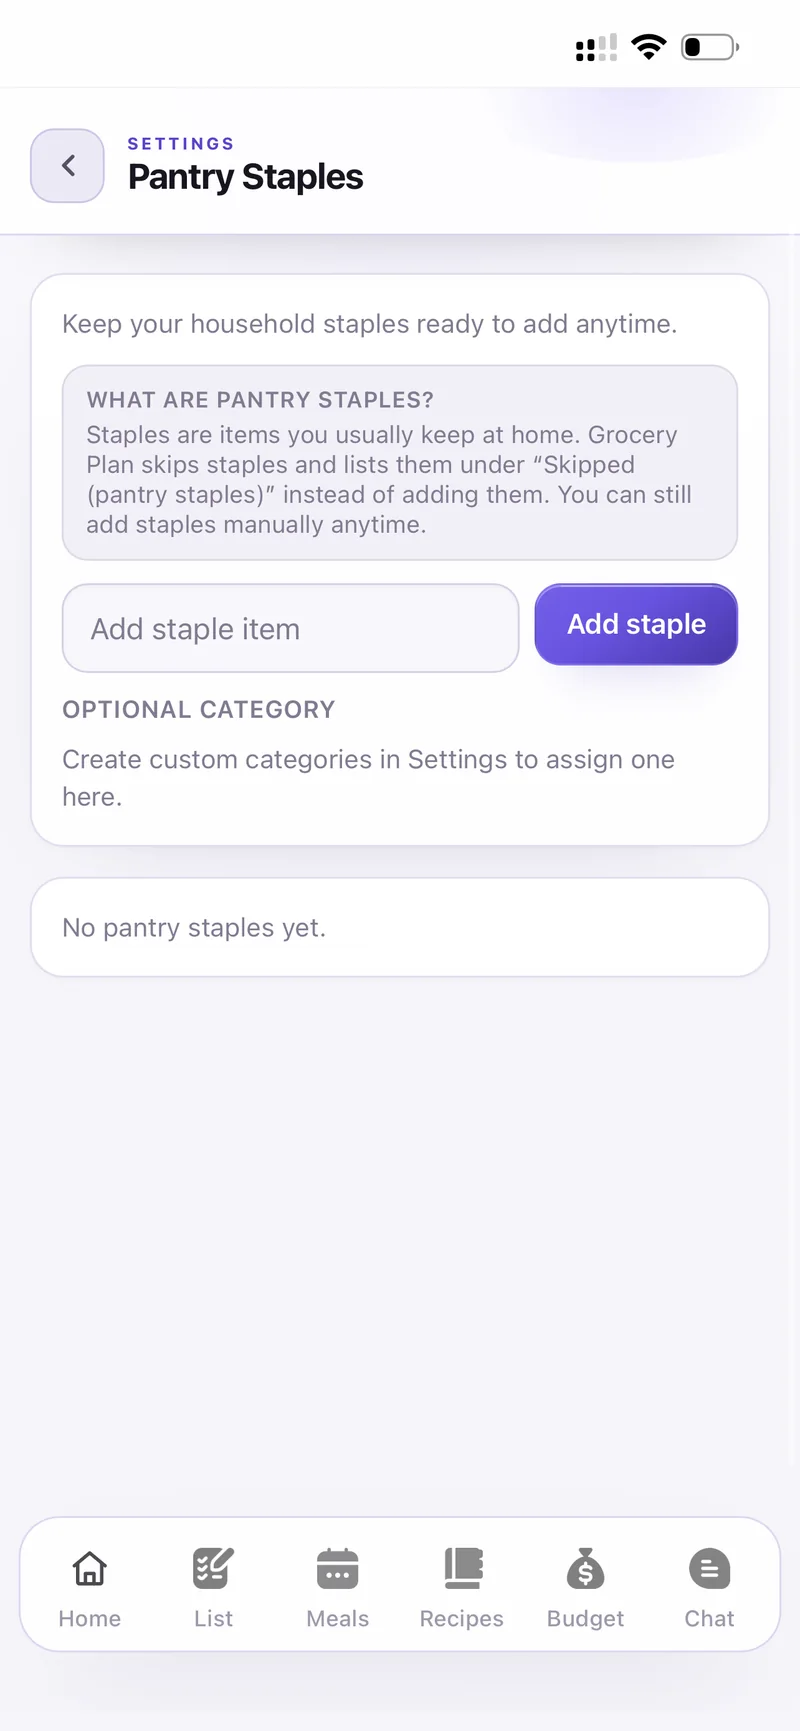
Pantry Staples
Custom categories — add your own category name and it appears in Add item and in the grouping on the list.
Pantry Staples — save the items you always keep at home. Auto-plan lists them under "Skipped (pantry staples)" instead of adding them again, so your list stays short.
Chores & the home
Home is the daily view for your household. The header shows counters for List, Chores and Pets, plus quick actions — Add items, Add meal, Add chore and Chat.
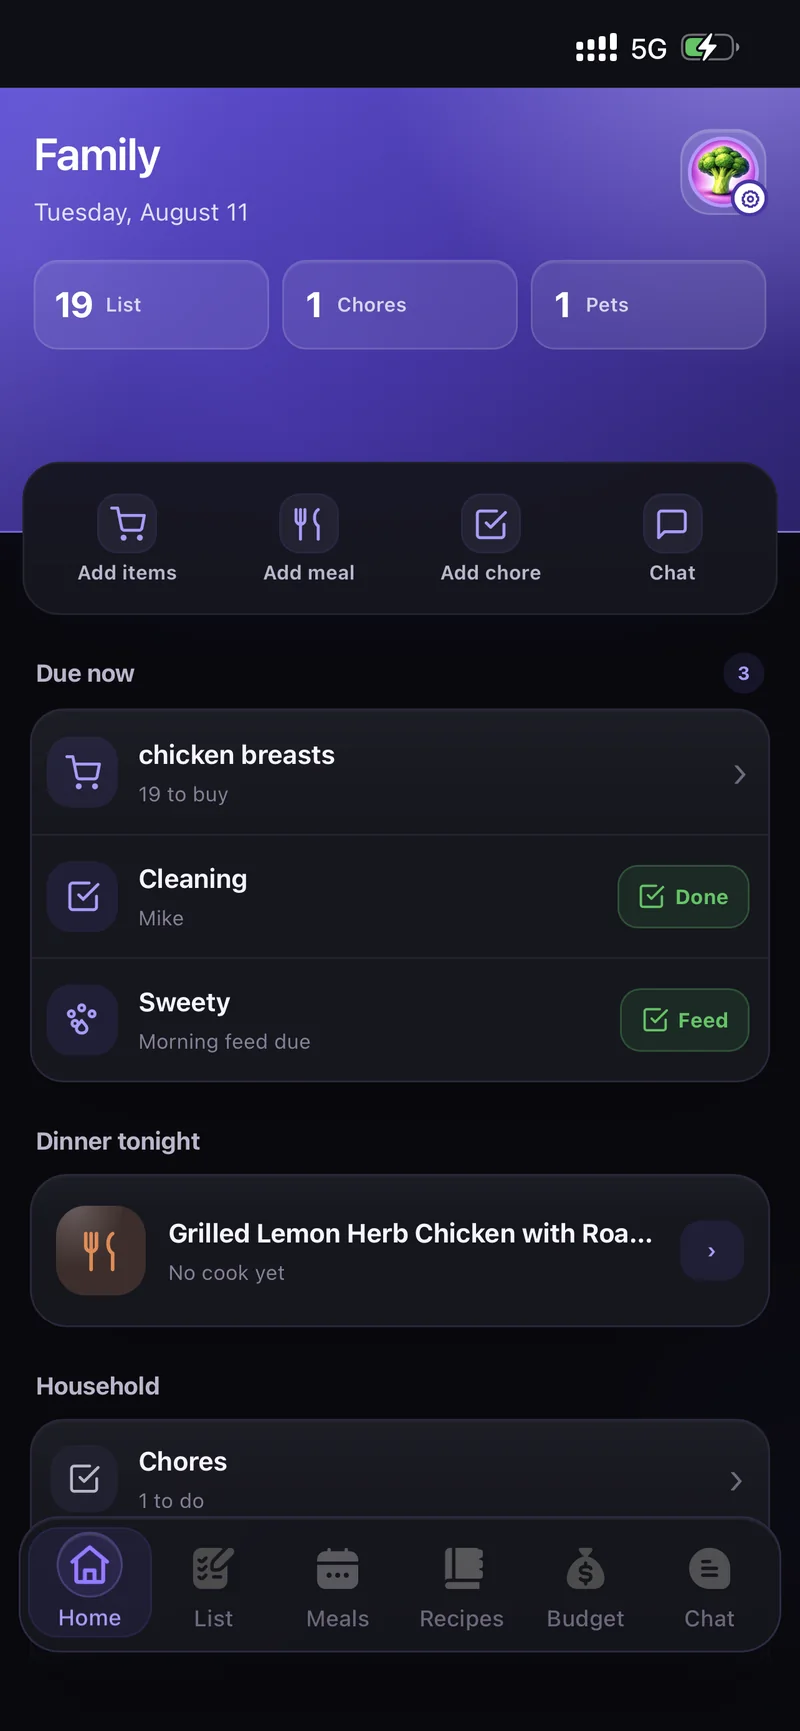
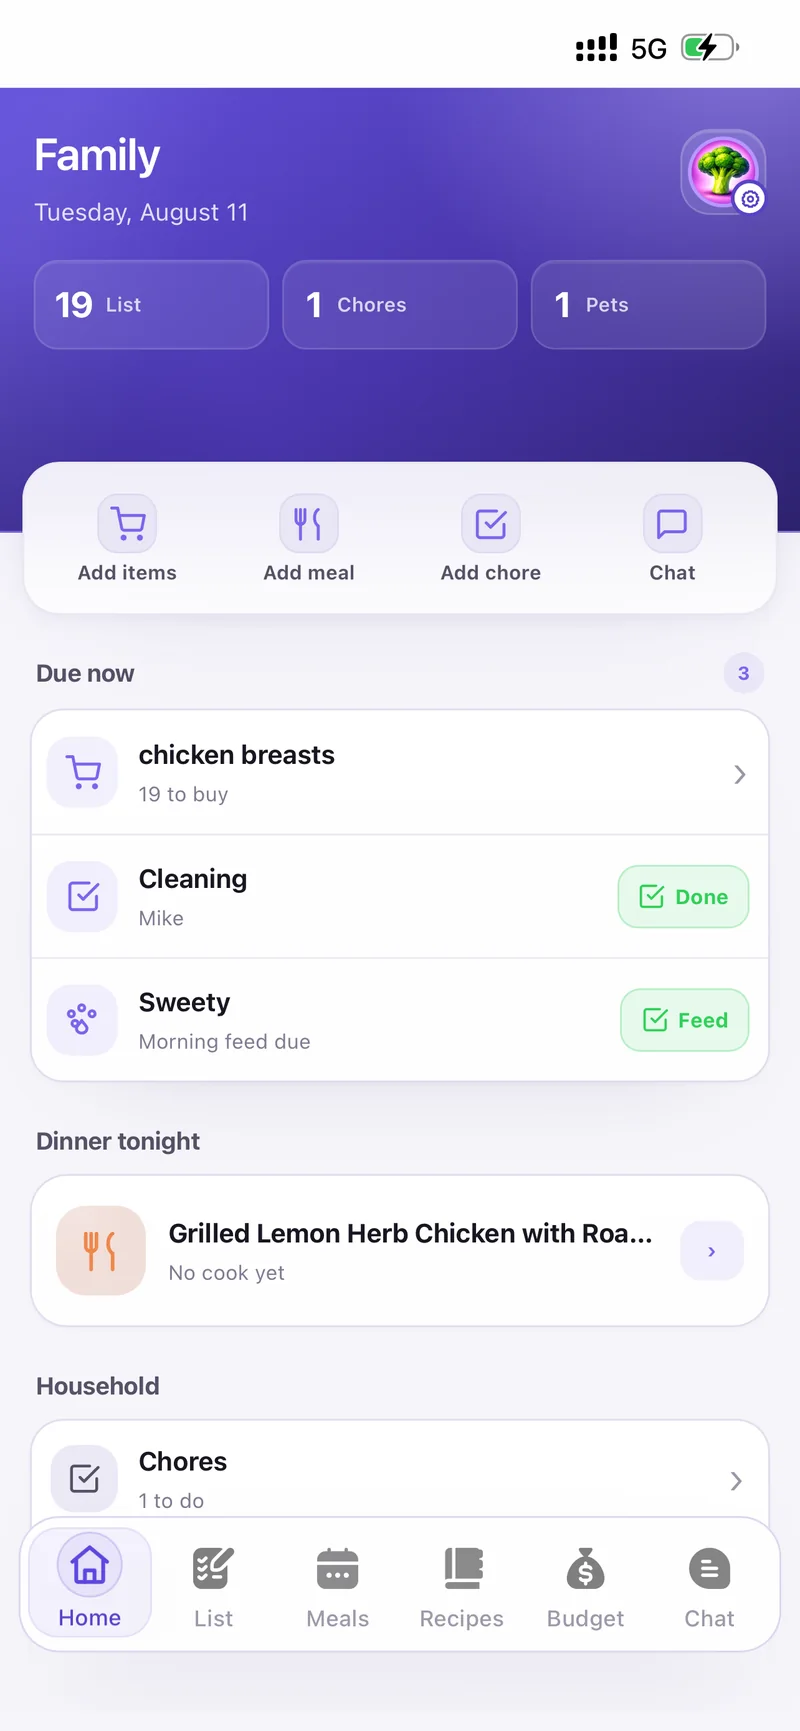
Scroll down for Due now (everything that needs doing today, with Done and Feed buttons), Dinner tonight, and the Household shortcuts to Chores, Pets and Gatherings.
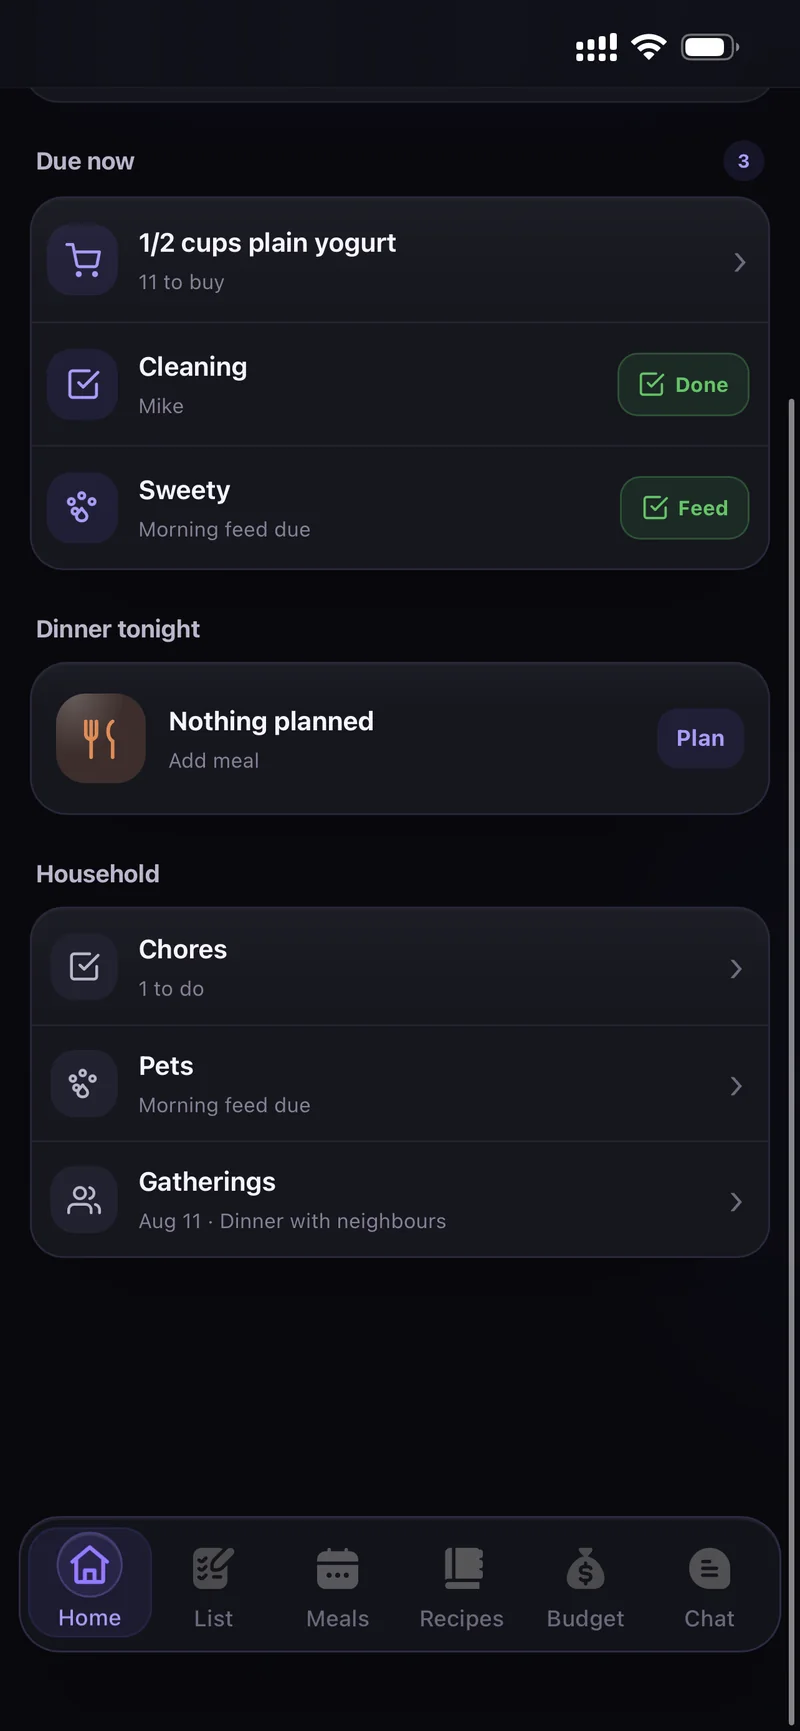
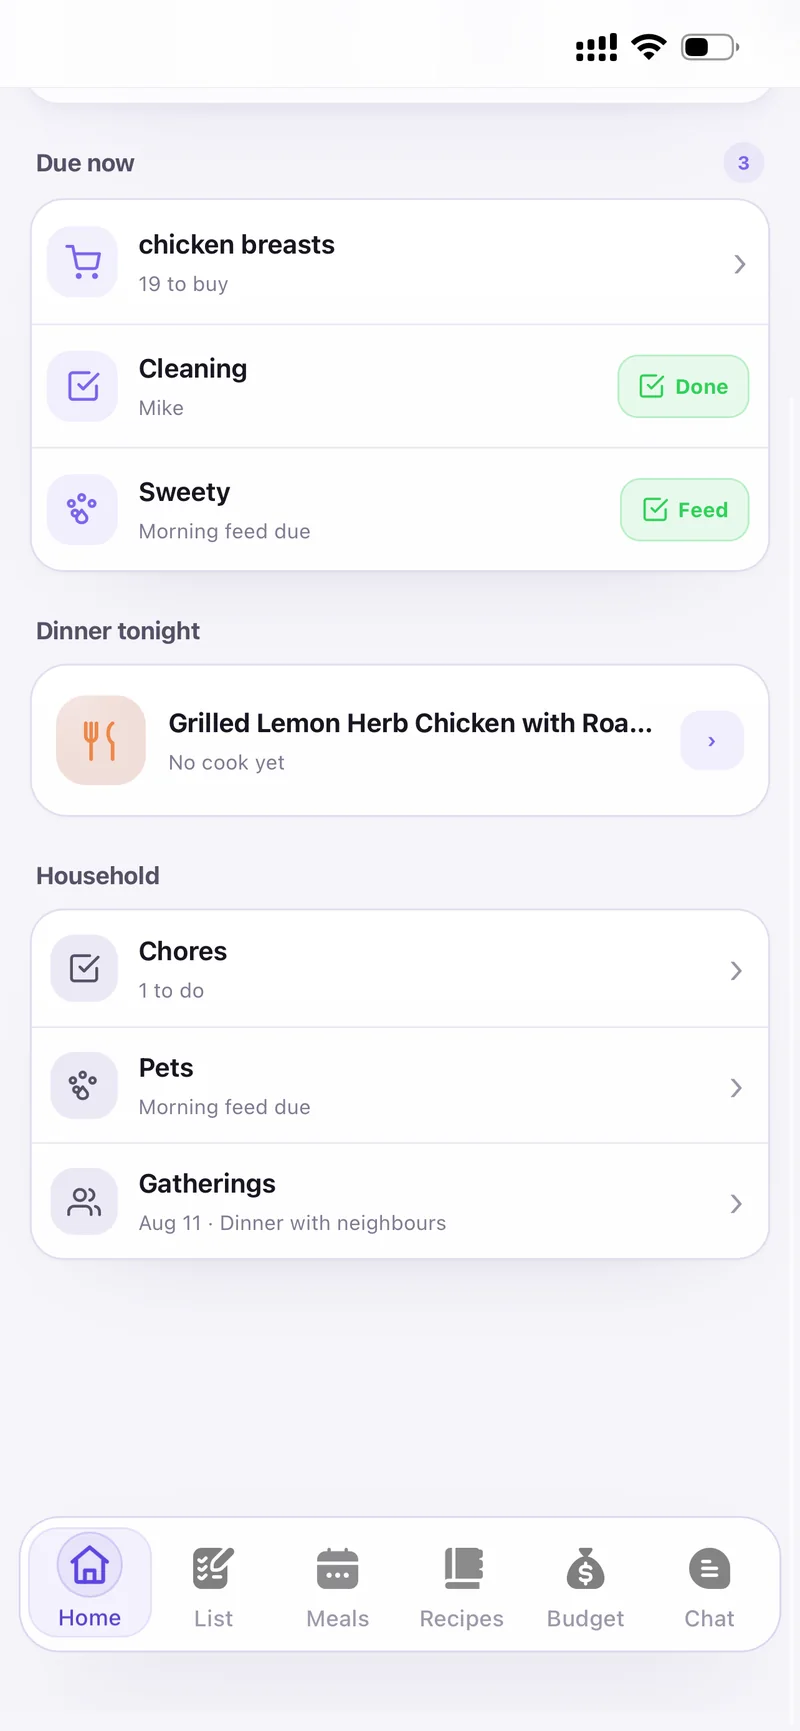
Due now · Dinner tonight · Household
Open Chores from Home and tap Add chore.
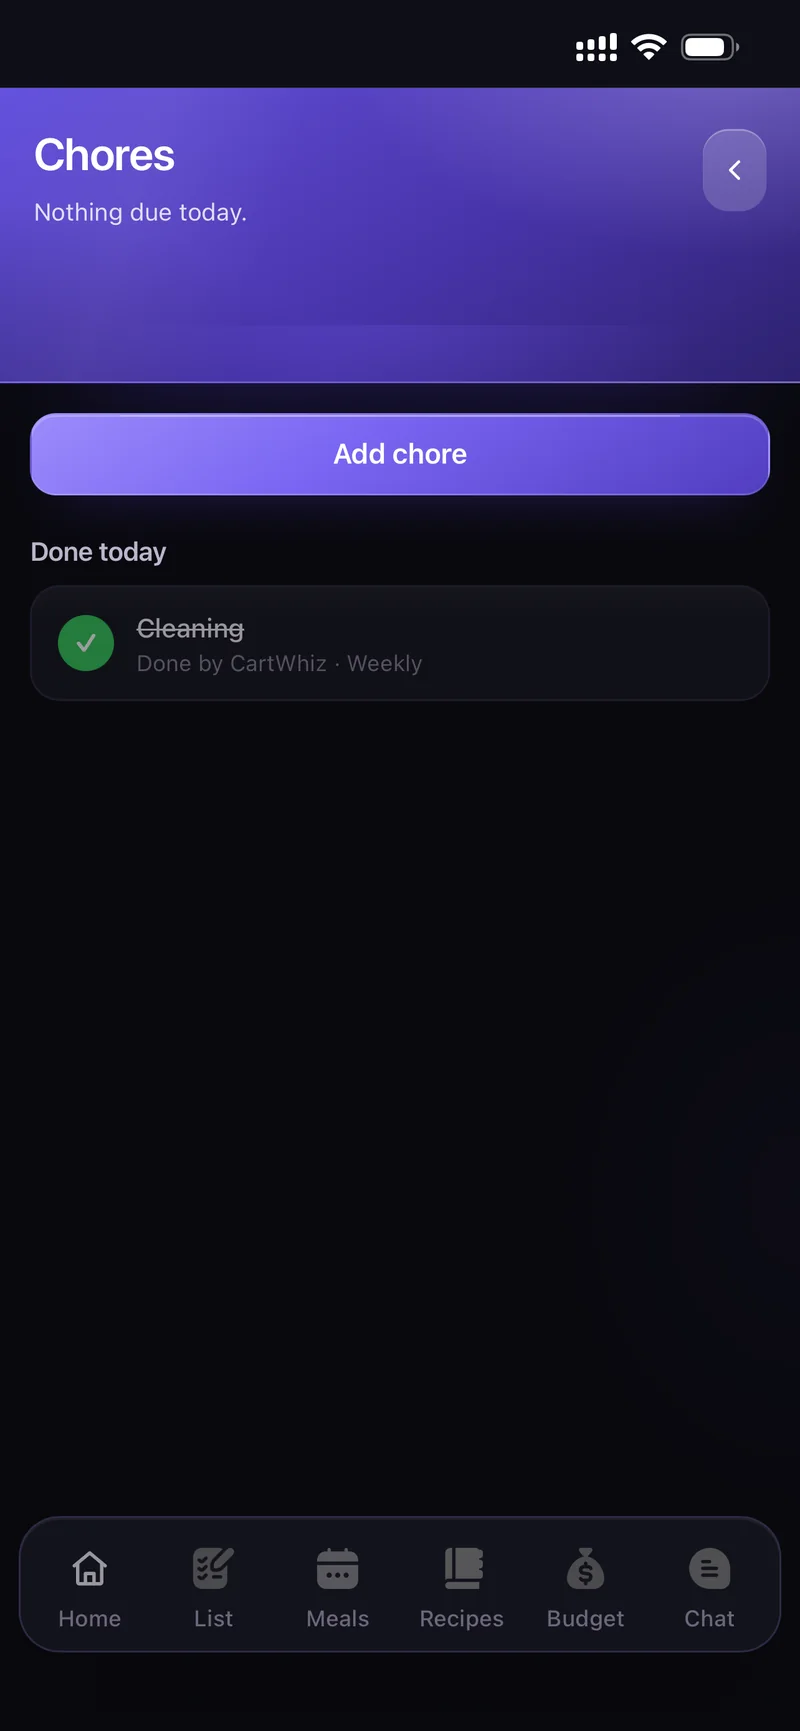
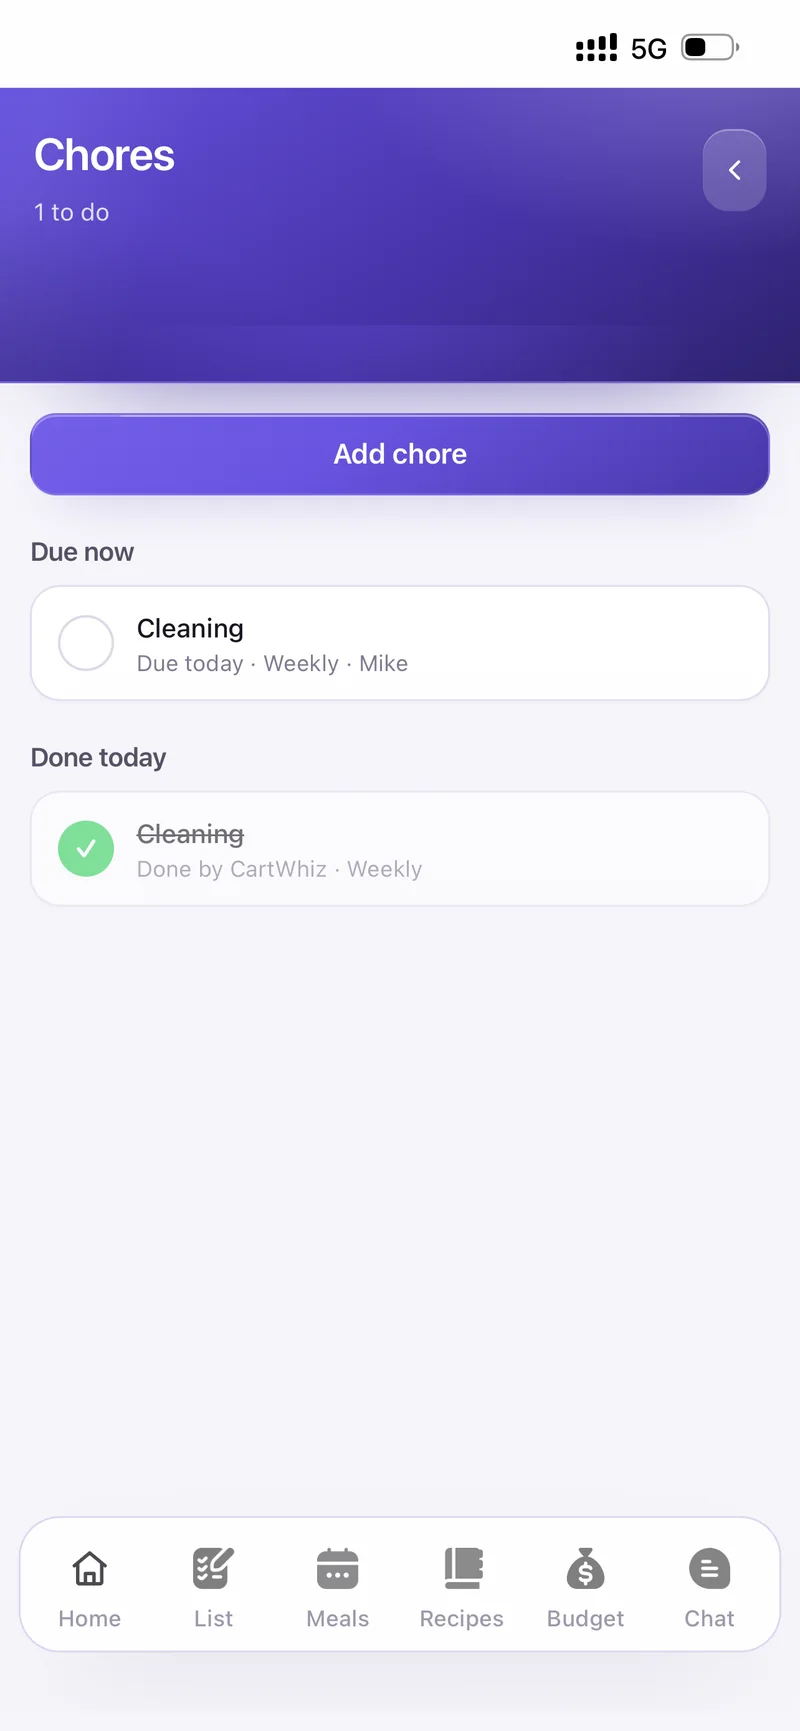
Fill in What needs doing? — bins out, bathroom, hoovering — then pick How often: Daily, Weekly, Fortnightly, Monthly or Once.
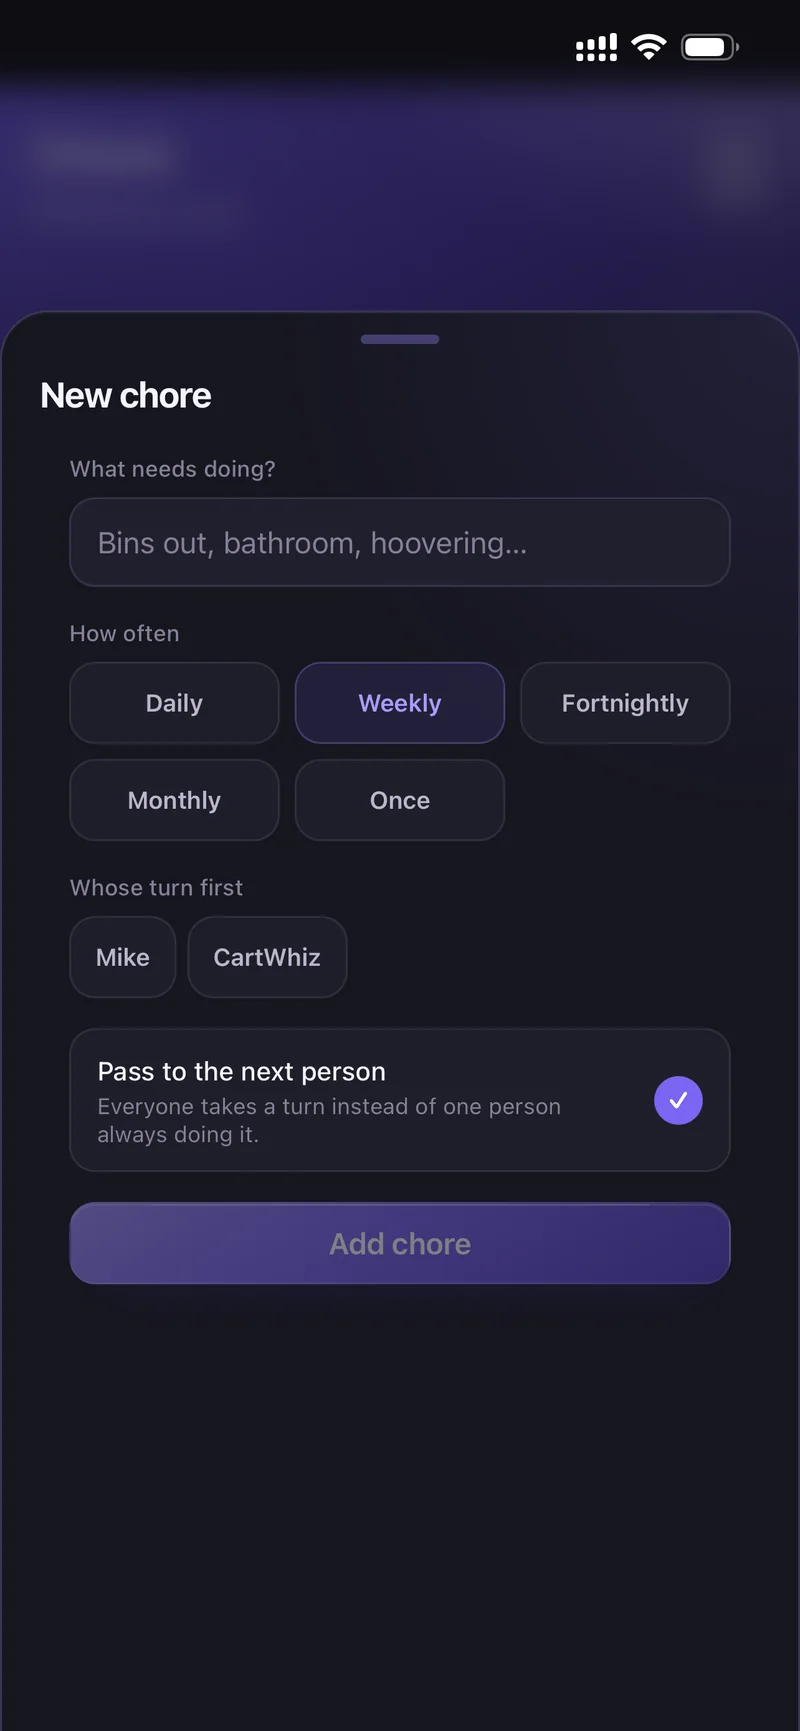
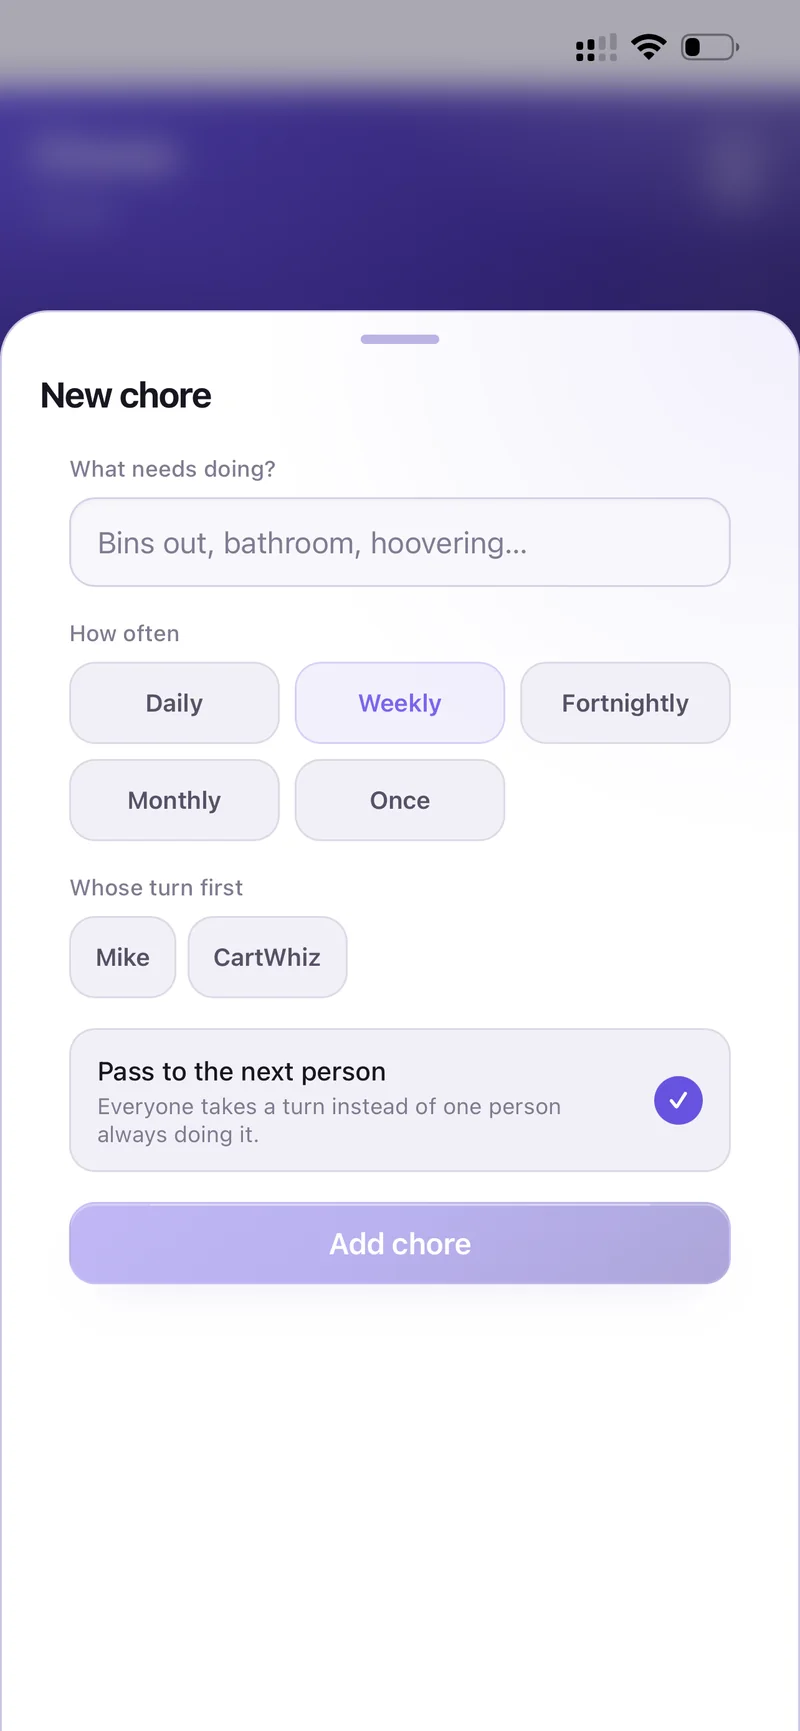
New chore — frequency, whose turn, rotation
Choose Whose turn first, and leave Pass to the next person on so everyone takes a turn instead of one person always doing it.
Finished chores move to Done today with who did them.
Open Pets from Home and tap Add pet.
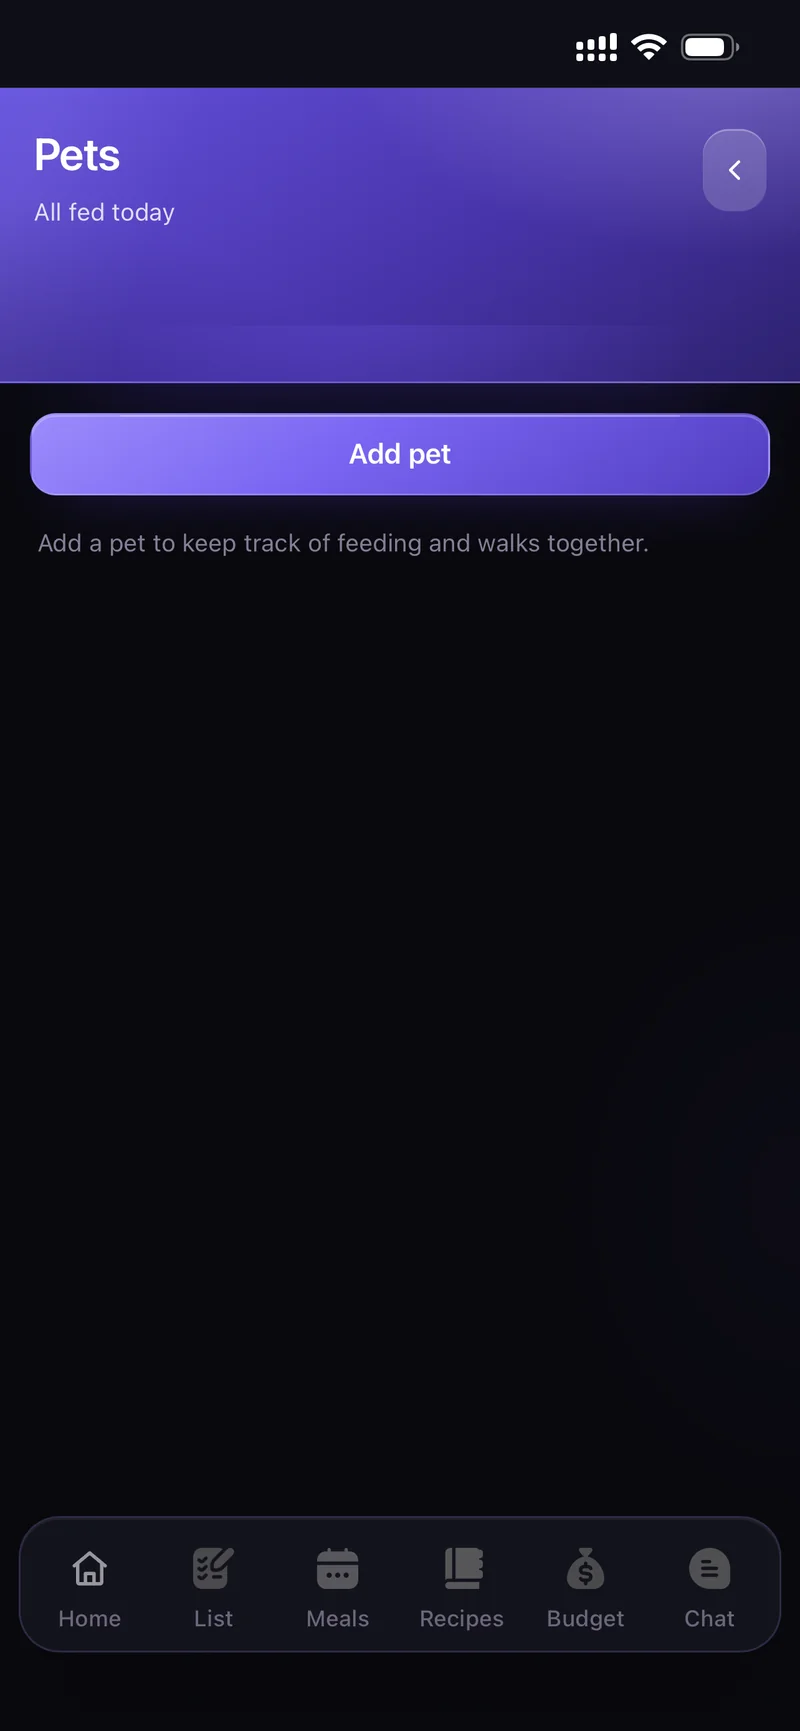
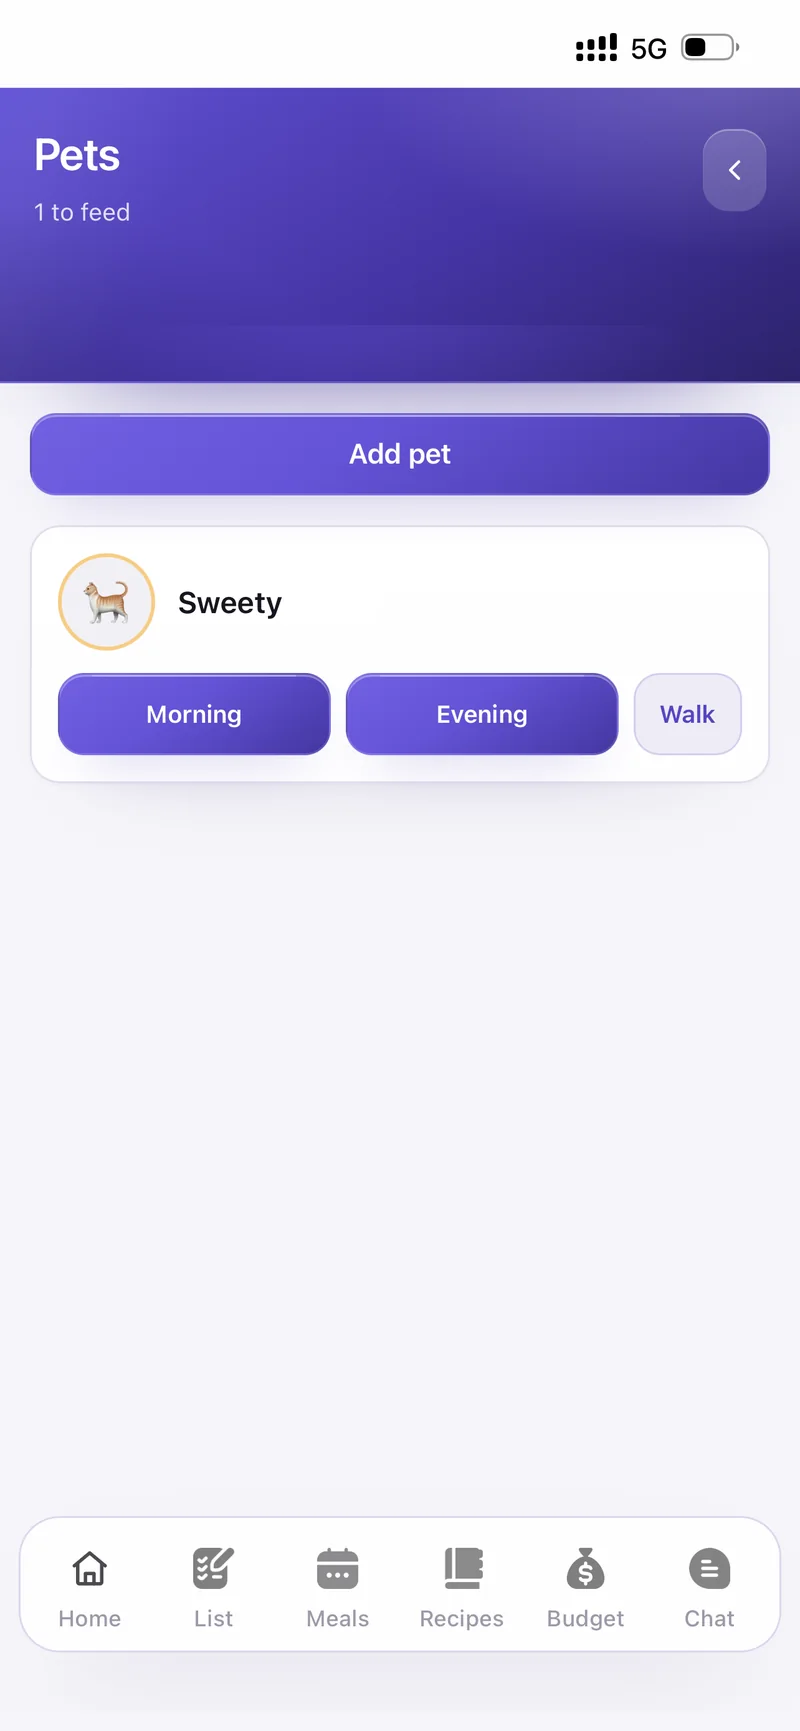
Give the name, pick the animal, choose when they are fed — Morning, Midday, Evening, Night — and optionally what they eat, breed and birthday.
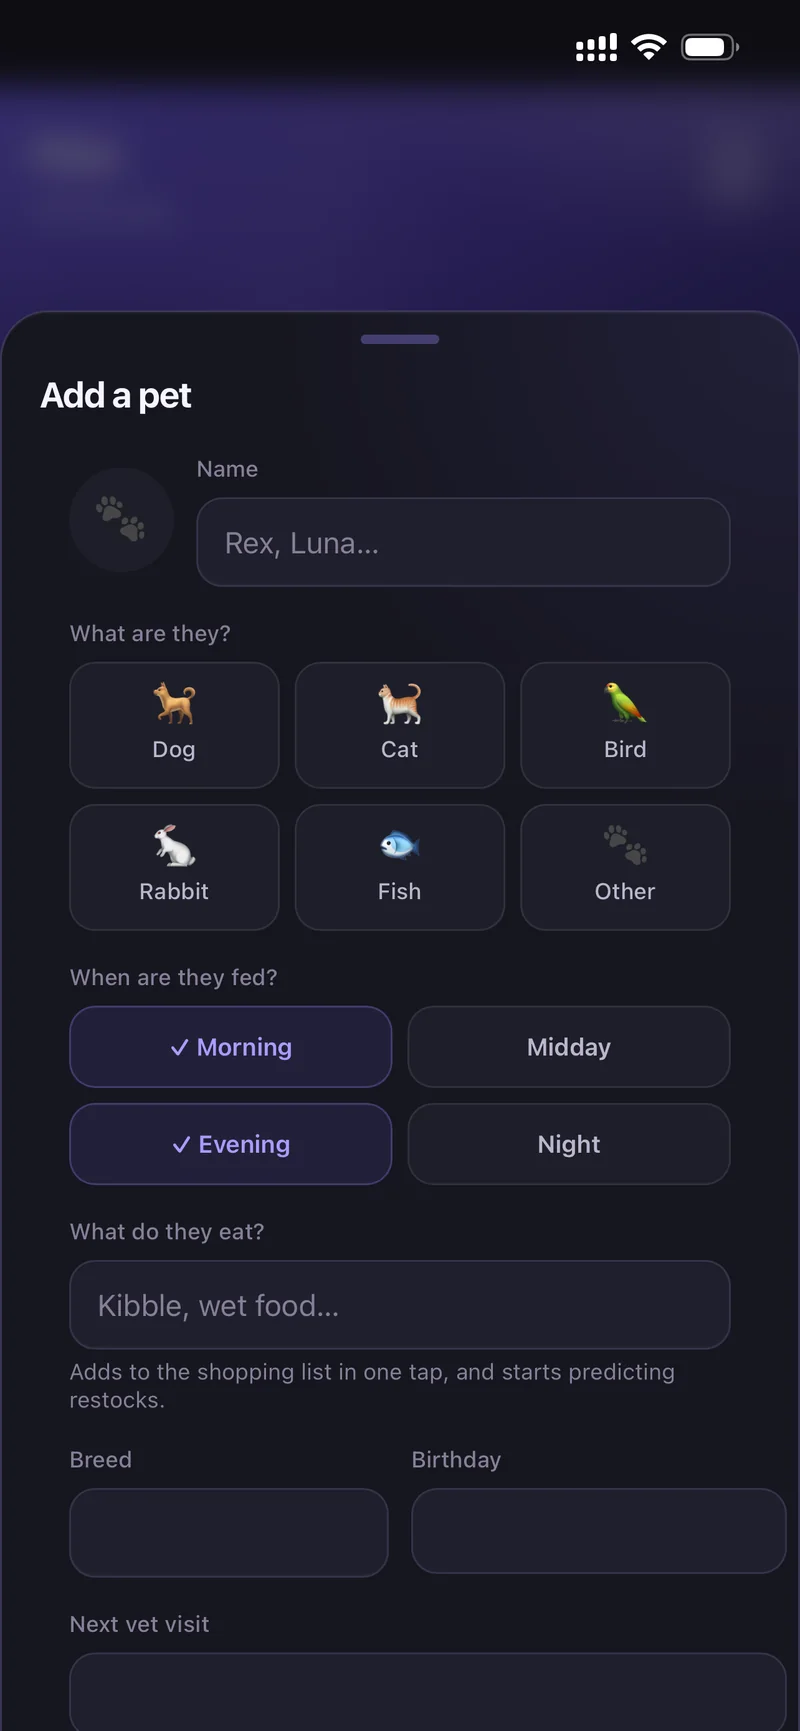
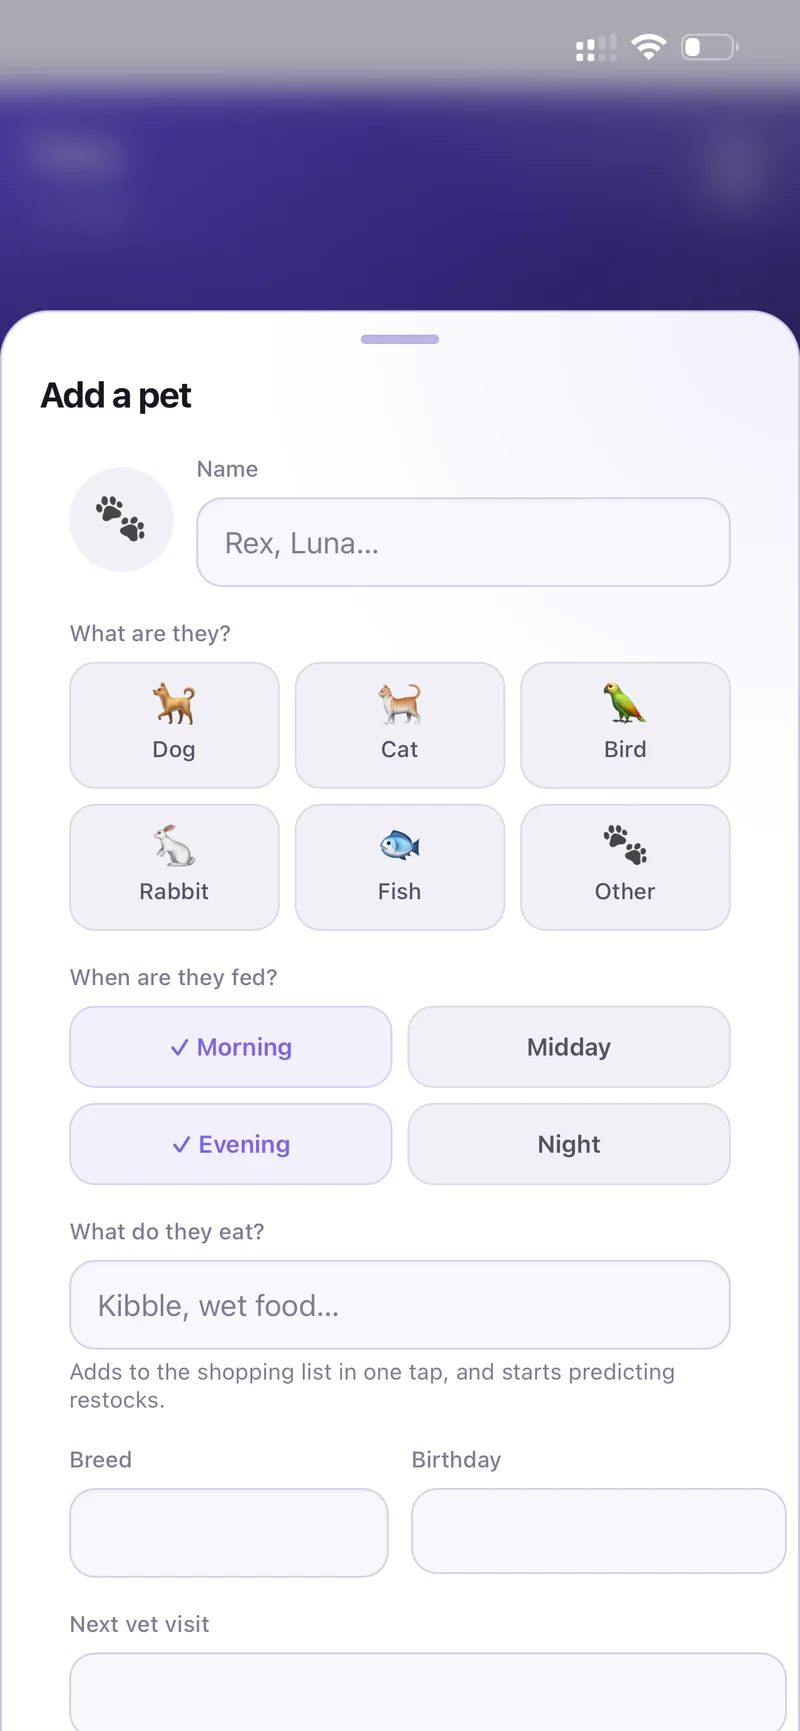
Add a pet — feeding times, food, next vet visit
Feeding then appears in Due now on Home with a Feed button, so nobody feeds the cat twice. When everything is handled the header reads All fed today.
Open Gatherings from Home and tap New gathering.
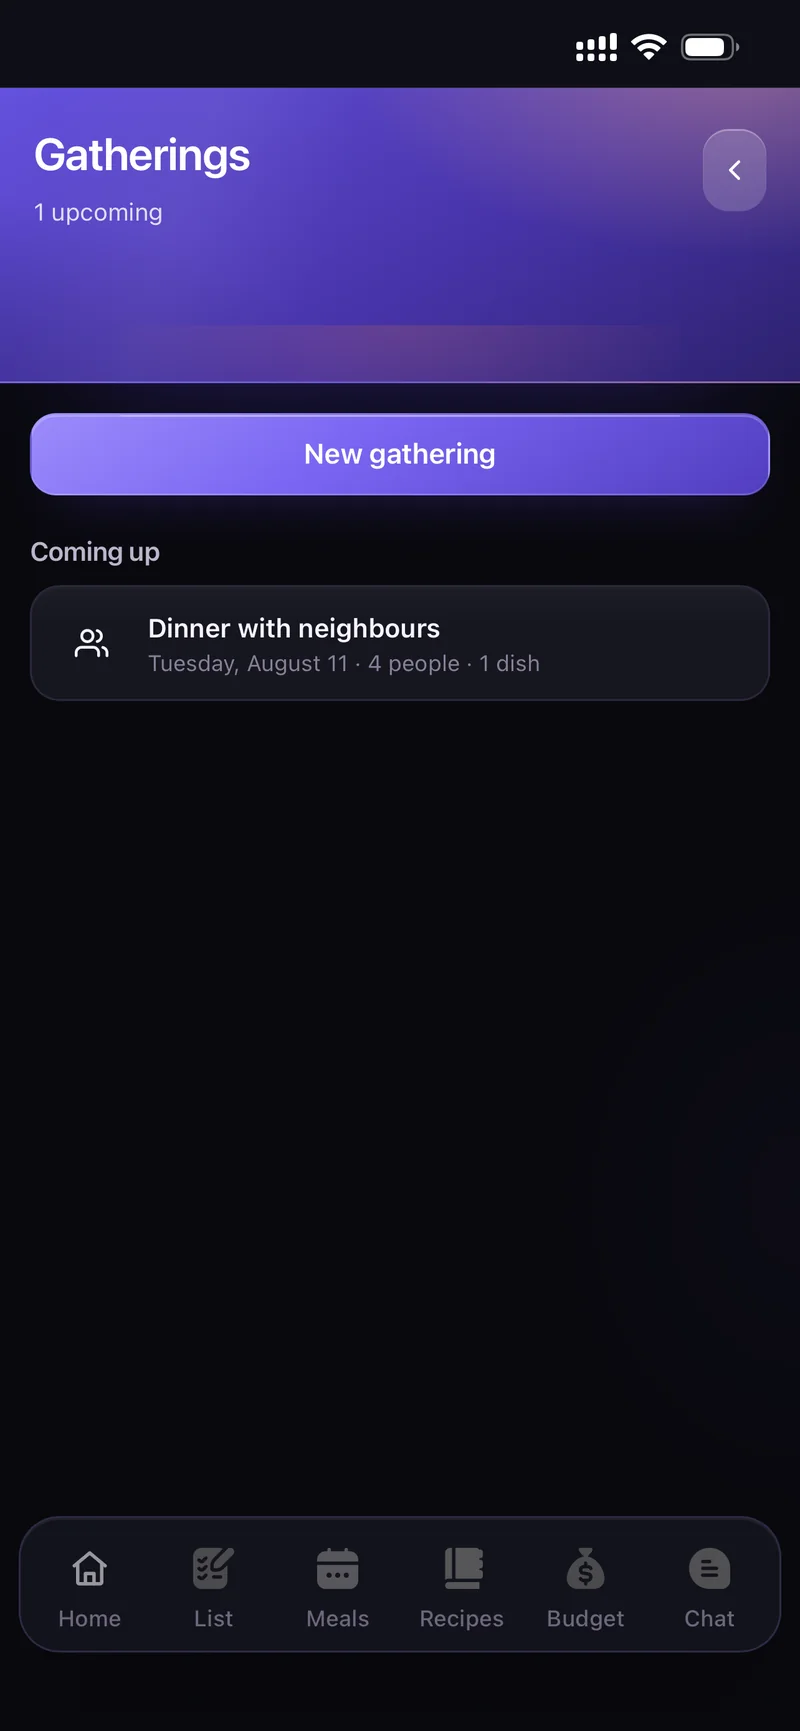
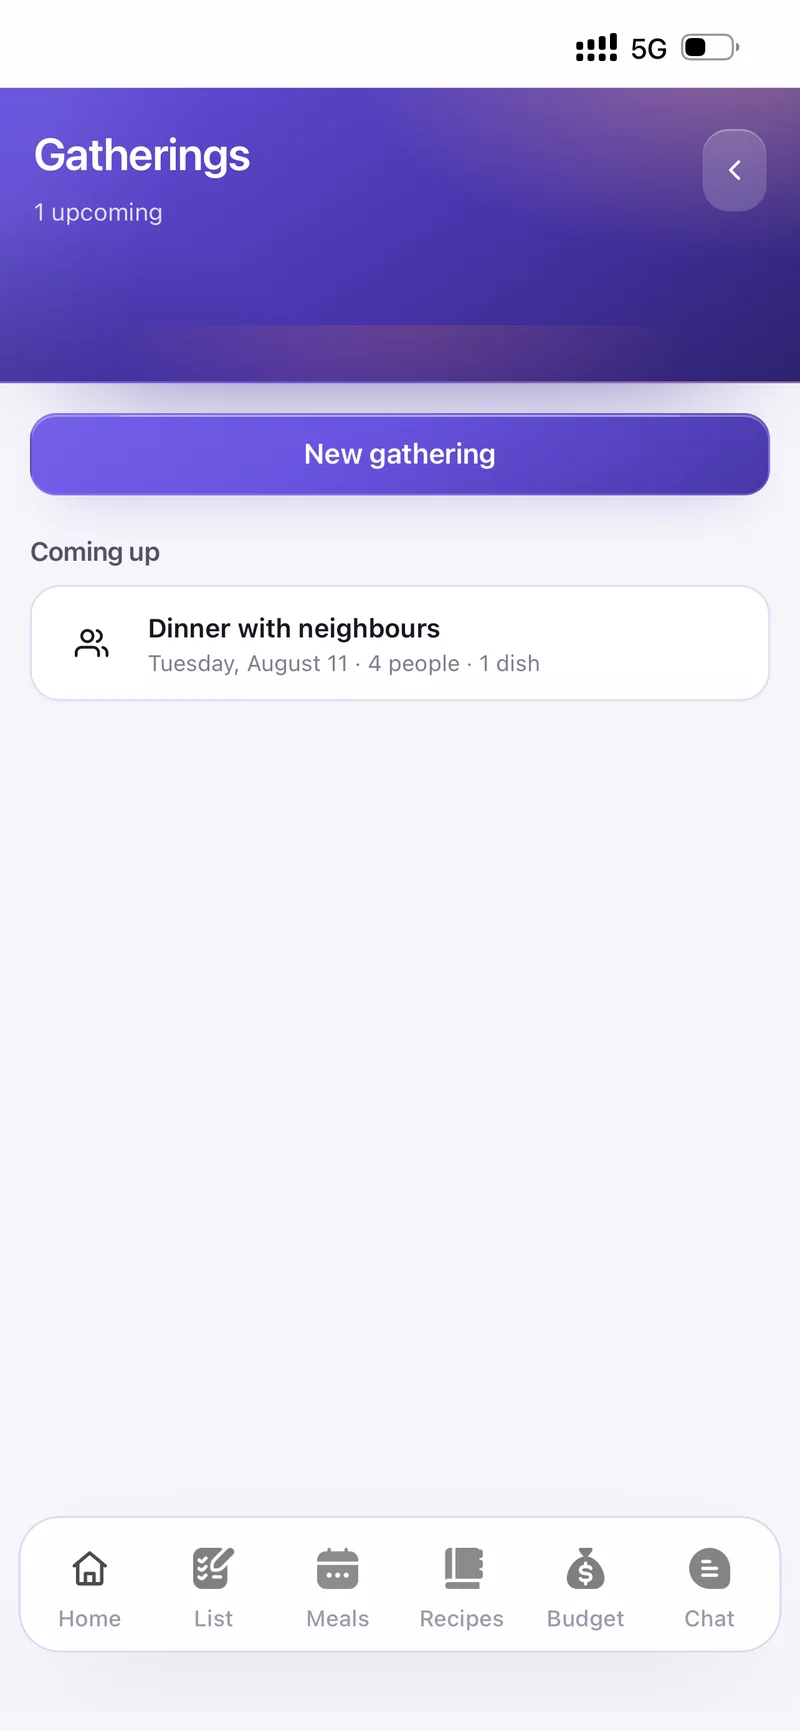
Name the occasion — dinner party, birthday — then set When and how many People. Tap Create gathering.
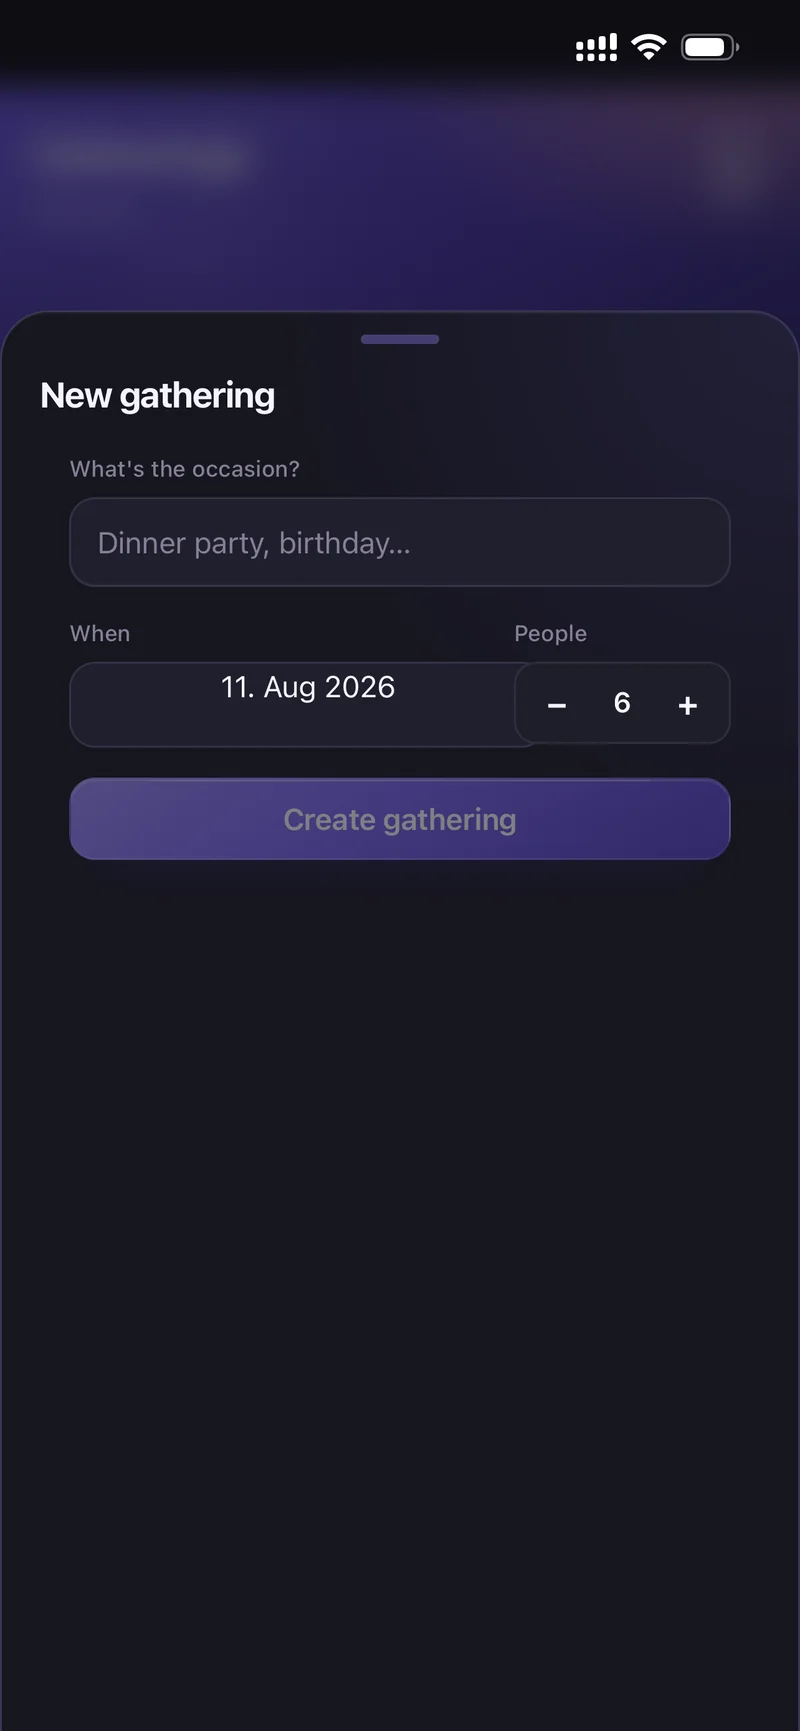
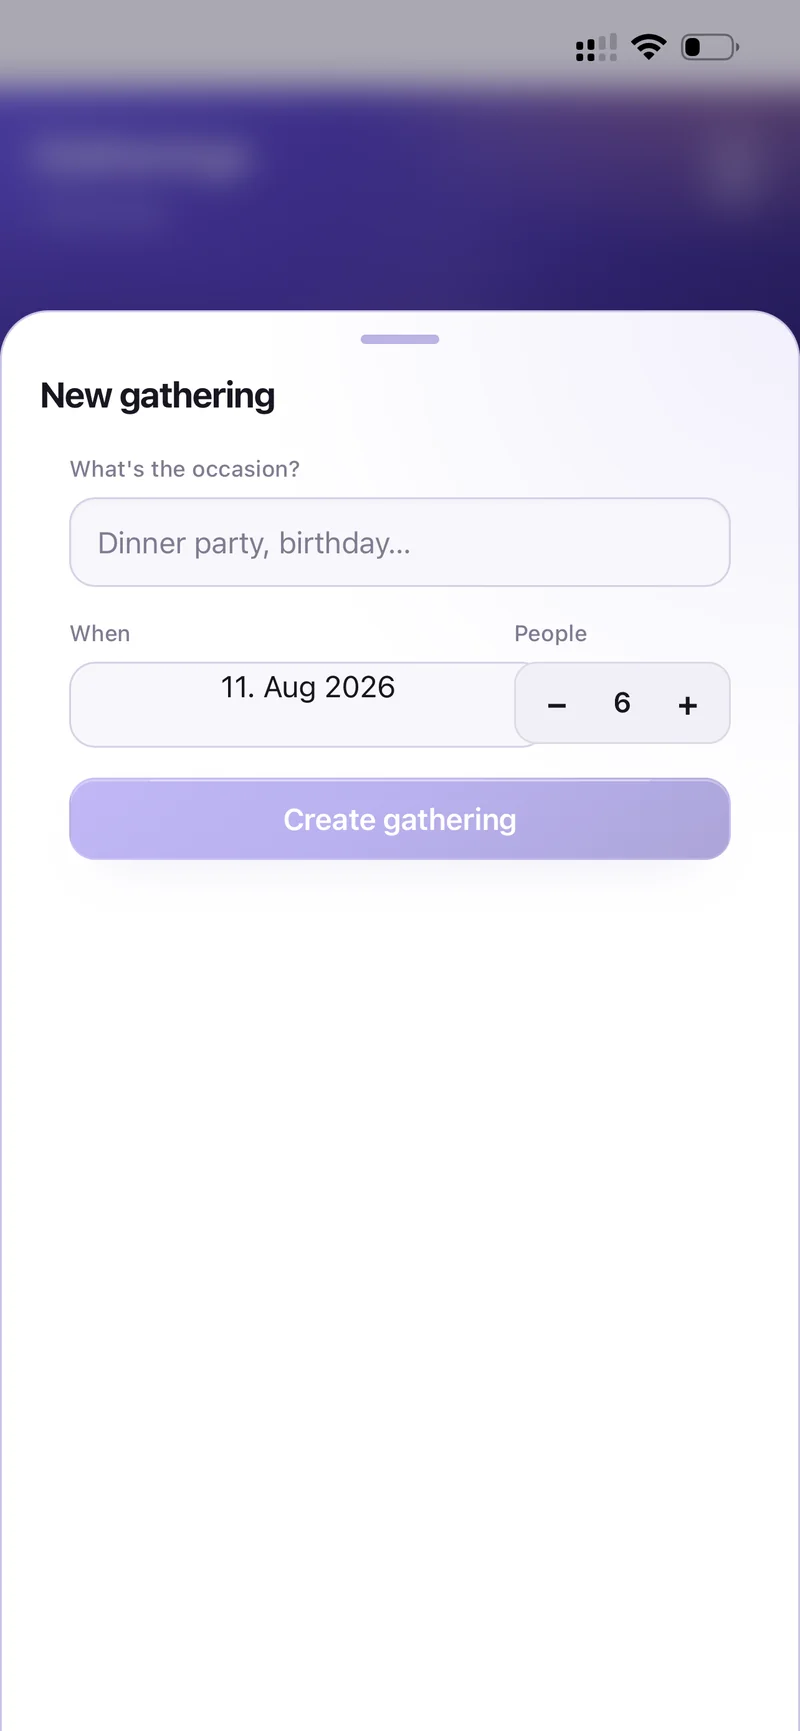
New gathering — occasion, date, headcount
Inside the gathering, Menu lets you Add a dish from your recipes — quantities scale to the headcount. Guests tracks who is coming and Reminders nudges you before the day.
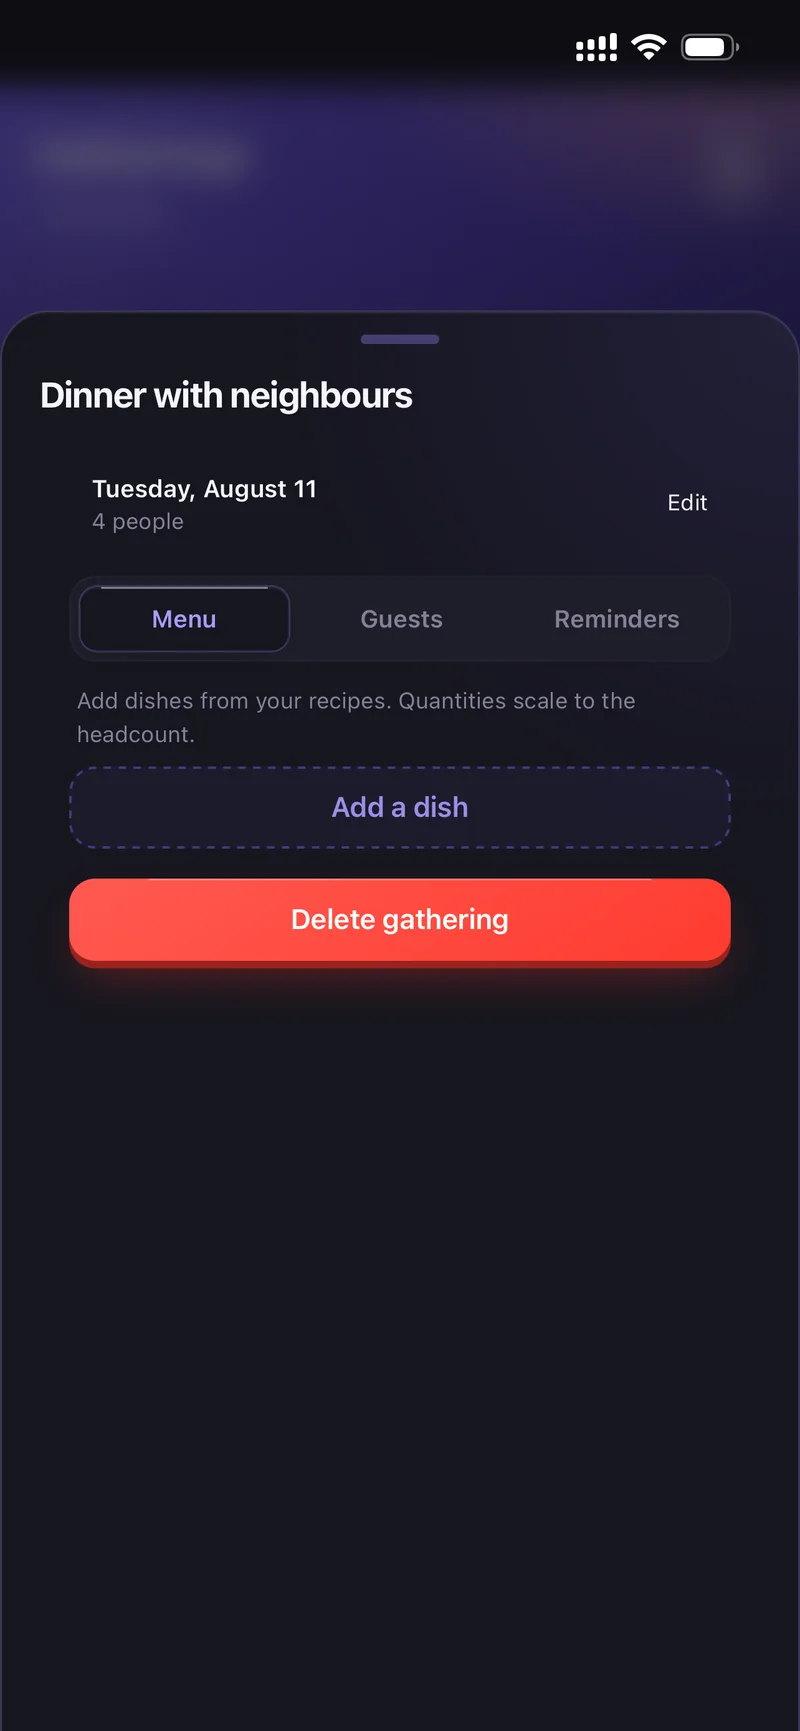
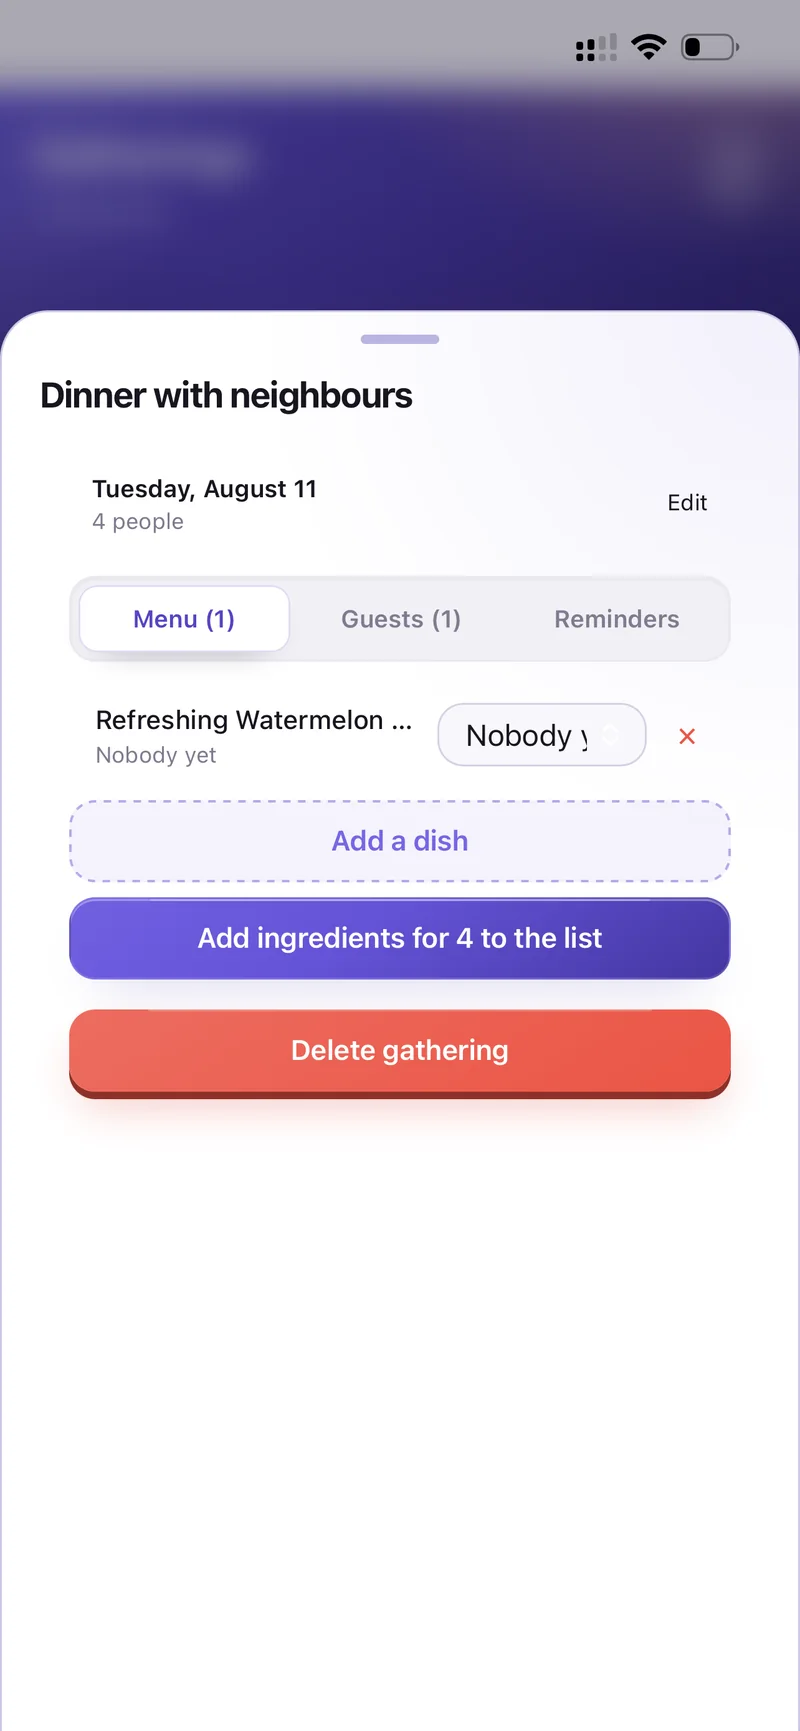
Menu · Guests · Reminders
Meal planning
The Meals tab opens on This Week and shows how many days are planned. Tap a day.
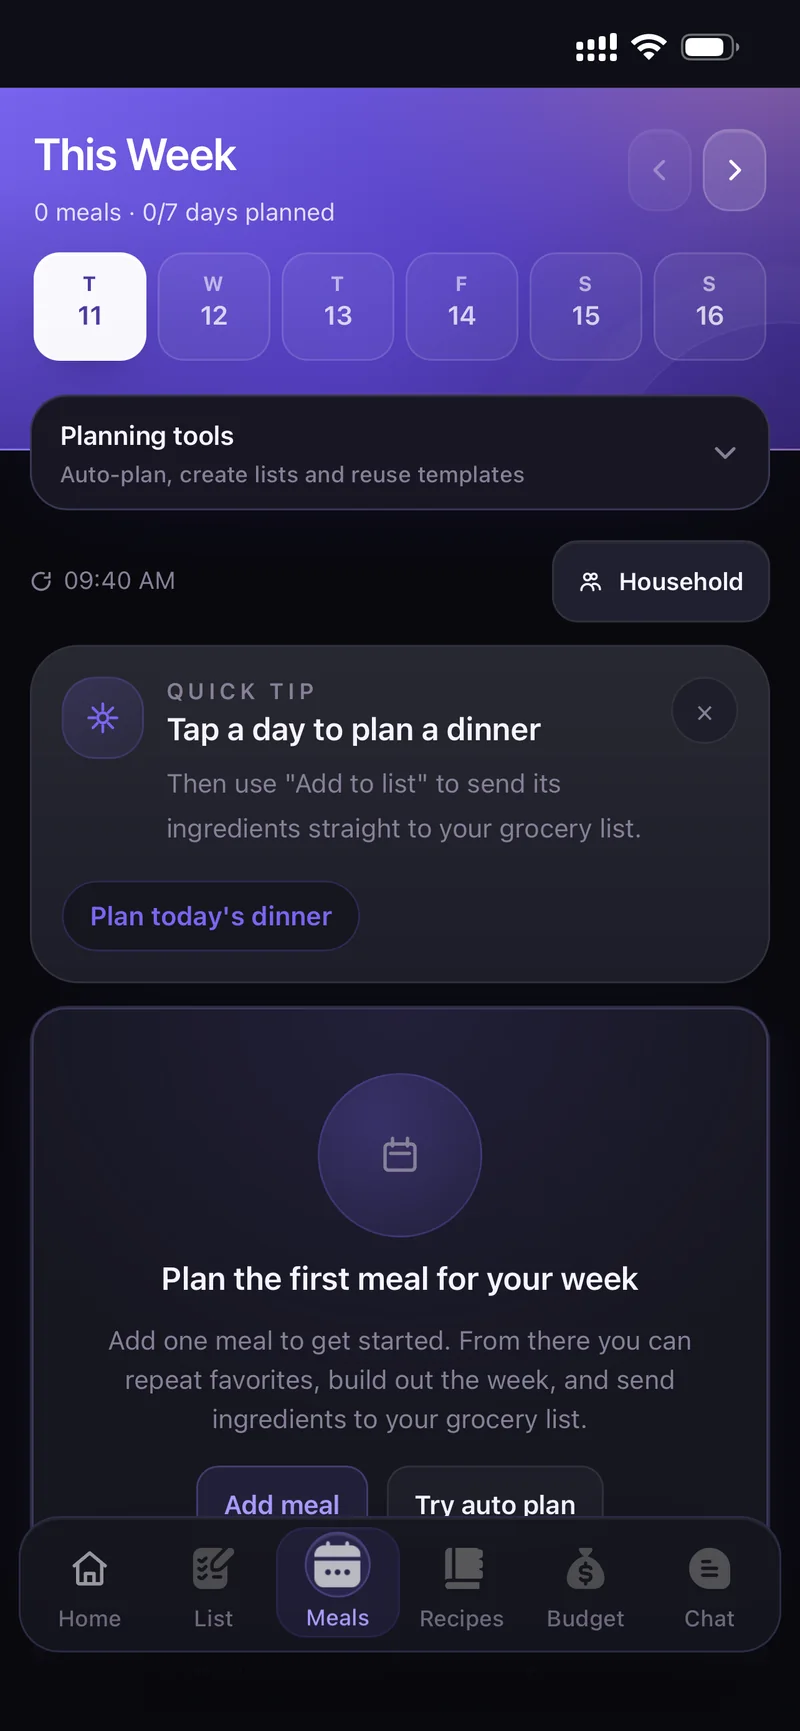
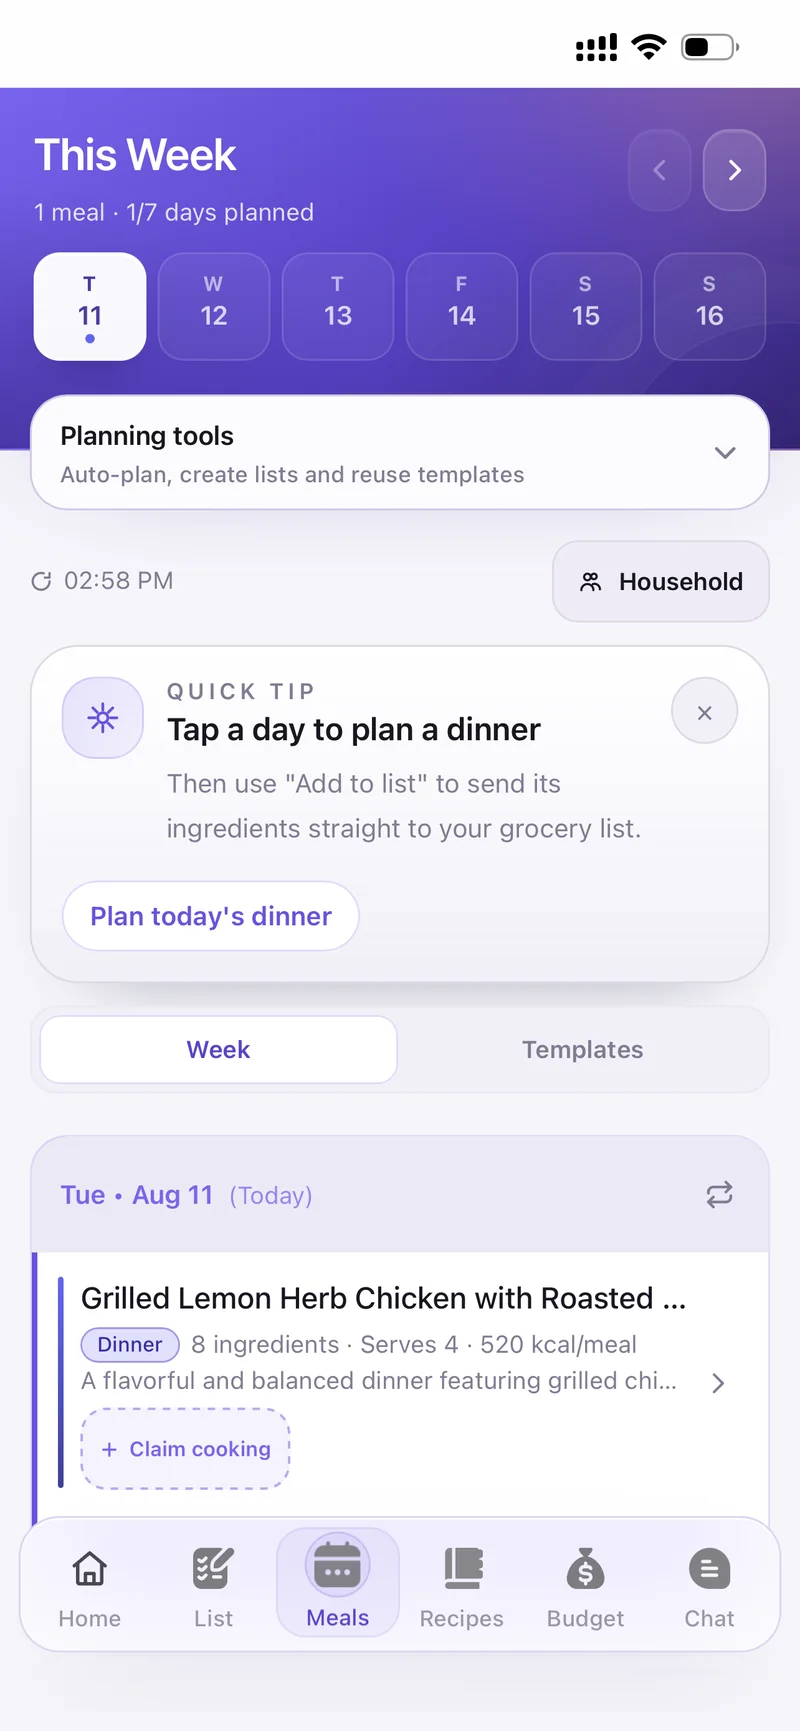
Tap Add meal, choose the meal type and pick a dish from your recipes.
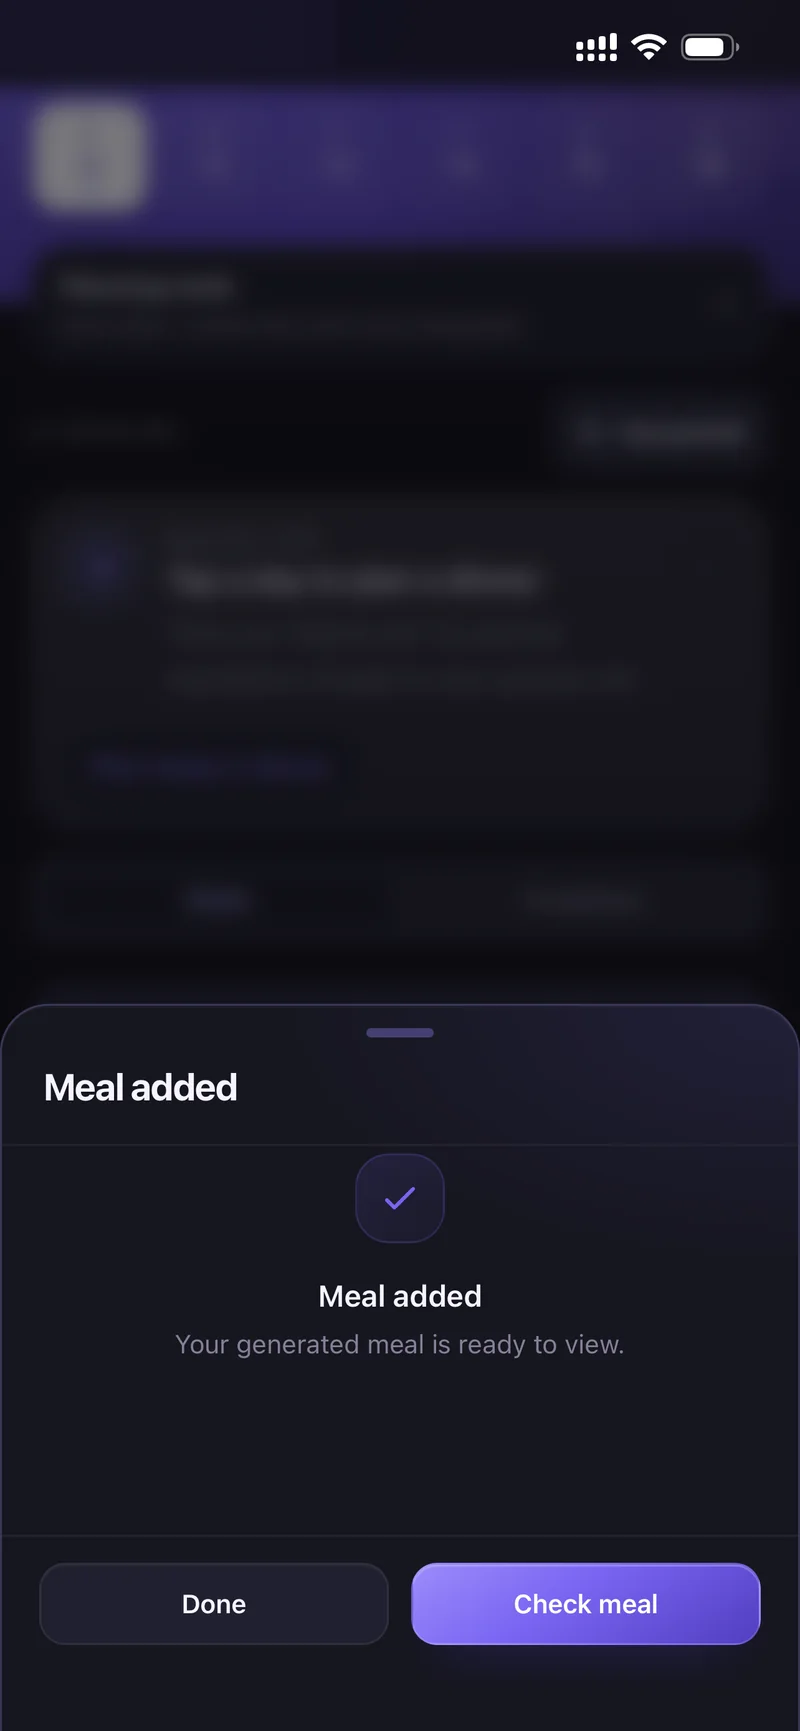
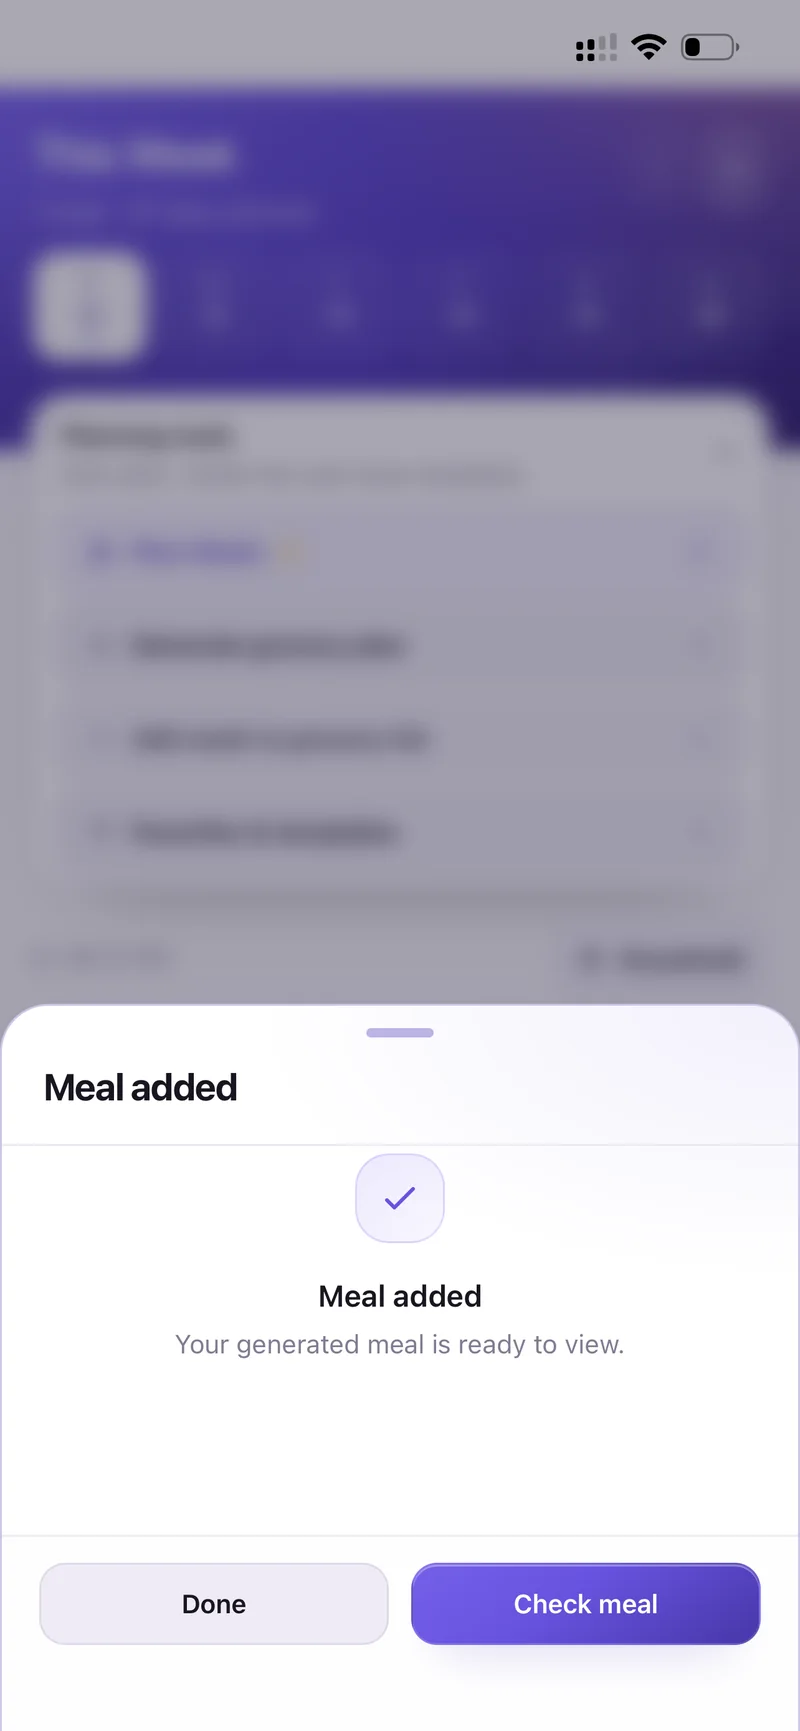
Meal added — Check meal to review it
Use Add to list on the planned meal to send its ingredients straight to your grocery list.
Open Planning tools on the Meals tab, or tap Try auto plan. Choose the day (or a range up to 14 days) and which meal types to generate.
Set your rules: Cost preference (Budget-friendly, Balanced, Premium), Calories target, Diet, Max cooking time, Cuisine or preferences and Excluded ingredients.
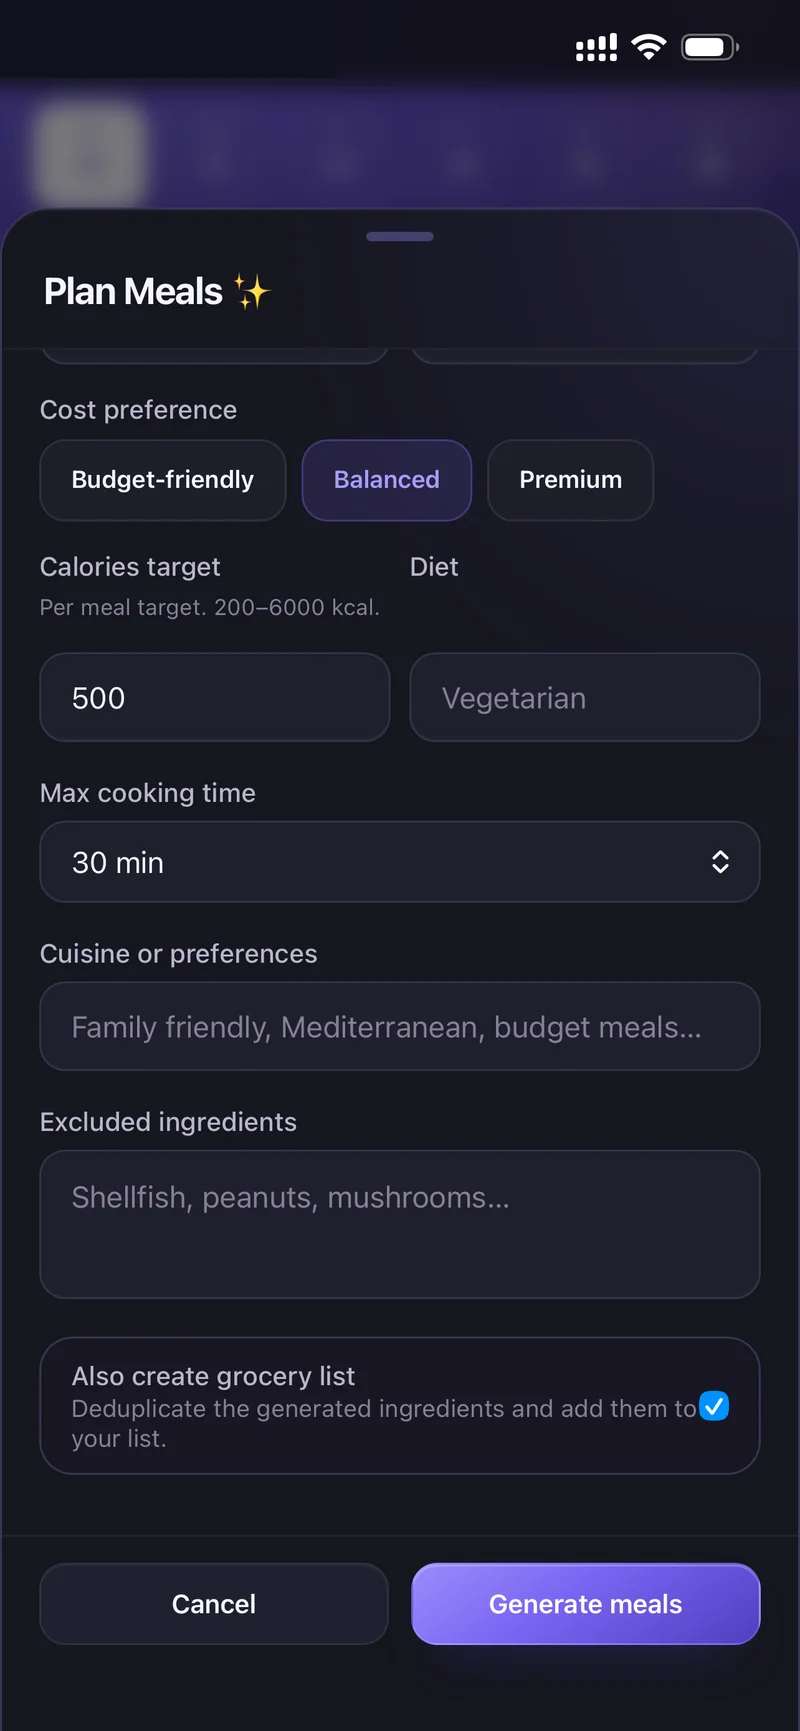
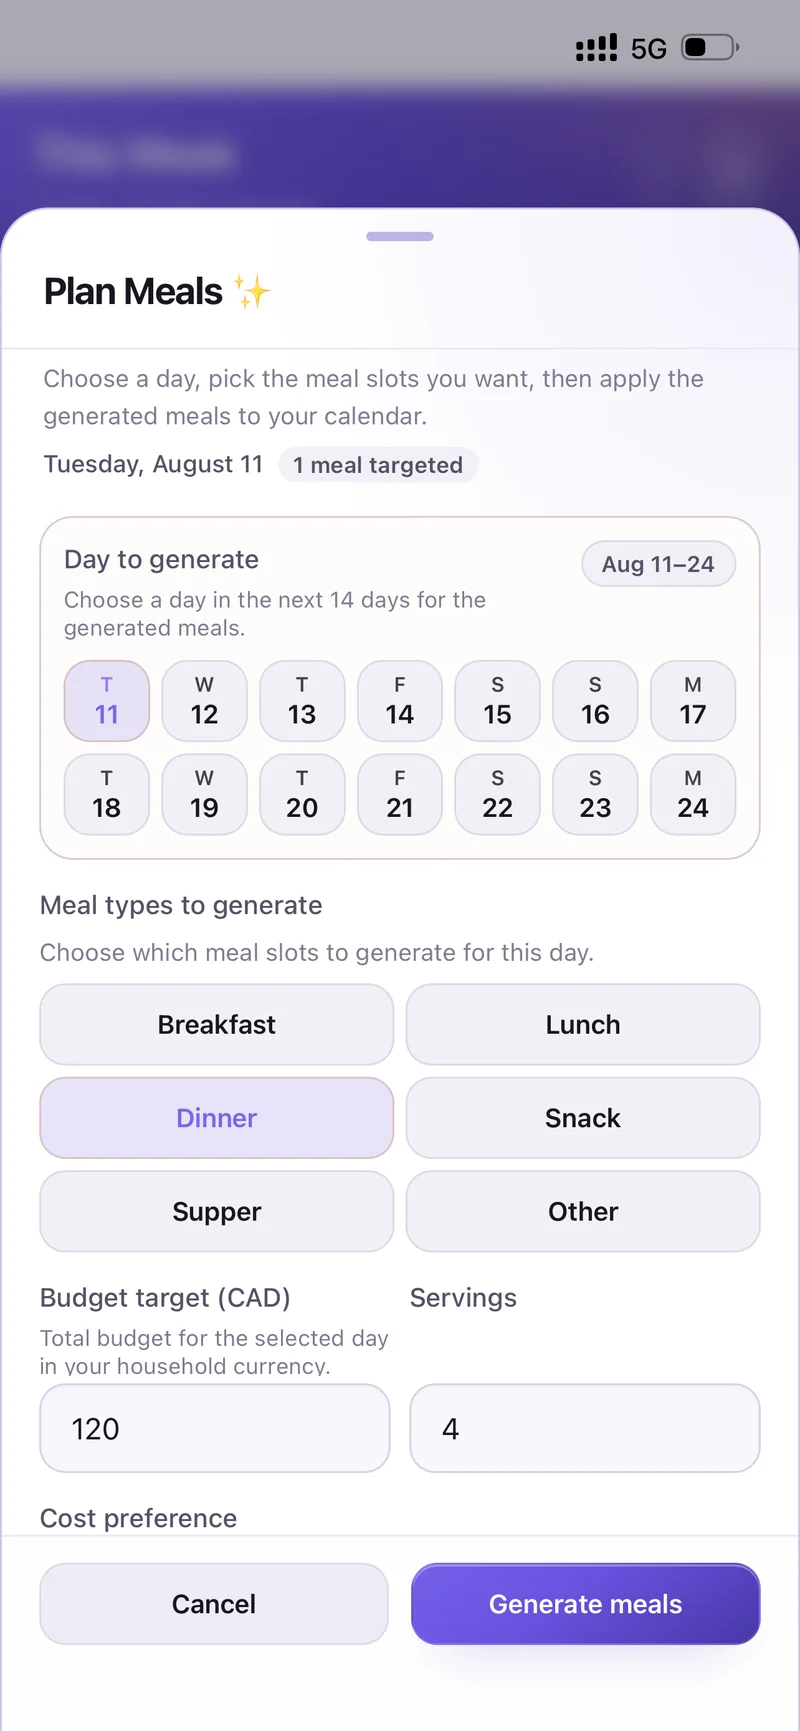
Plan Meals — all the generation options
Leave Also create grocery list ticked so the generated ingredients are deduplicated and added to your list, then tap Generate meals.
Review the preview. Regenerate if you want another take, or Apply plan to put it in your week.
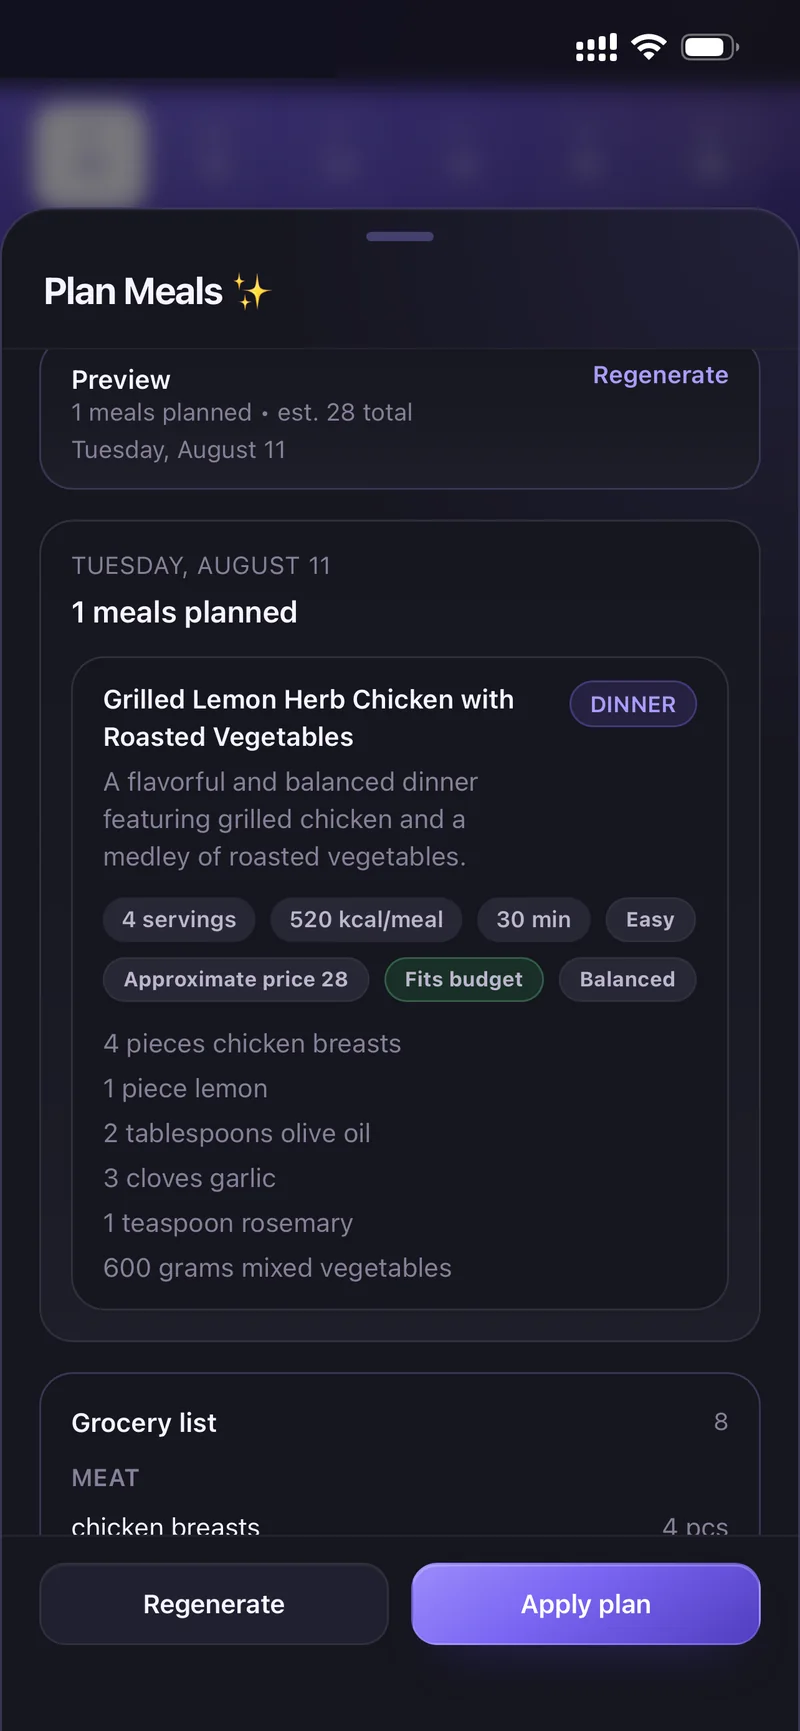
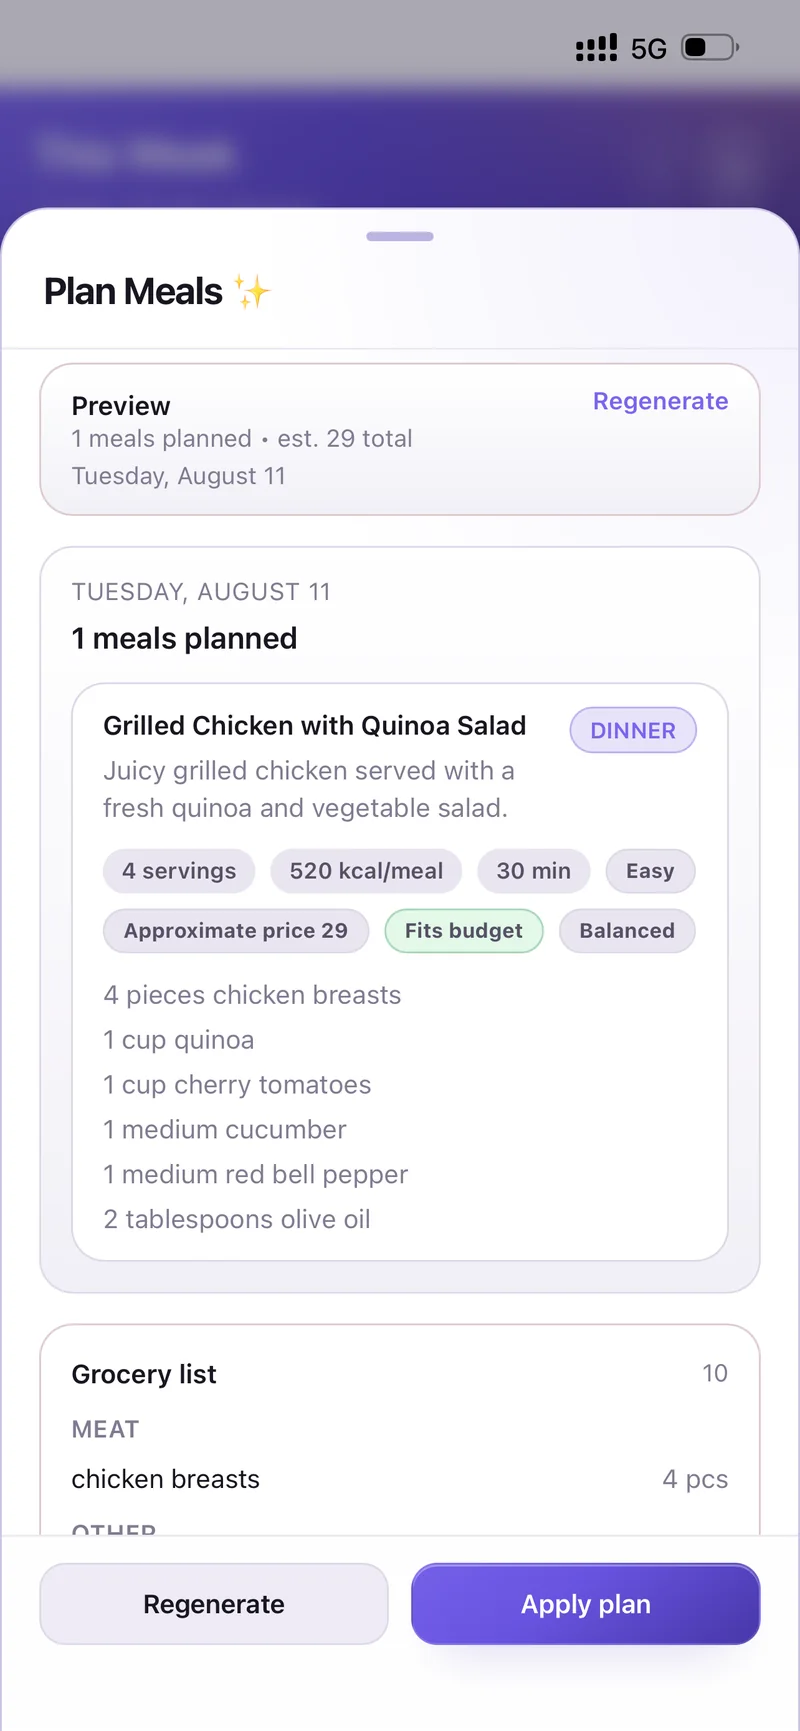
Preview before you apply it
The generated Grocery list is shown with the plan, grouped by category, so you can see exactly what it will add.
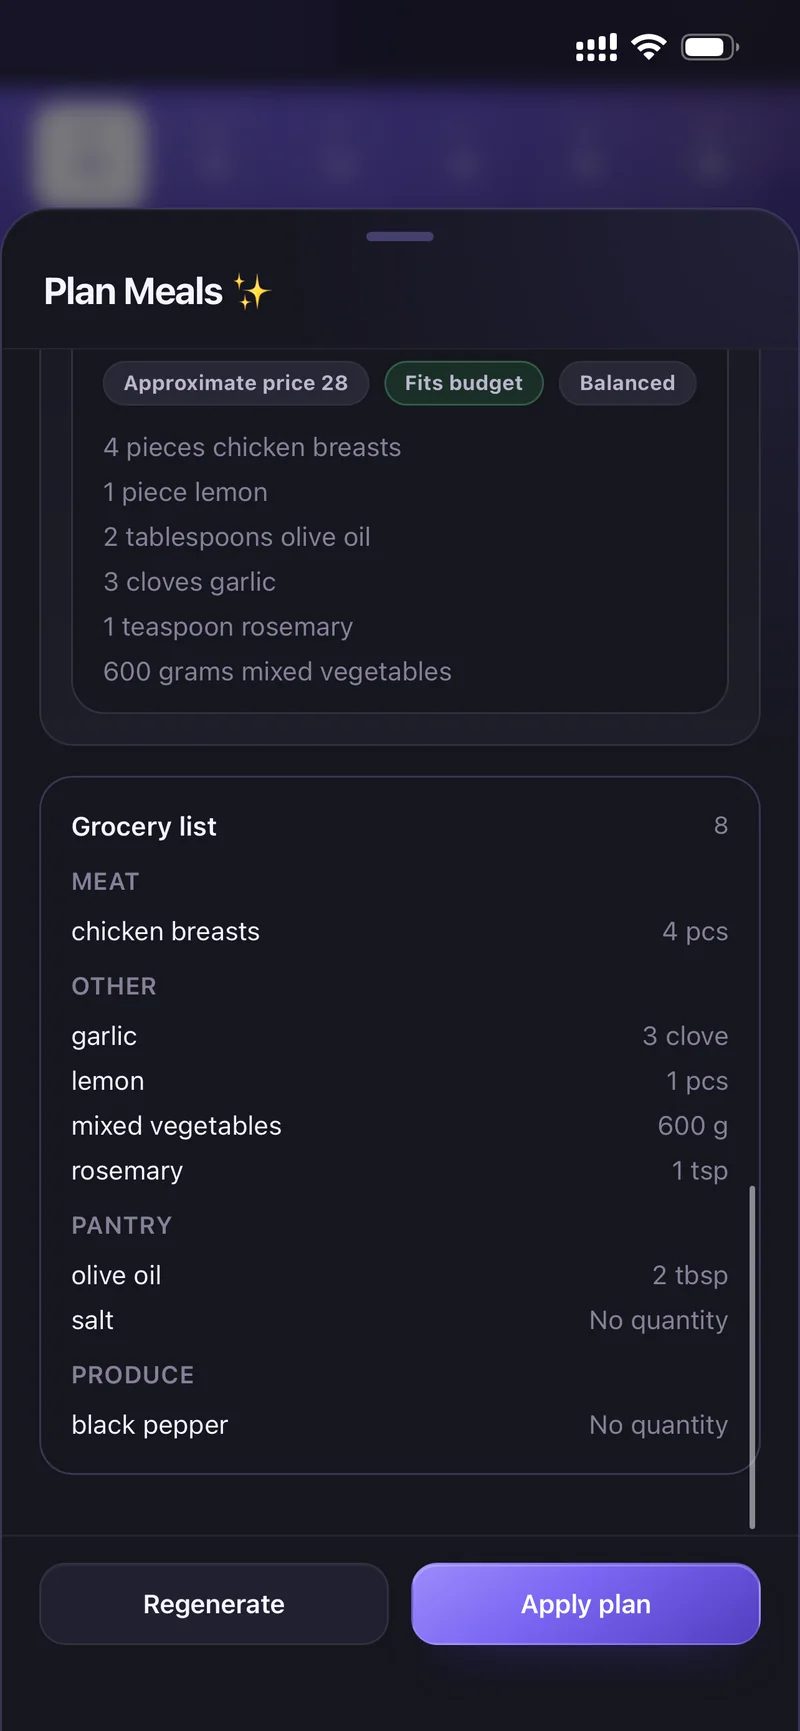
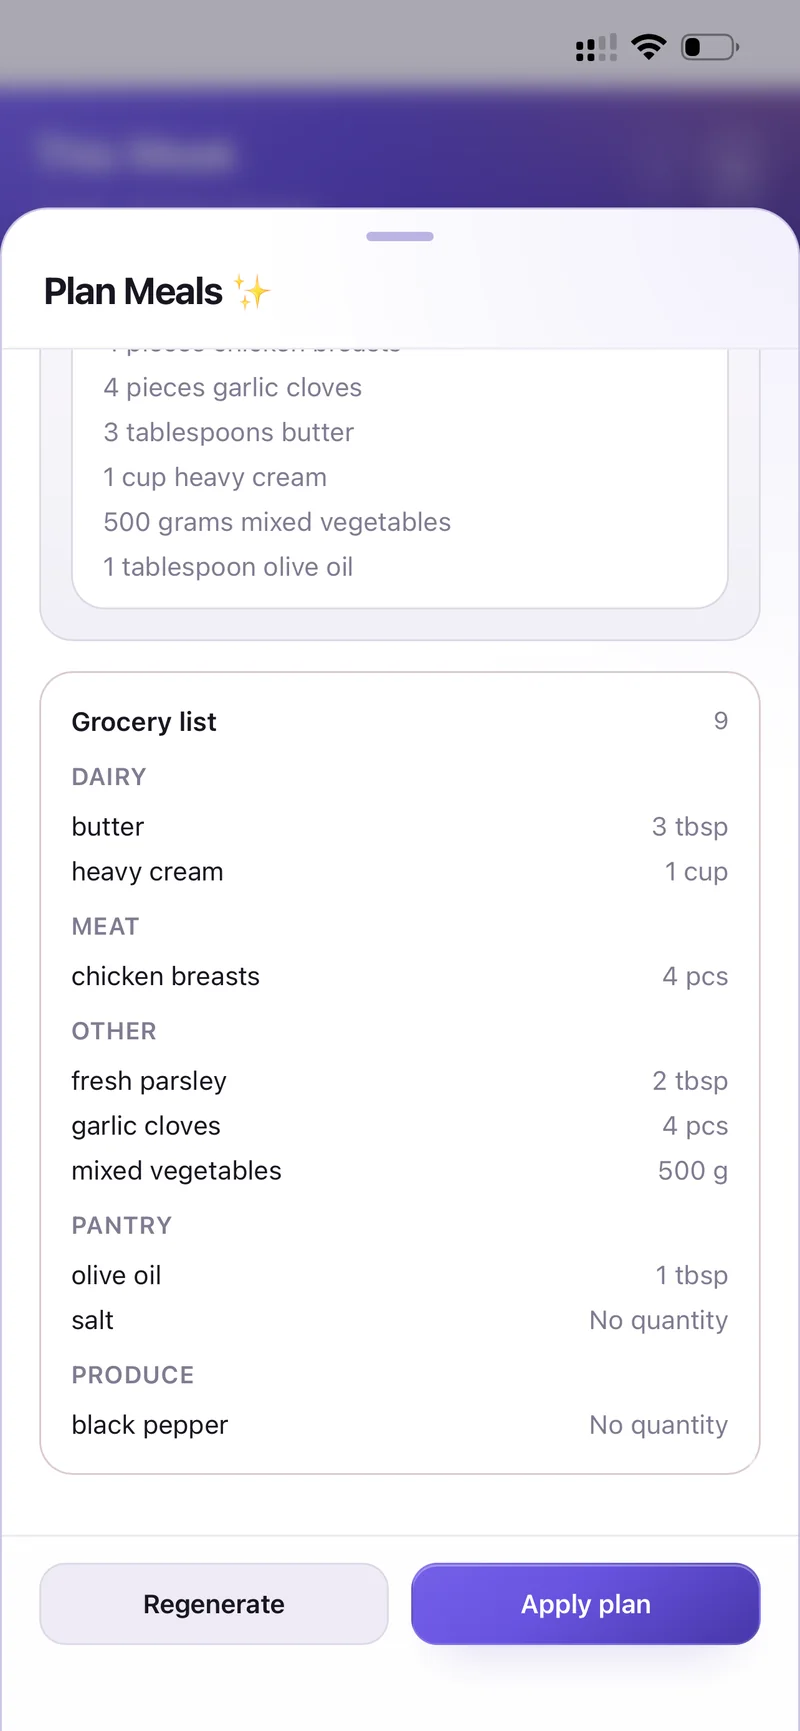
The grocery list that comes with the plan
Yes. Whatever you save under Settings → Allergens is automatically used for recipe generation, meal planning and AI suggestions.
Pick from Milk, Eggs, Peanuts, Tree nuts, Soy, Wheat, Fish, Shellfish and Sesame, or add a custom one, then tap Save allergen preferences.
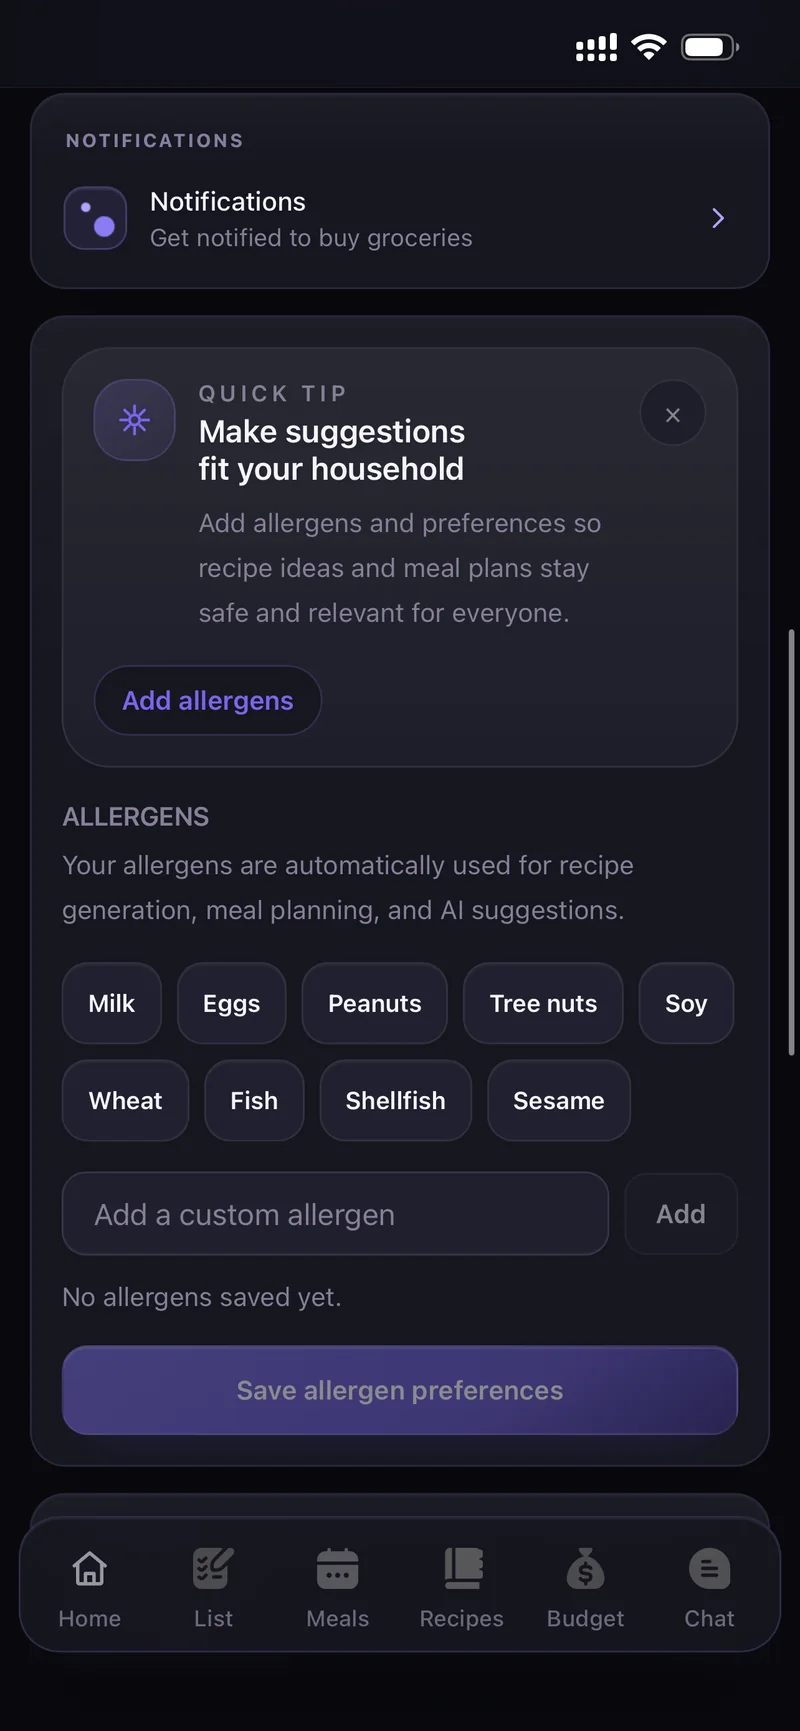
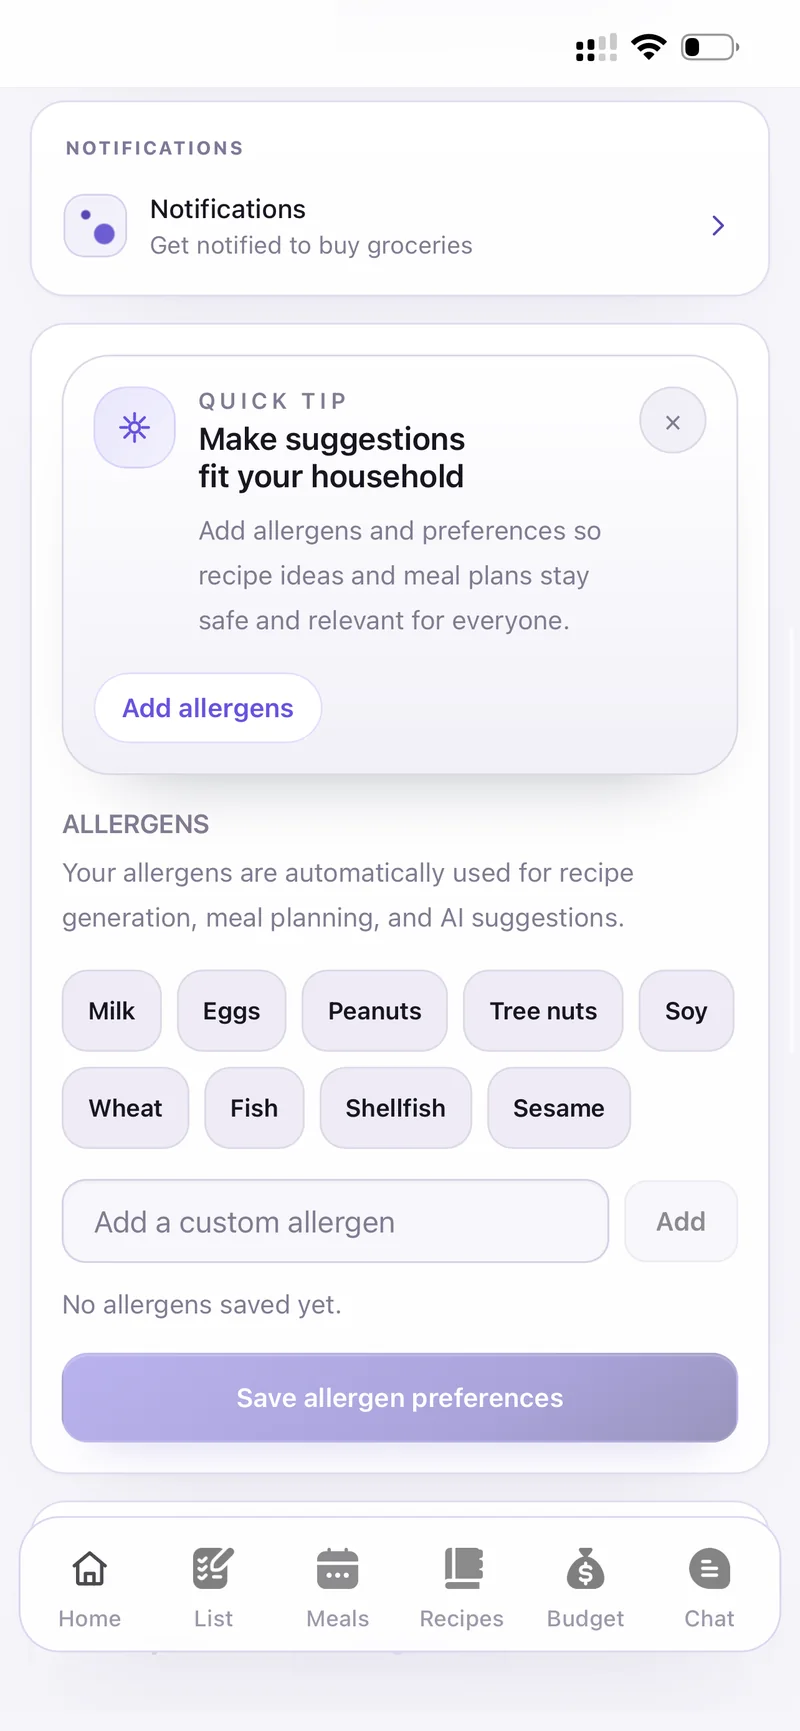
Settings → Allergens
Recipes & AI
The Recipes tab is your cookbook — saved recipes and favourites. Search, sort by Newest first, or filter with tags like Breakfast, Chicken, Dinner and Fish.
Add one yourself with New recipe, or use the two AI shortcuts at the top: AI recipe and From photo.
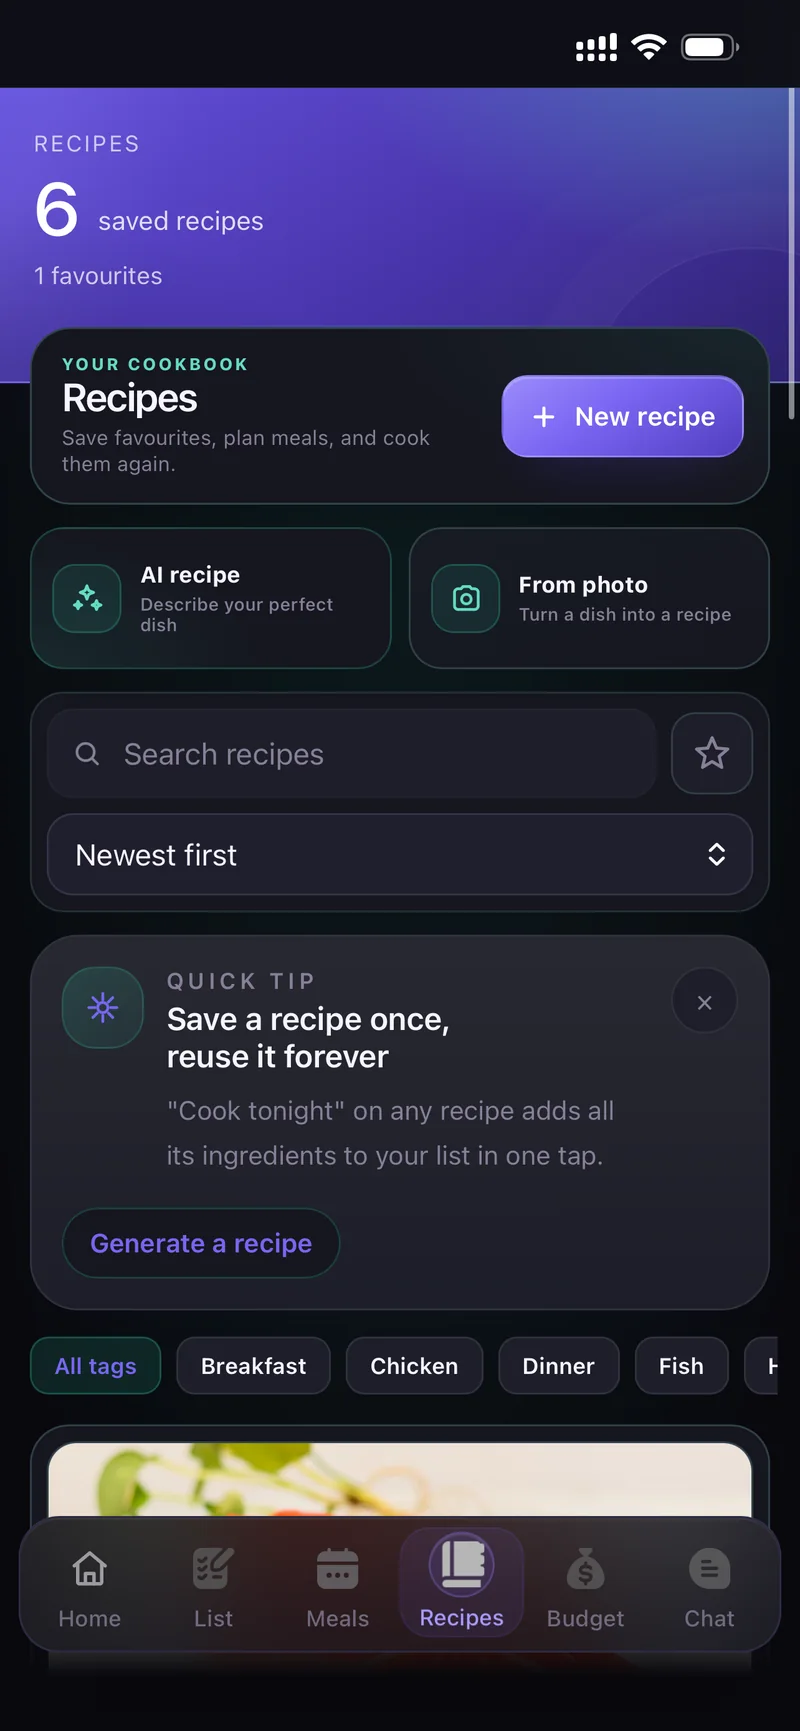
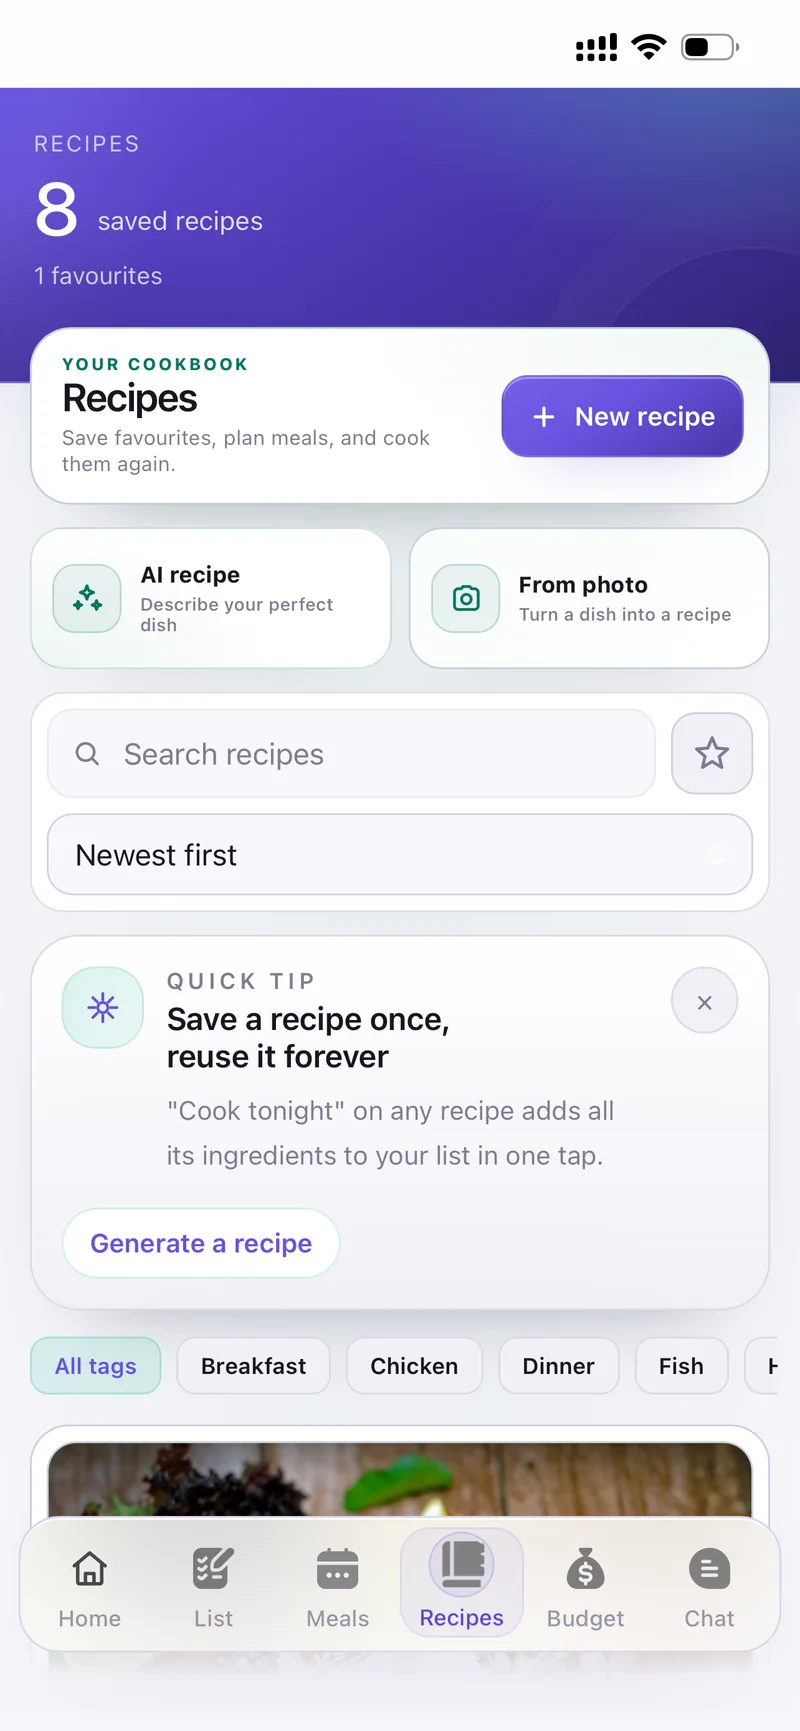
Tap AI recipe — Describe your perfect dish to open the AI Recipe Studio.
Say what you are craving, then set Servings, Calories, Budget target, Cost preference, Max time, Difficulty and Diet. Tap Generate.
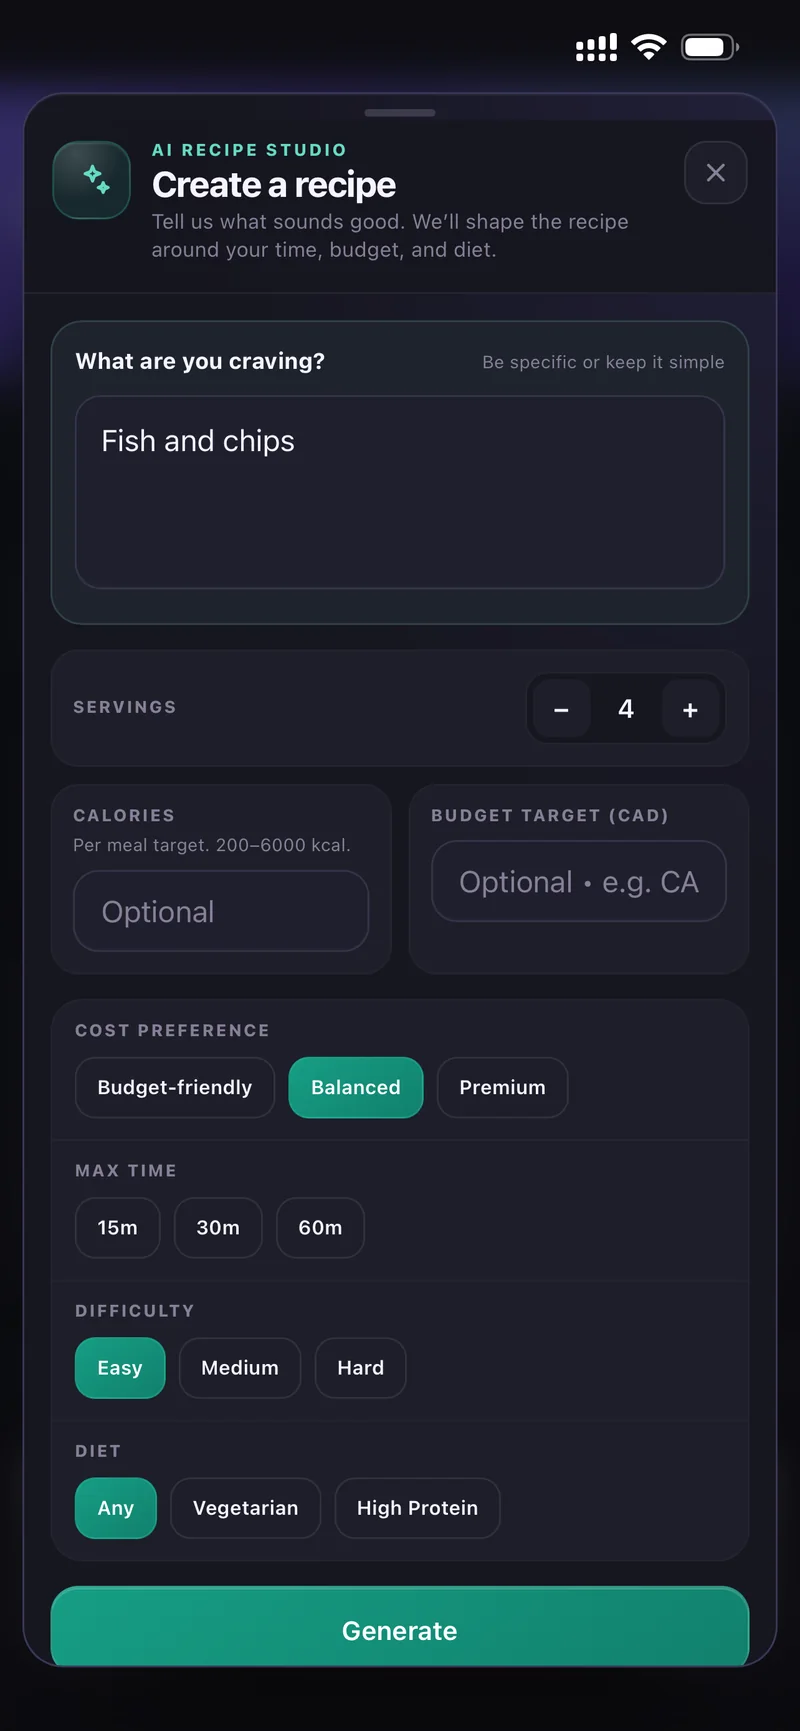
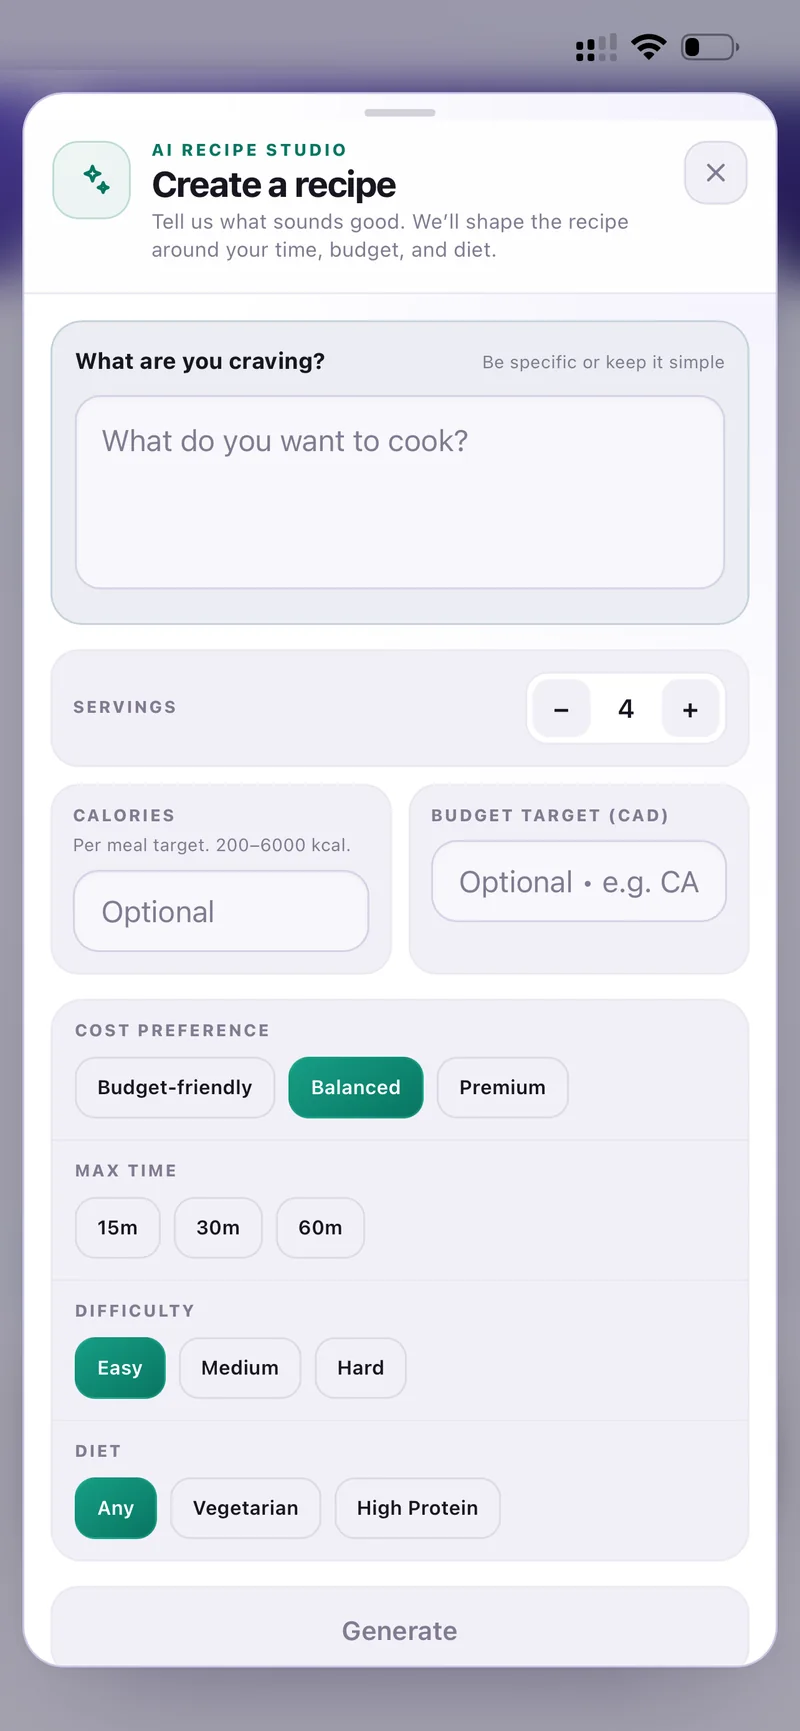
AI Recipe Studio — every option
You get a full recipe with a real food photo, scaled ingredients, step-by-step instructions and a Fits budget check.
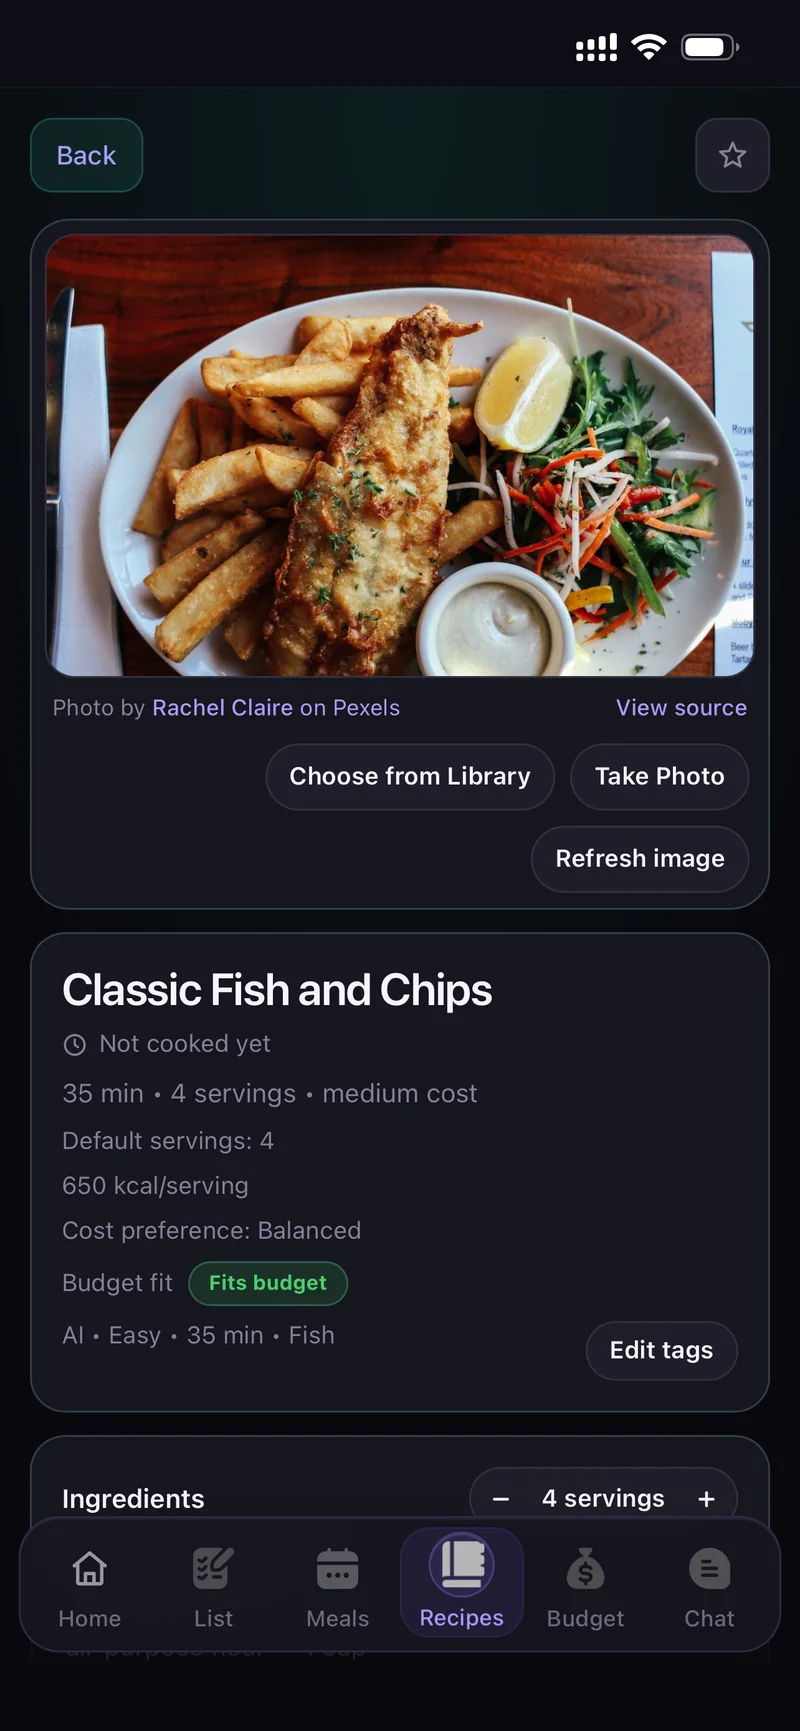
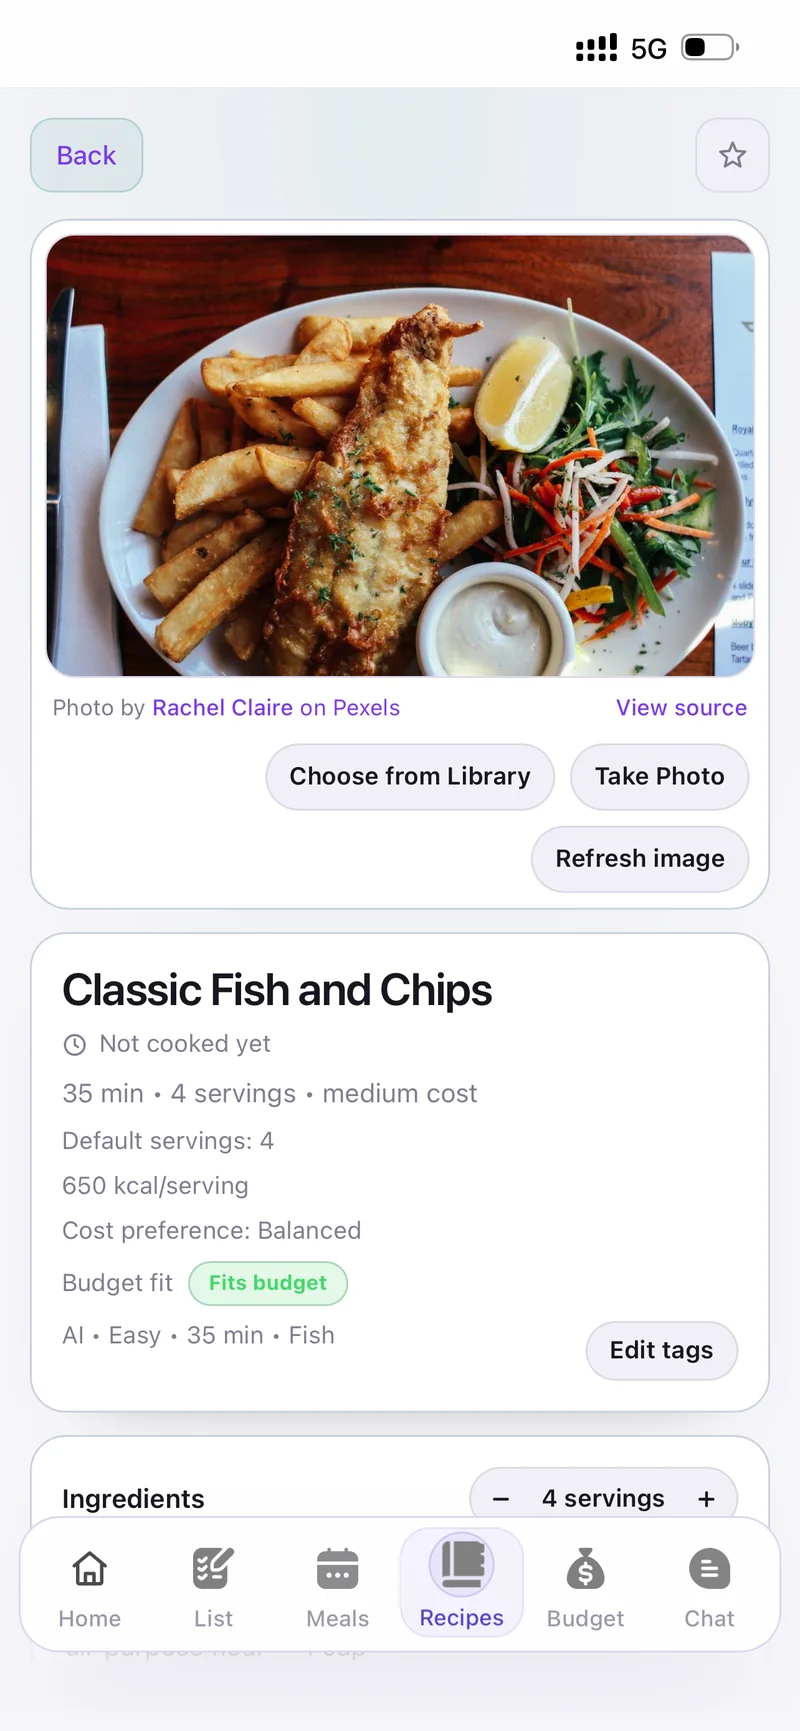
The finished recipe
Tap From photo — Turn a dish into a recipe to open the Visual Recipe Studio.
Take Photo (open camera) or Choose from Library. A finished dish works, and so does just the ingredients on the counter.
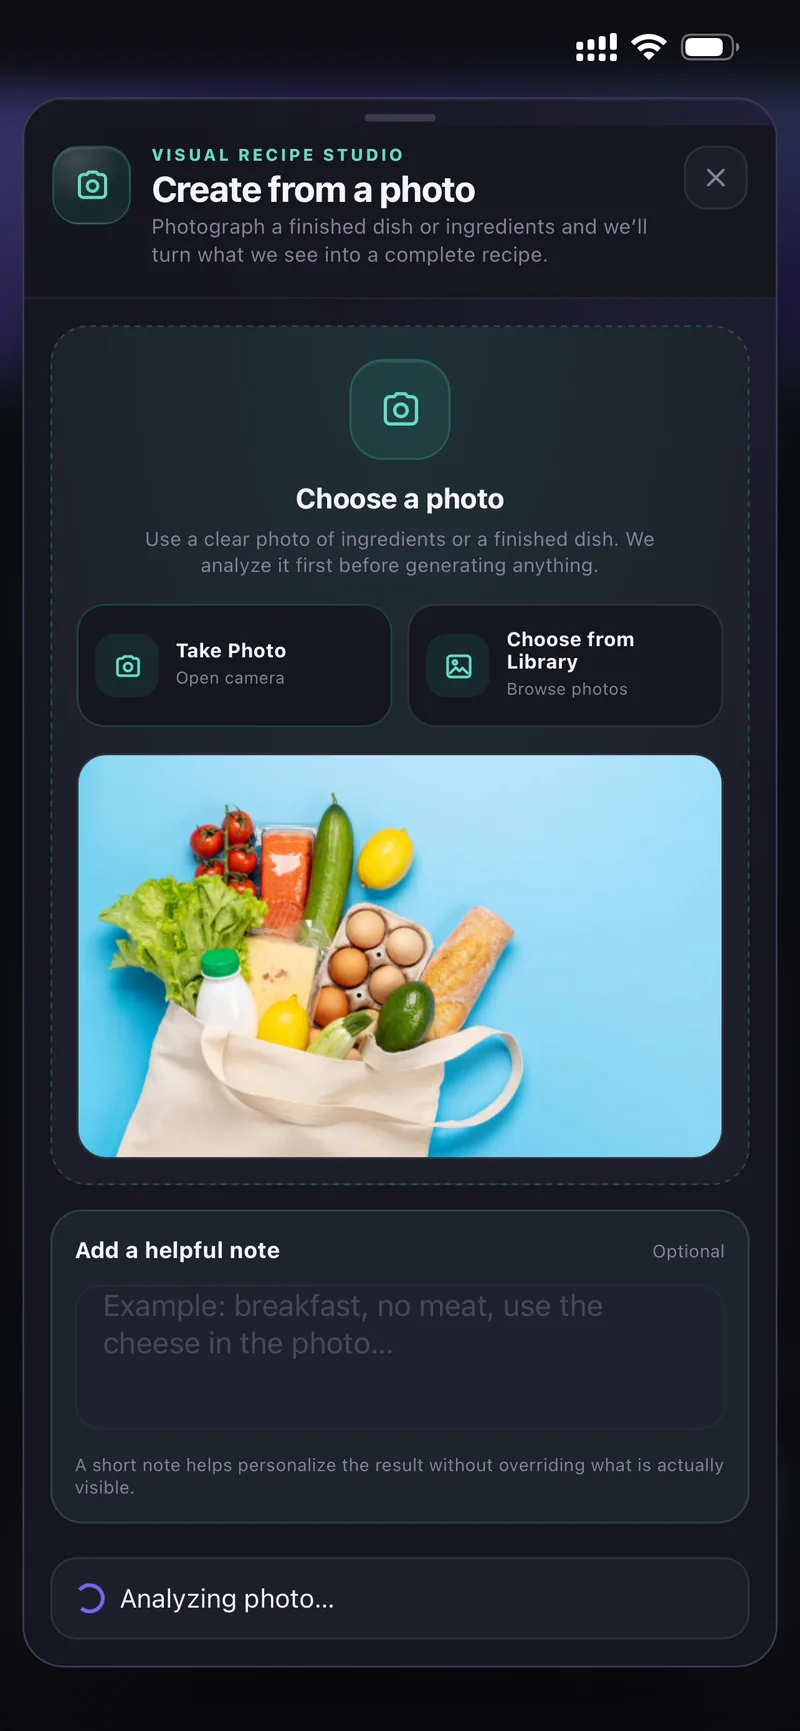
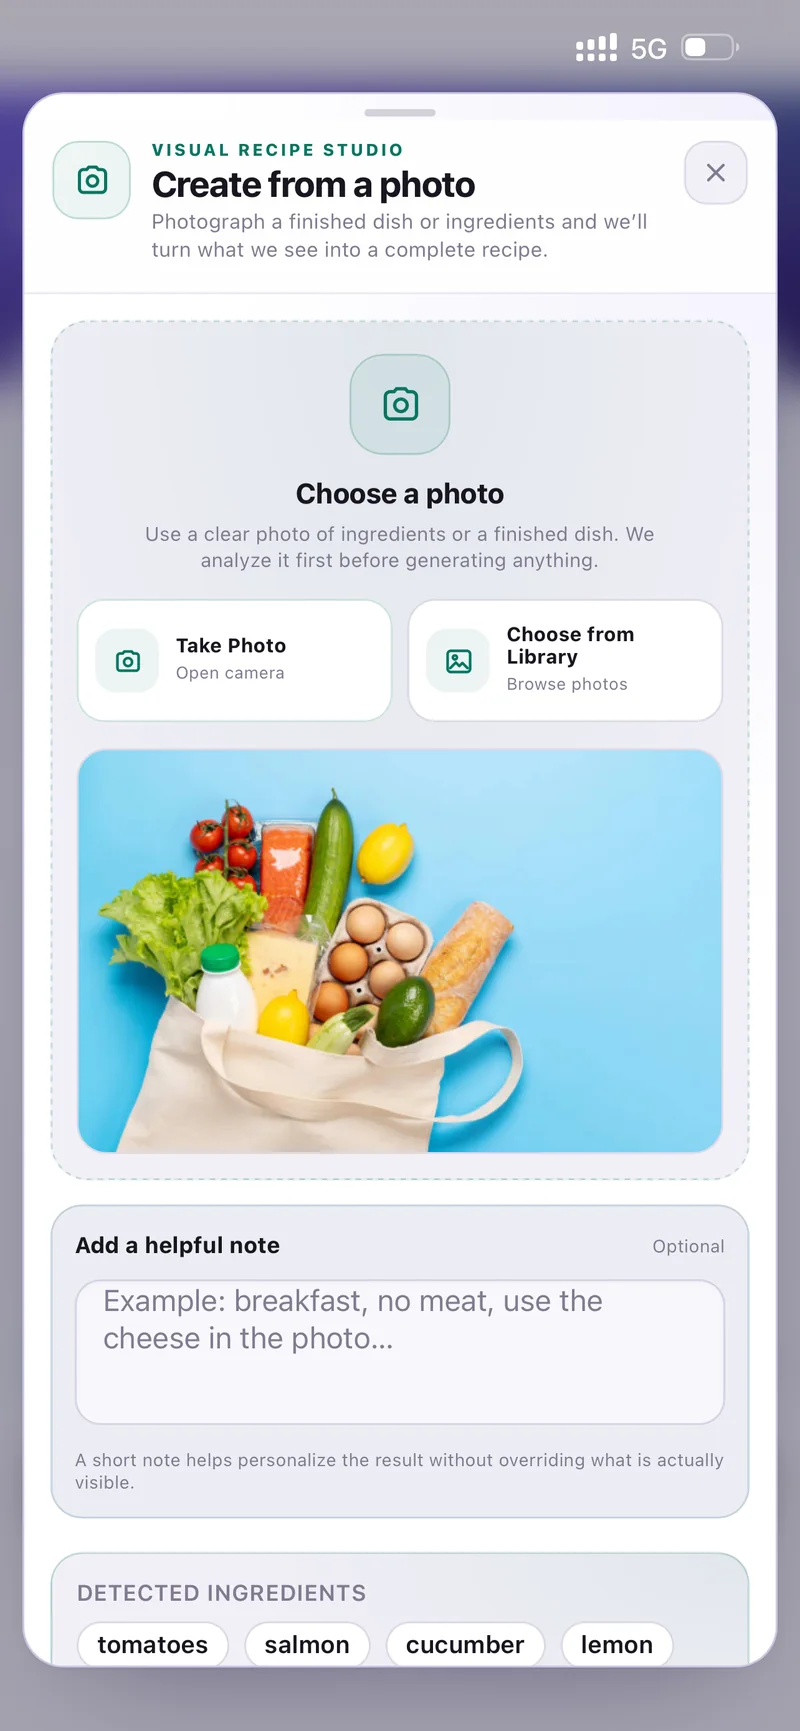
Choose a photo, add an optional note
CartWhiz analyses the photo first and lists the Detected ingredients so you can check it saw the right things before generating.
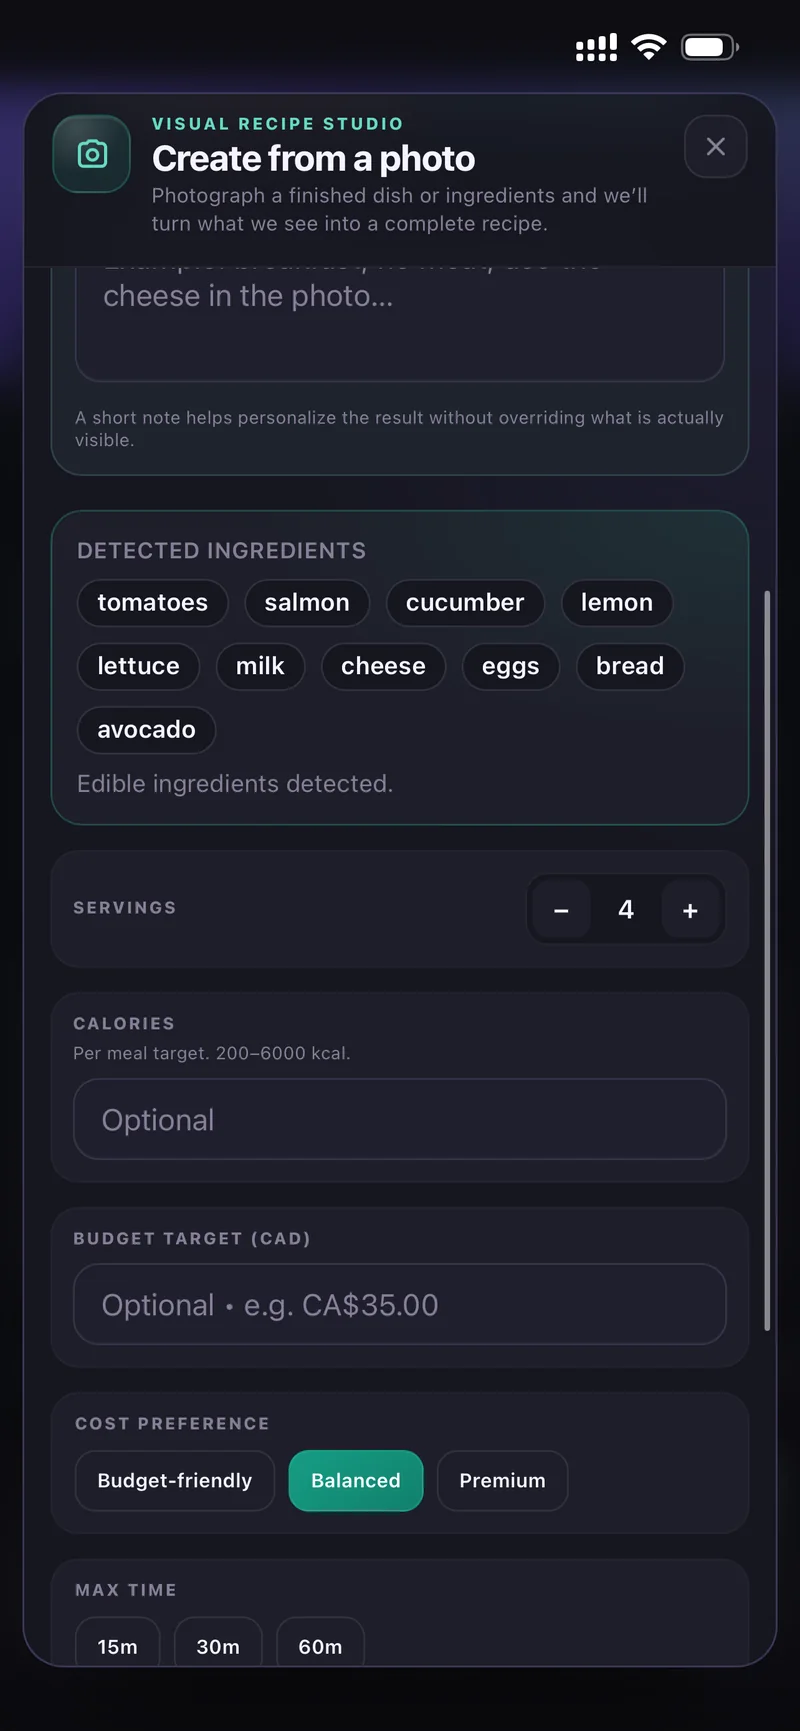
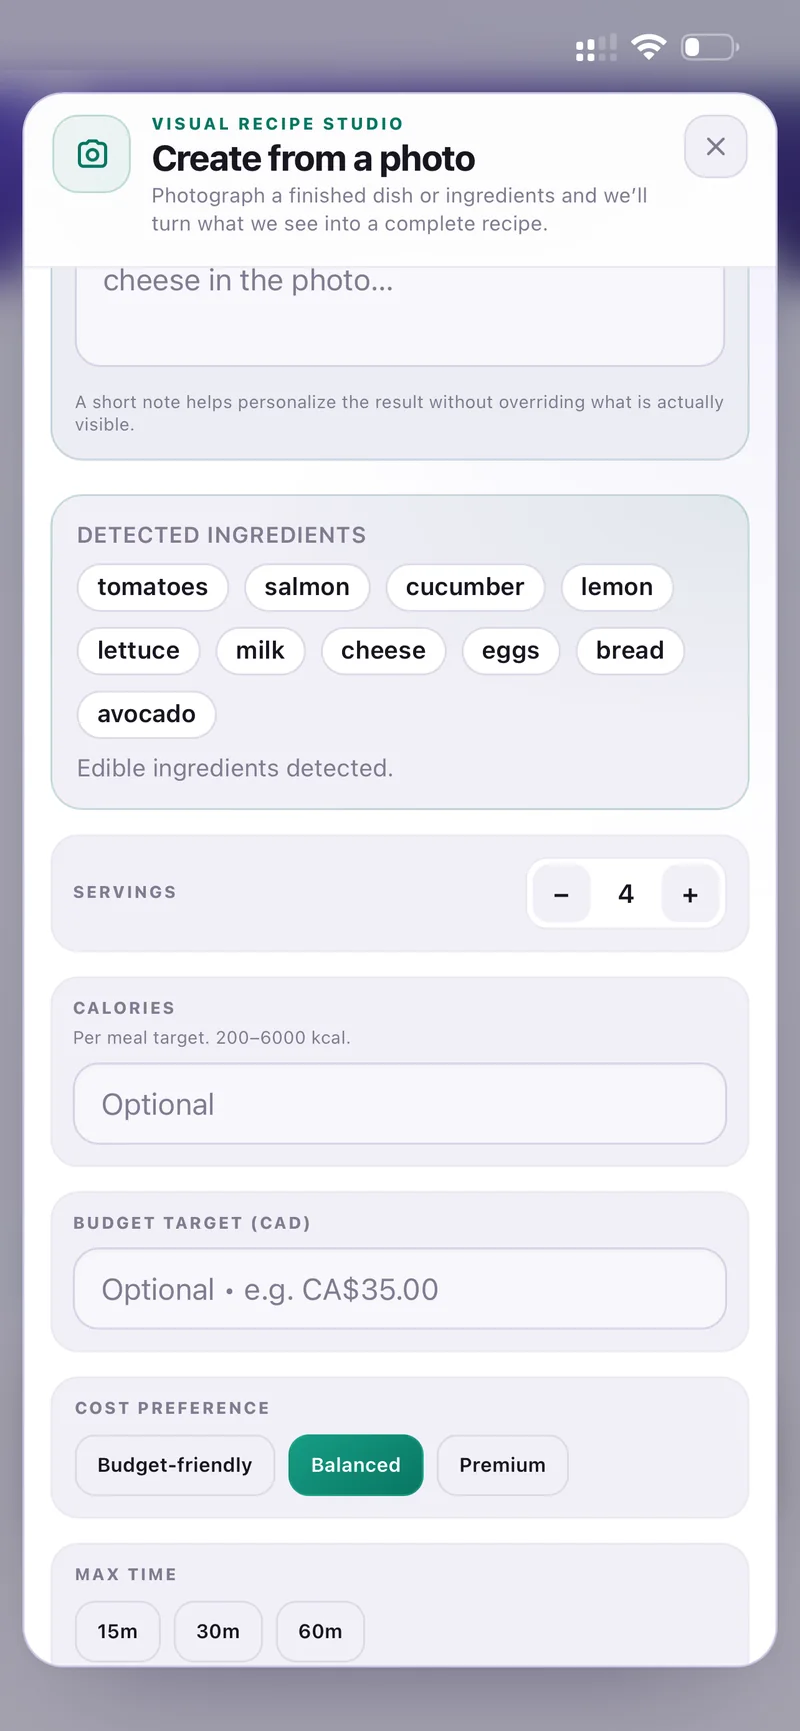
Detected ingredients
Add a helpful note if you want — "breakfast, no meat, use the cheese in the photo" — then generate.
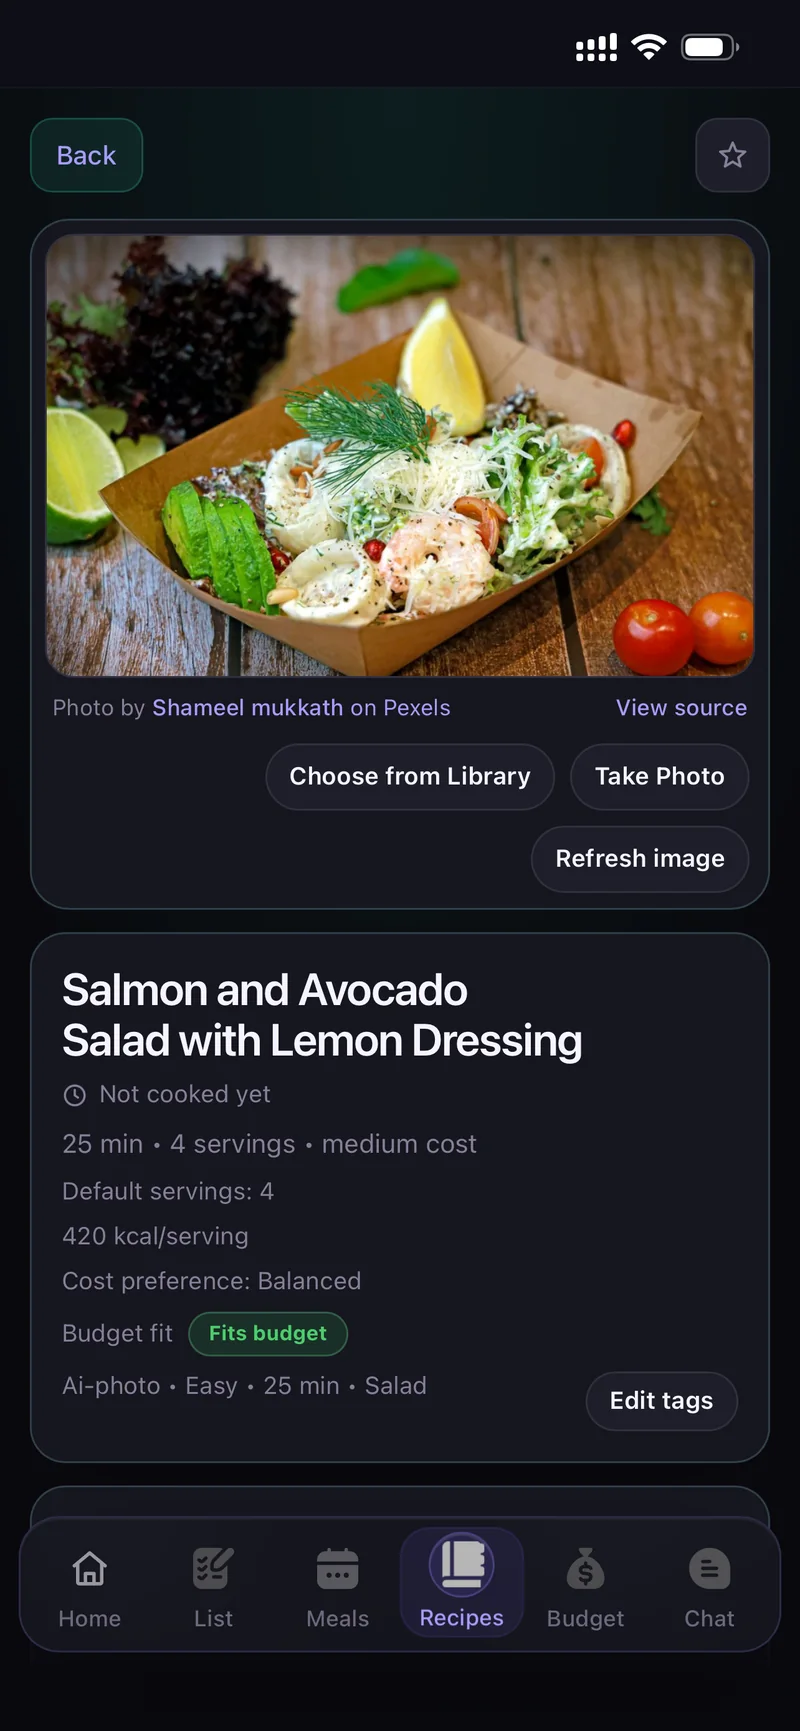
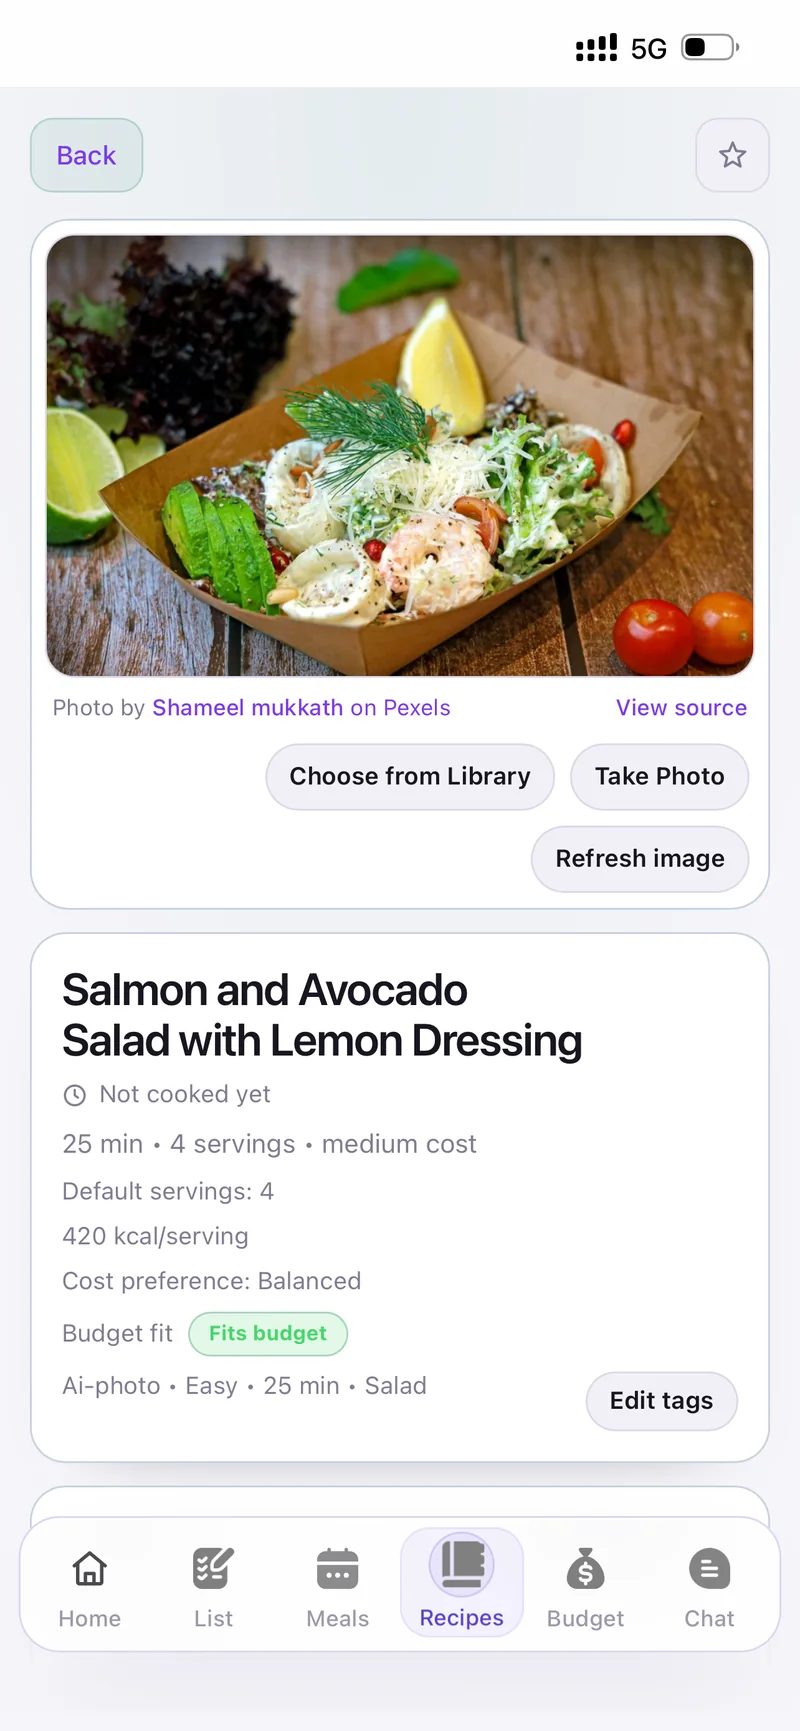
The recipe it produced
On any recipe you can swap the picture with Choose from Library, Take Photo or Refresh image, and change tags with Edit tags.
The − / + next to Ingredients rescales every quantity to the servings you need.
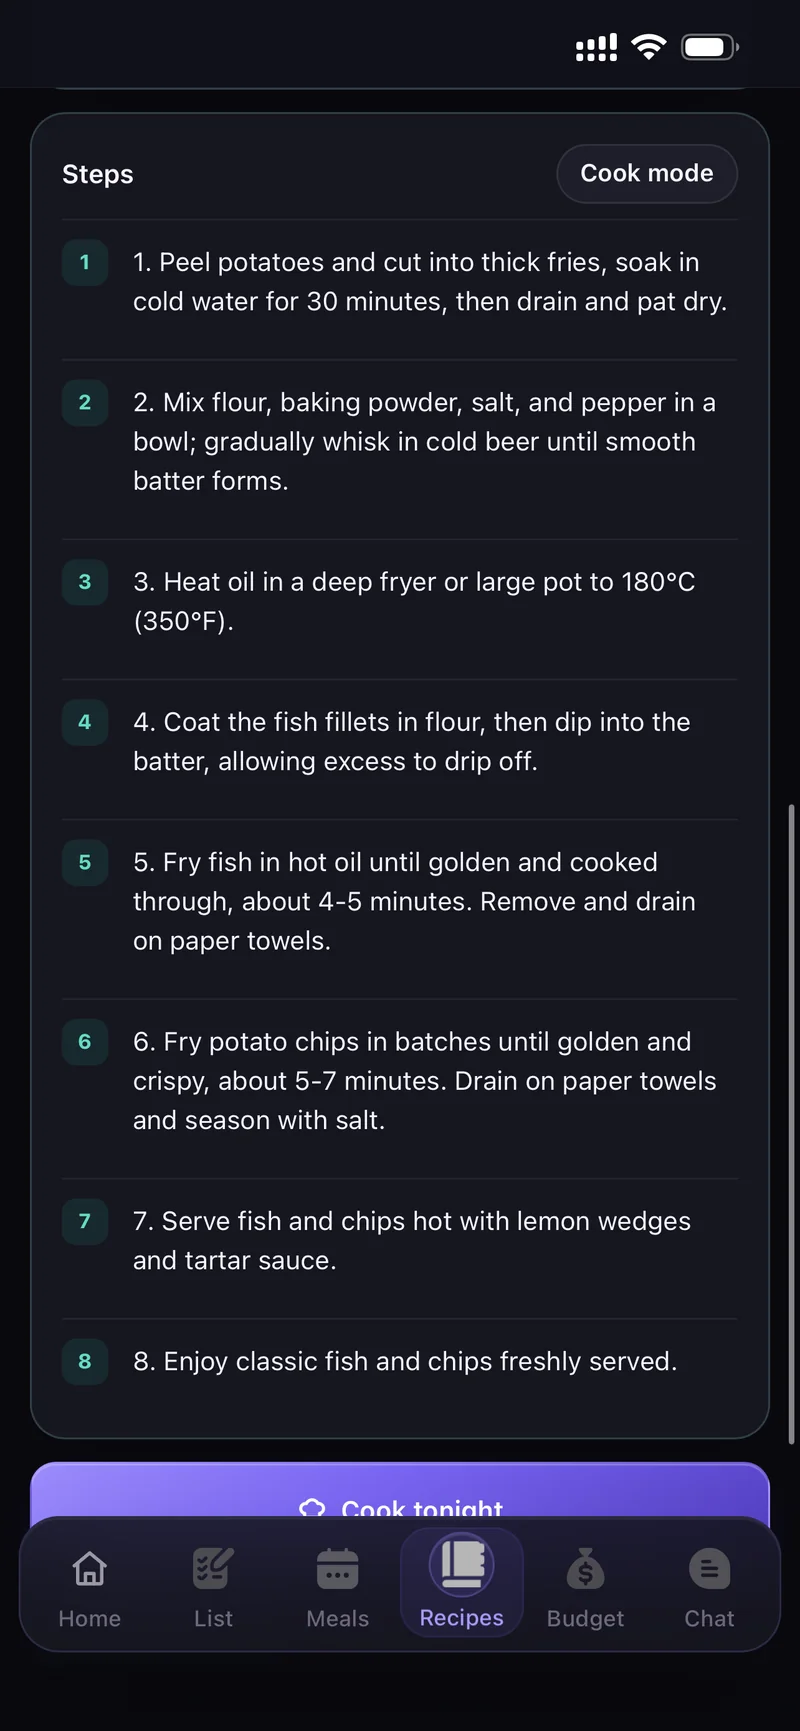
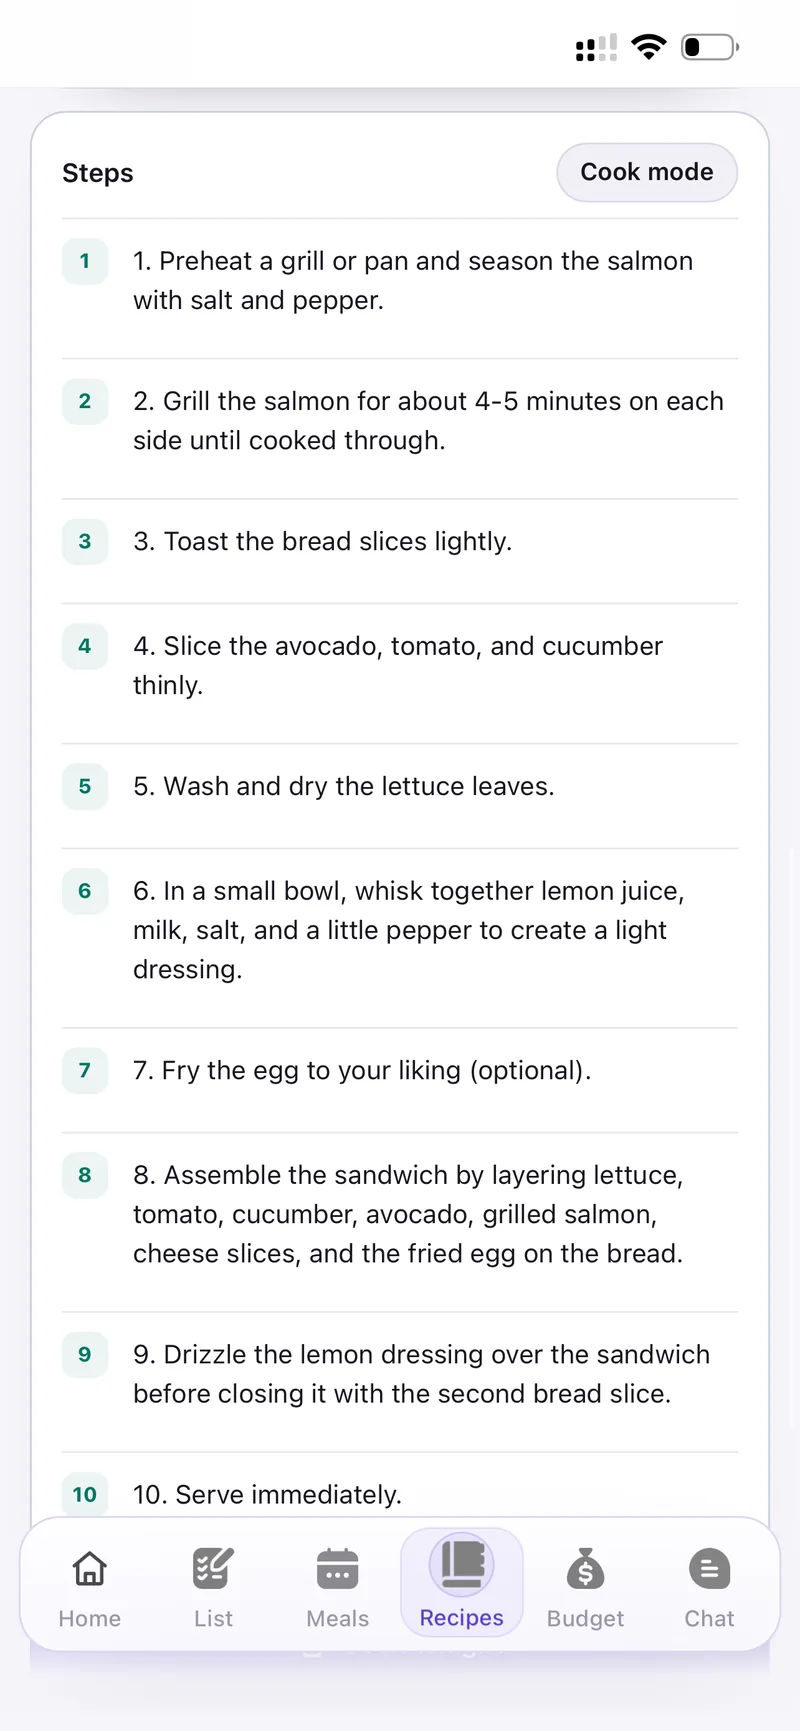
Steps, with Cook mode in the corner
The buttons under a recipe let you Cook tonight (adds all ingredients to your list), Add to Meals, Add to list, Send to Chat, Edit recipe or delete it.
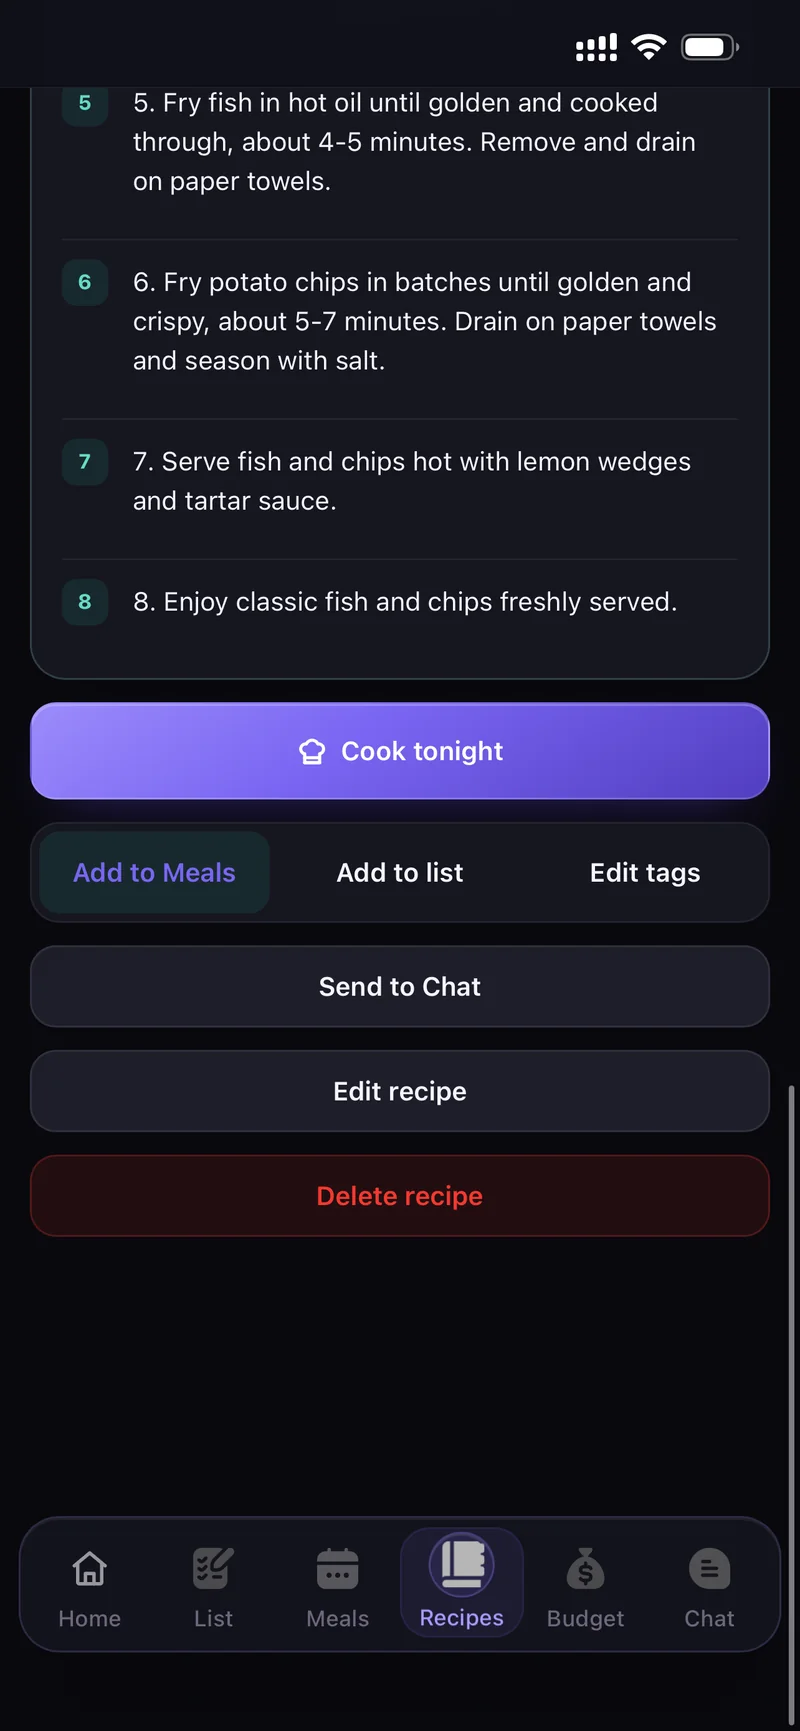
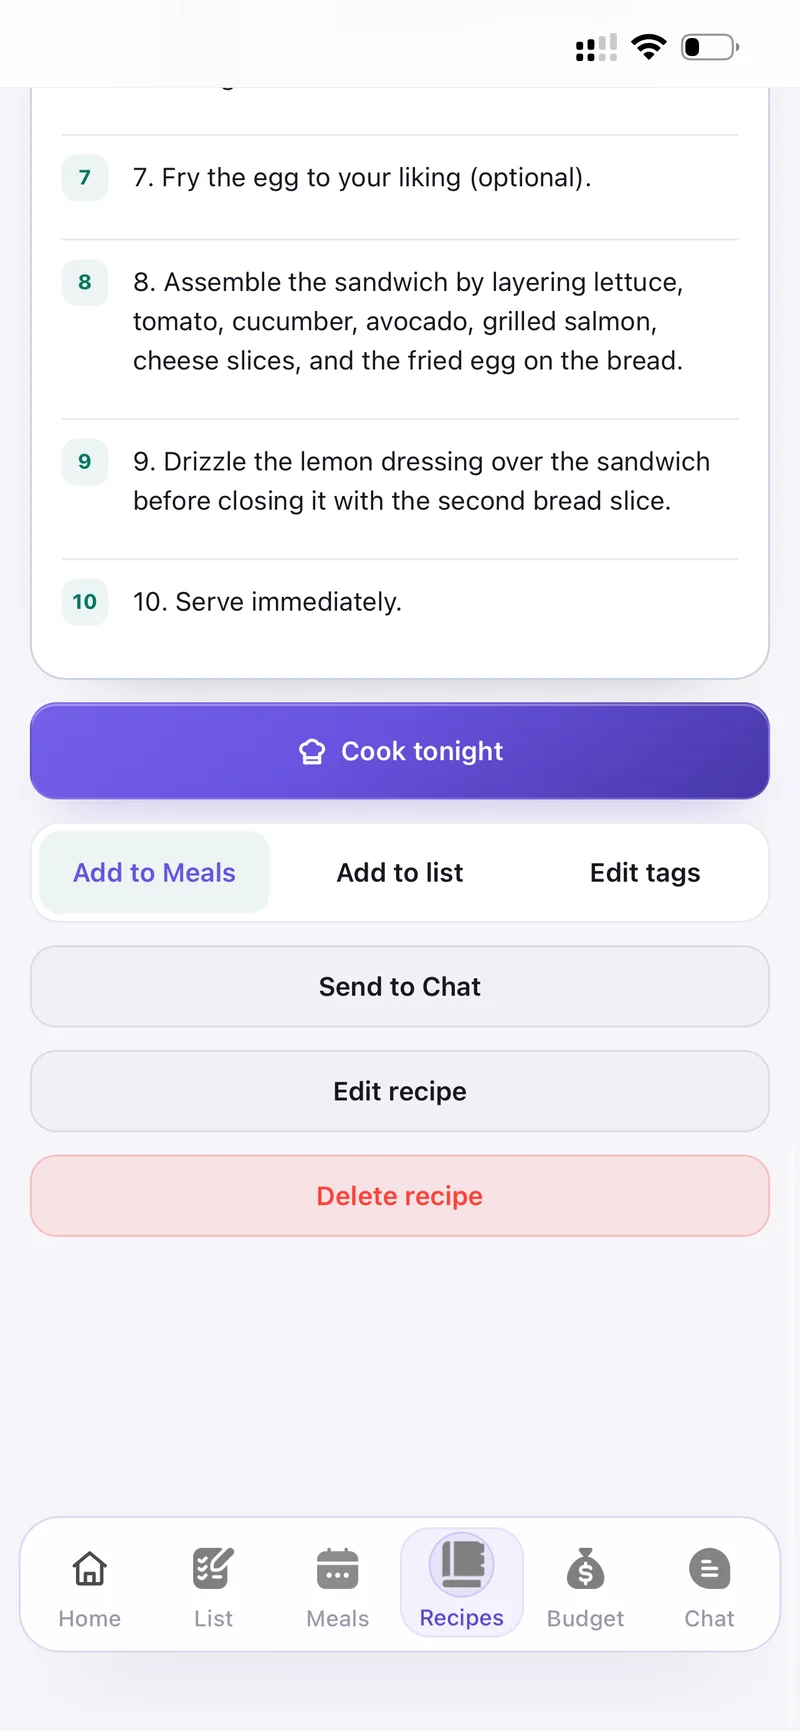
Everything you can do with a saved recipe
Cook mode
Open a recipe and tap Cook tonight → cook mode. Each step fills the screen and the header shows Step 1 of 8 with your progress.
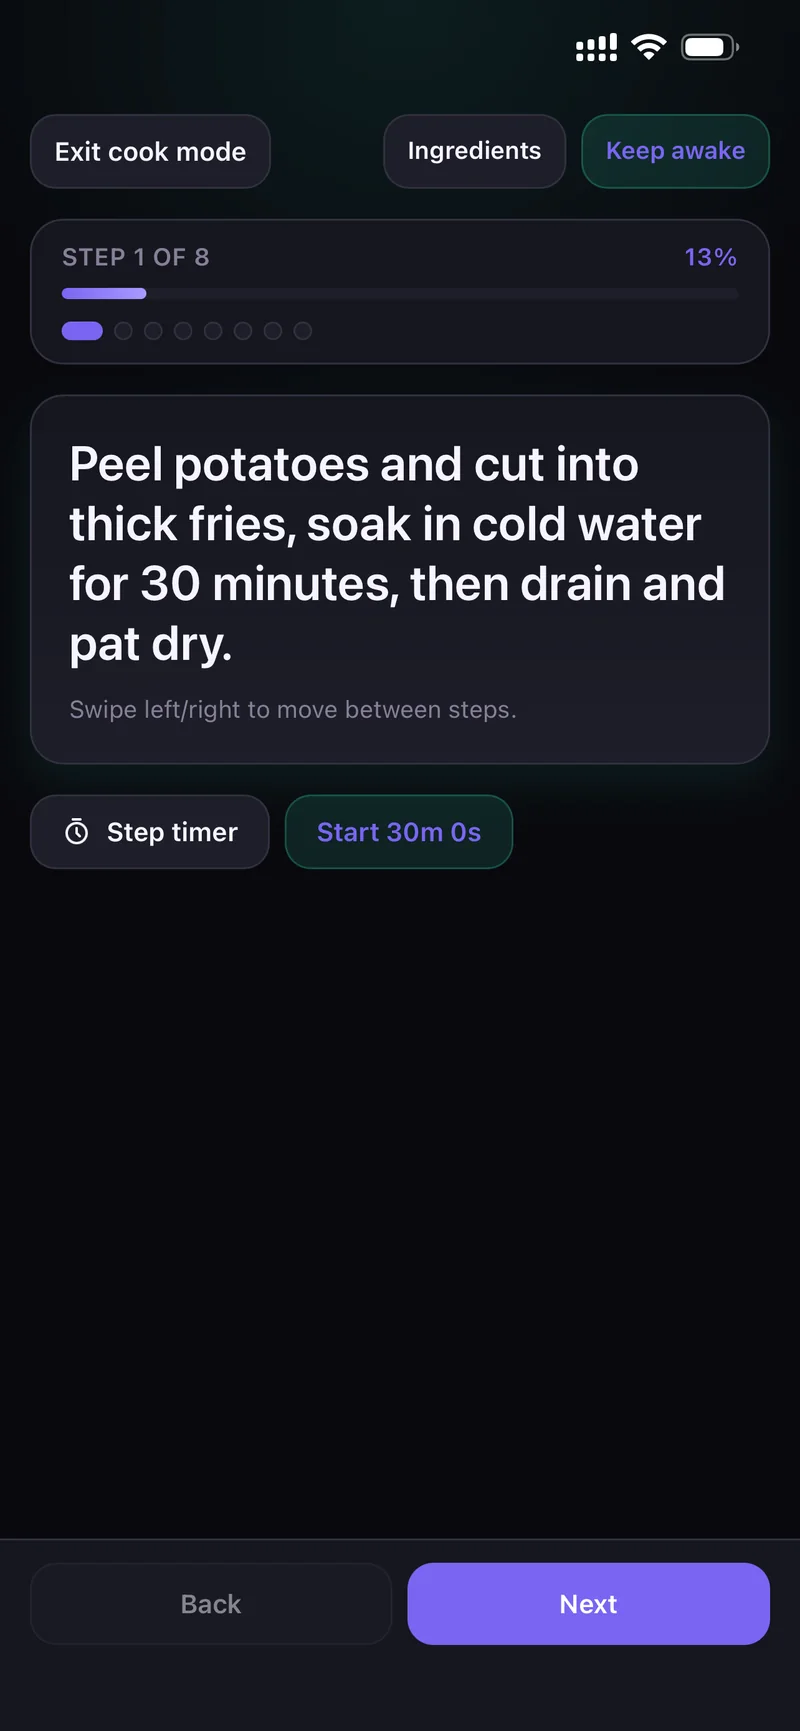
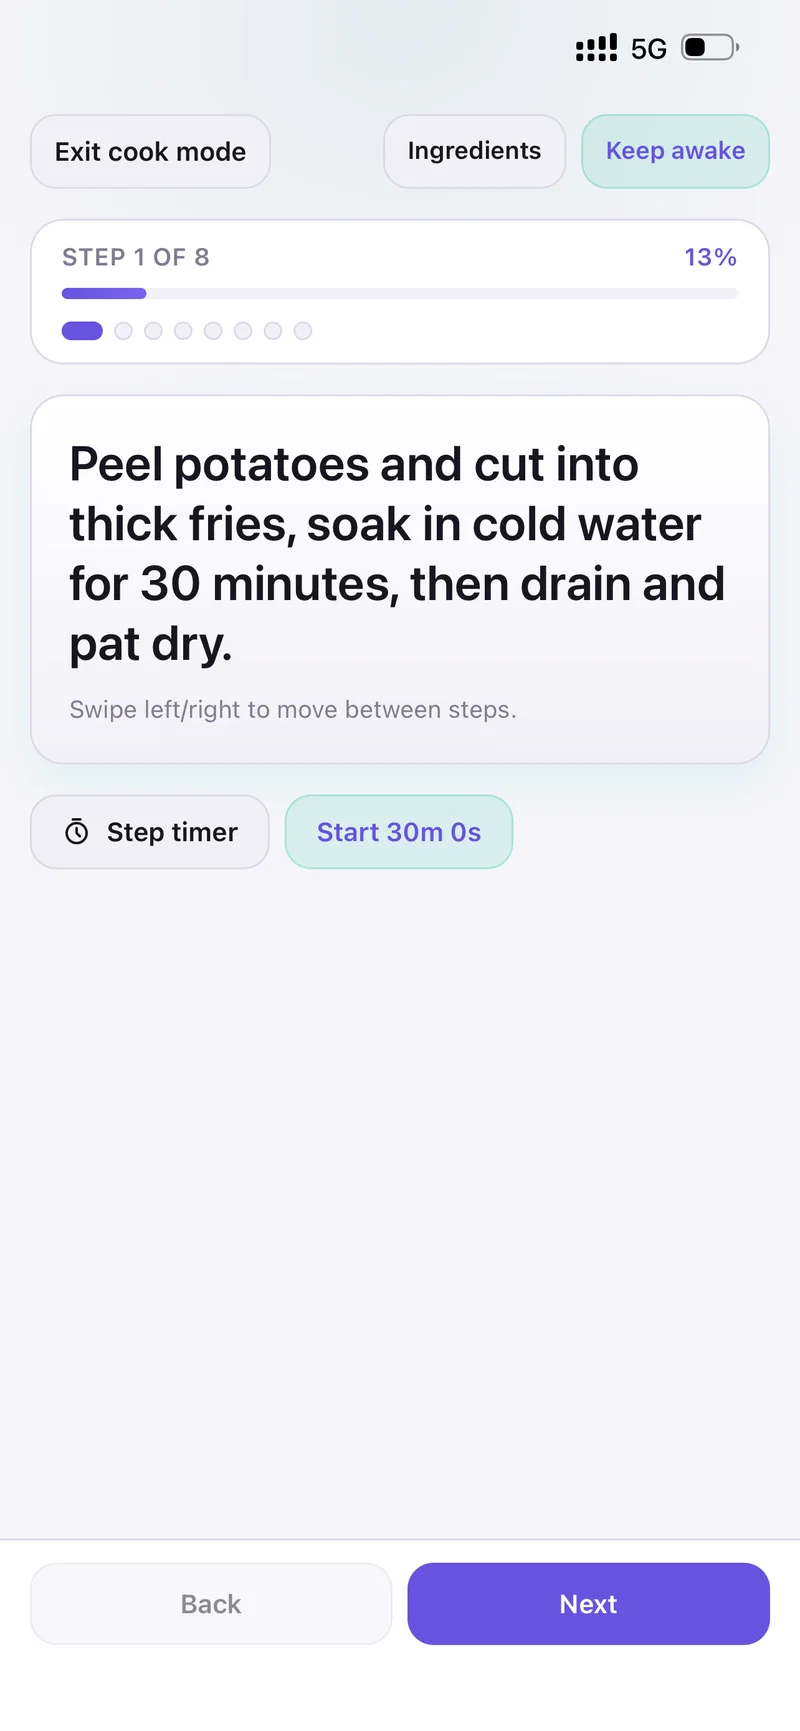
- Swipe left/right, or use Back and Next.
- Ingredients — check quantities without losing your place.
- Keep awake — stops the screen dimming while your hands are busy.
- Exit cook mode — back to the recipe.
When a step contains a time, Step timer appears with it already filled in — tap Start and it counts down without leaving the recipe.
Step timer, pre-filled from the step
Budget
Tap Set budgets and give each category a monthly limit — Groceries, Household and Other under Spending; Internet, Utilities, Phone, Insurance and Rent/Mortgage under Bills.
Each row shows what you have already Spent, and the top of the sheet shows how much of your total is used.
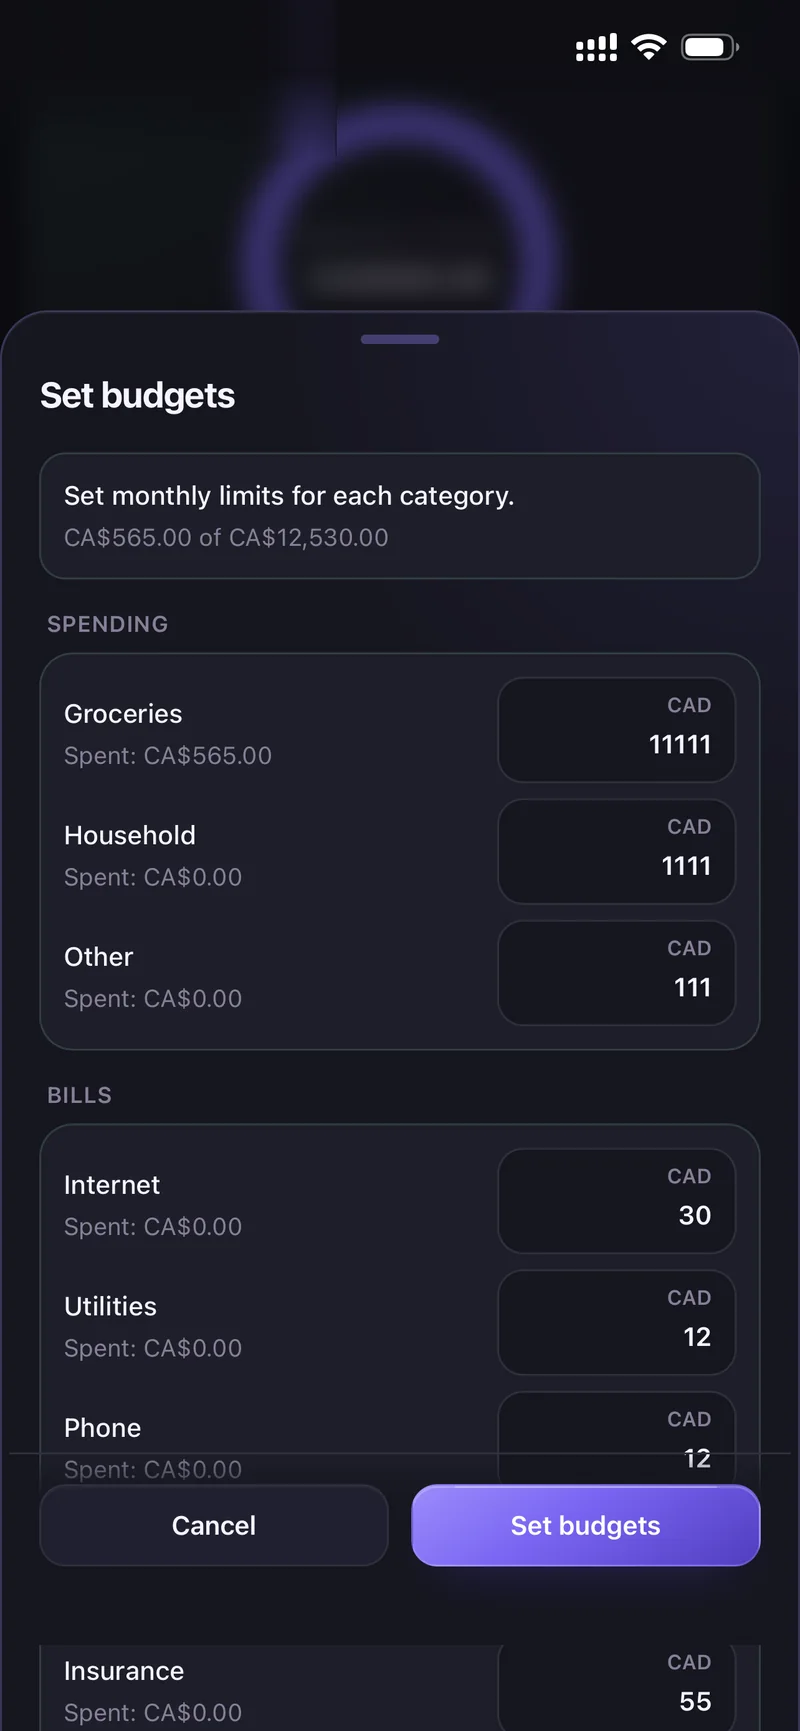
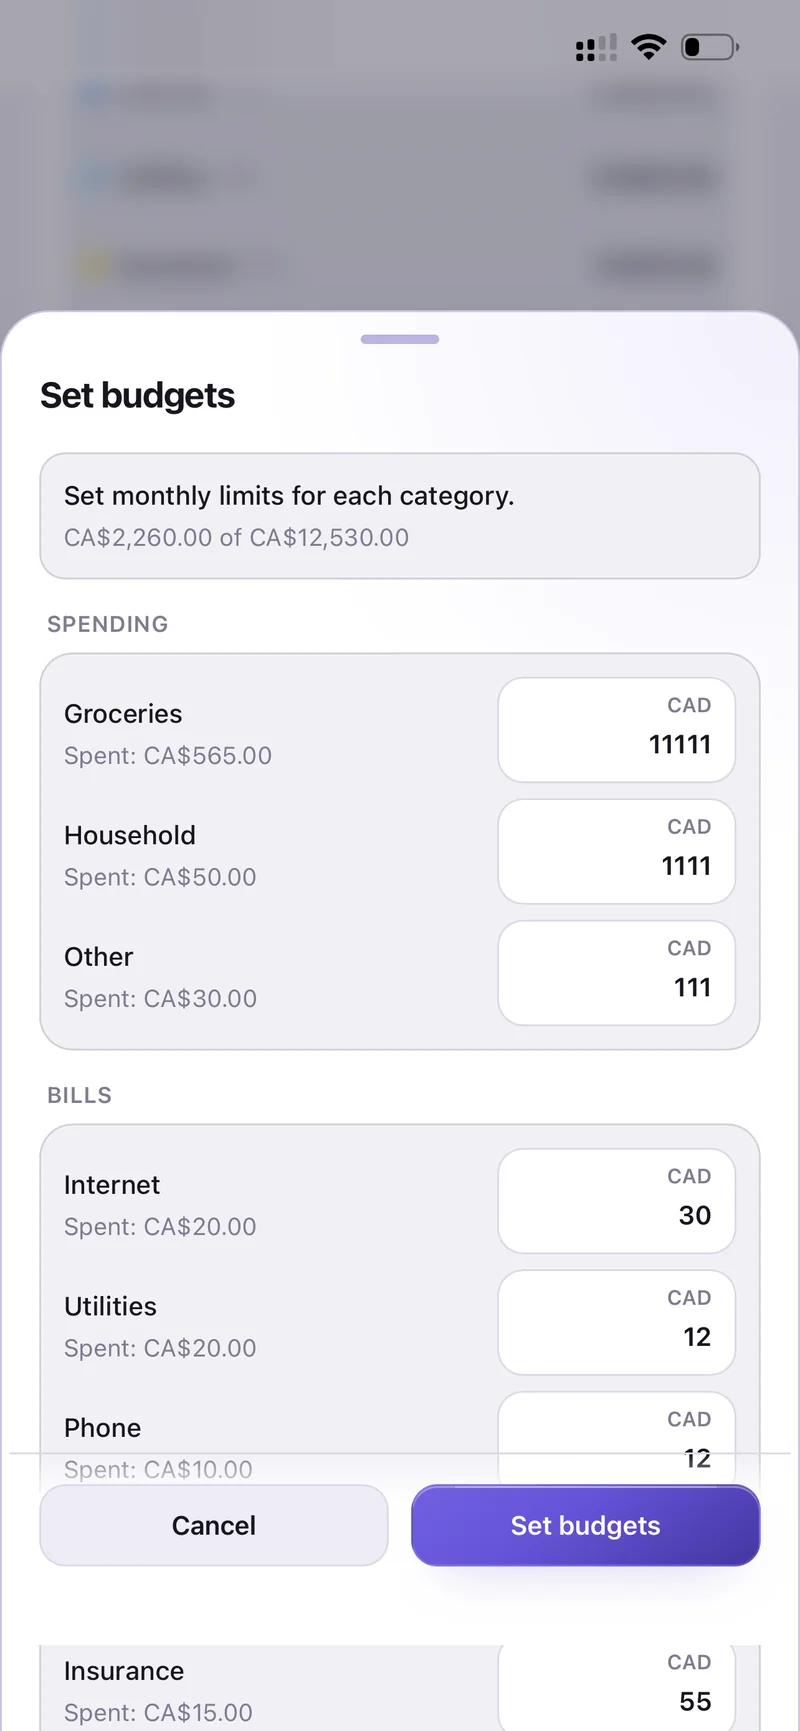
Set monthly limits for each category
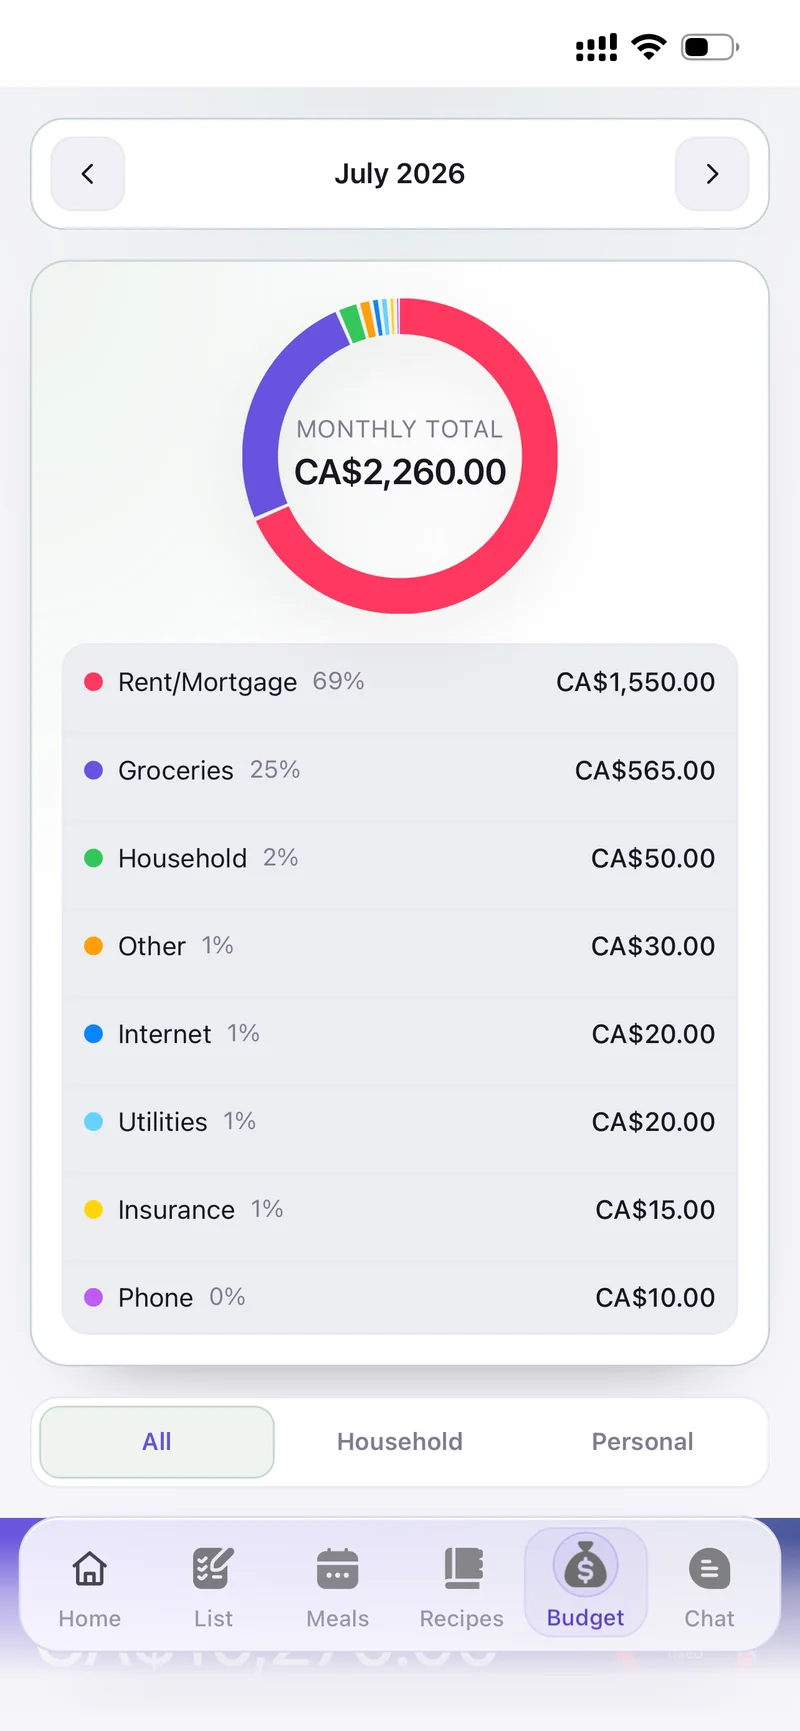
The ring shows your monthly total; every category below it shows its share and amount. Use the arrows at the top to move between months.
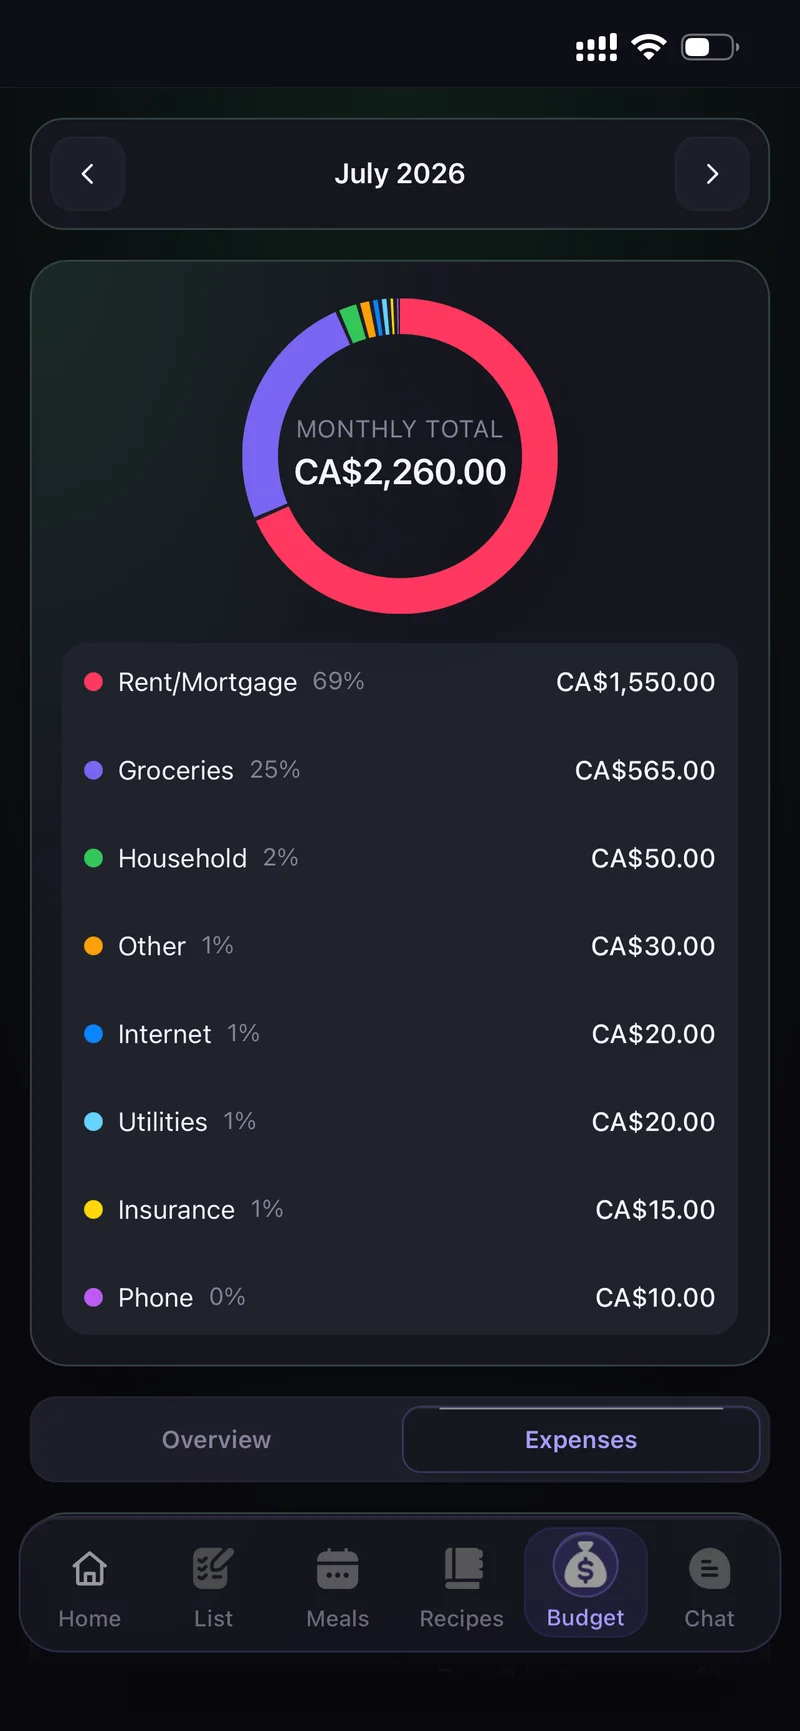
Switch to Overview for the Monthly summary — how much of your budget remains, whether you are On track, and a comparison with last month.
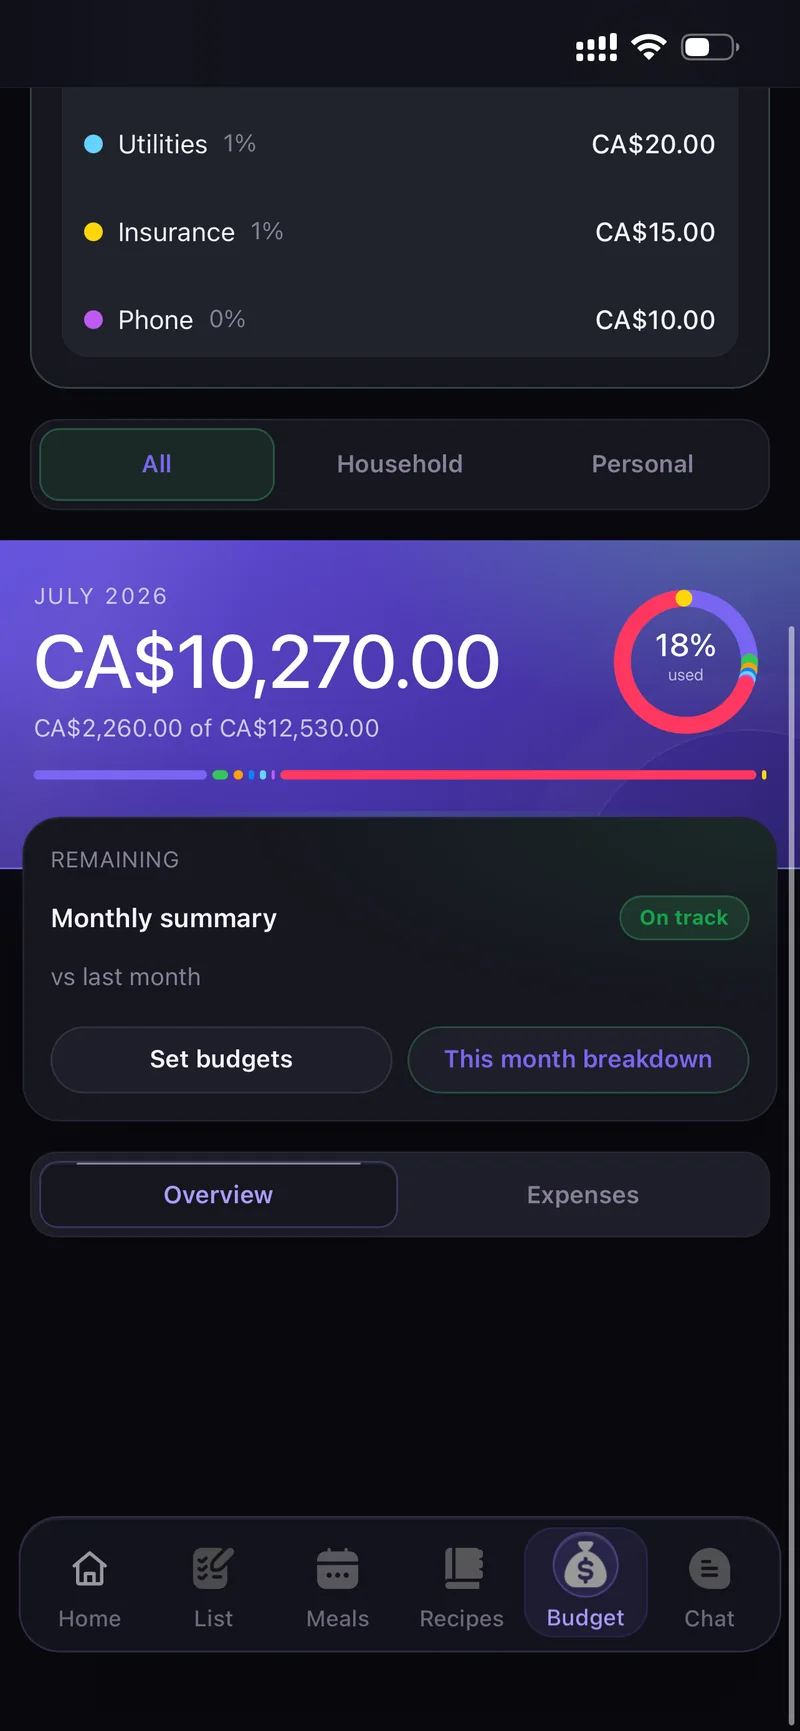
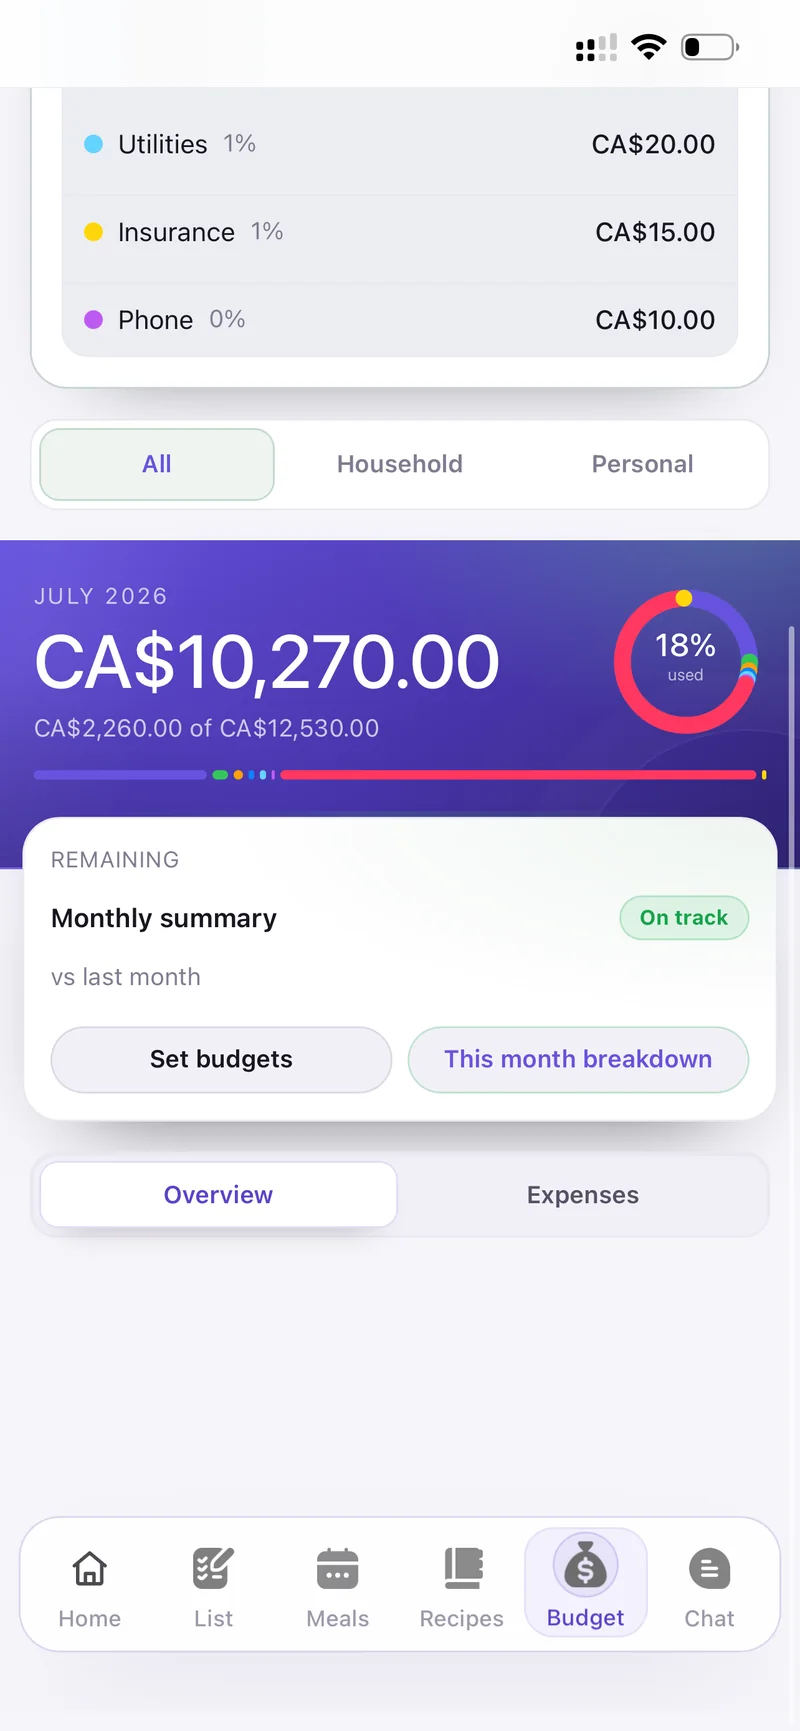
Remaining budget and monthly summary
Add expense is available from both the List and Budget tabs. Filter the log by All, Household or Personal.
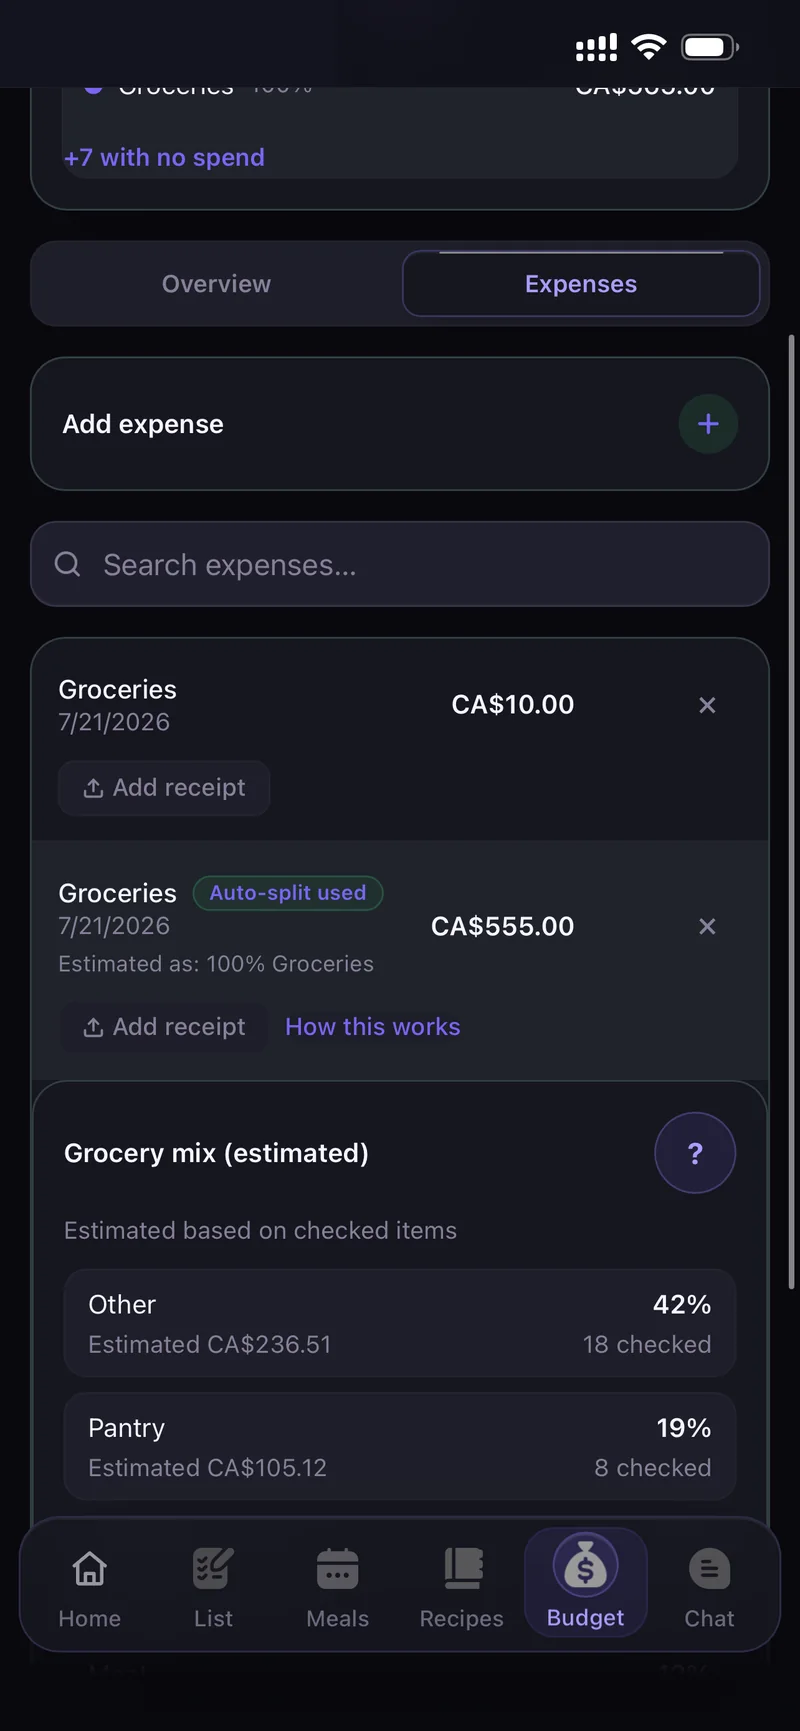
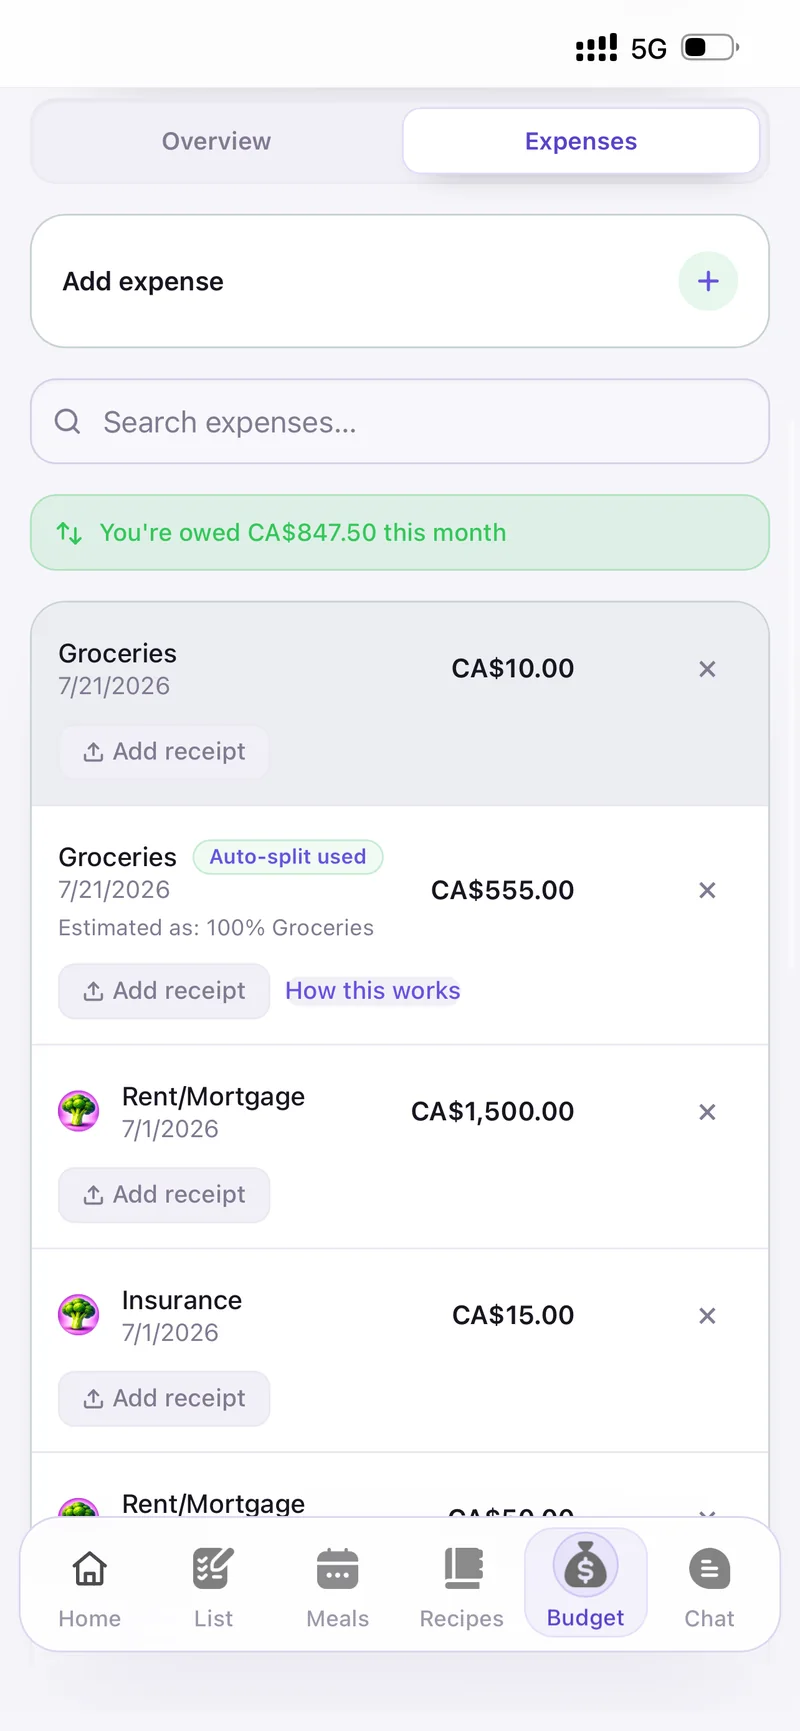
The Expenses tab
Expenses created from a shopping trip are marked Auto-split used, and you can attach a receipt to any of them.
Chat & notifications
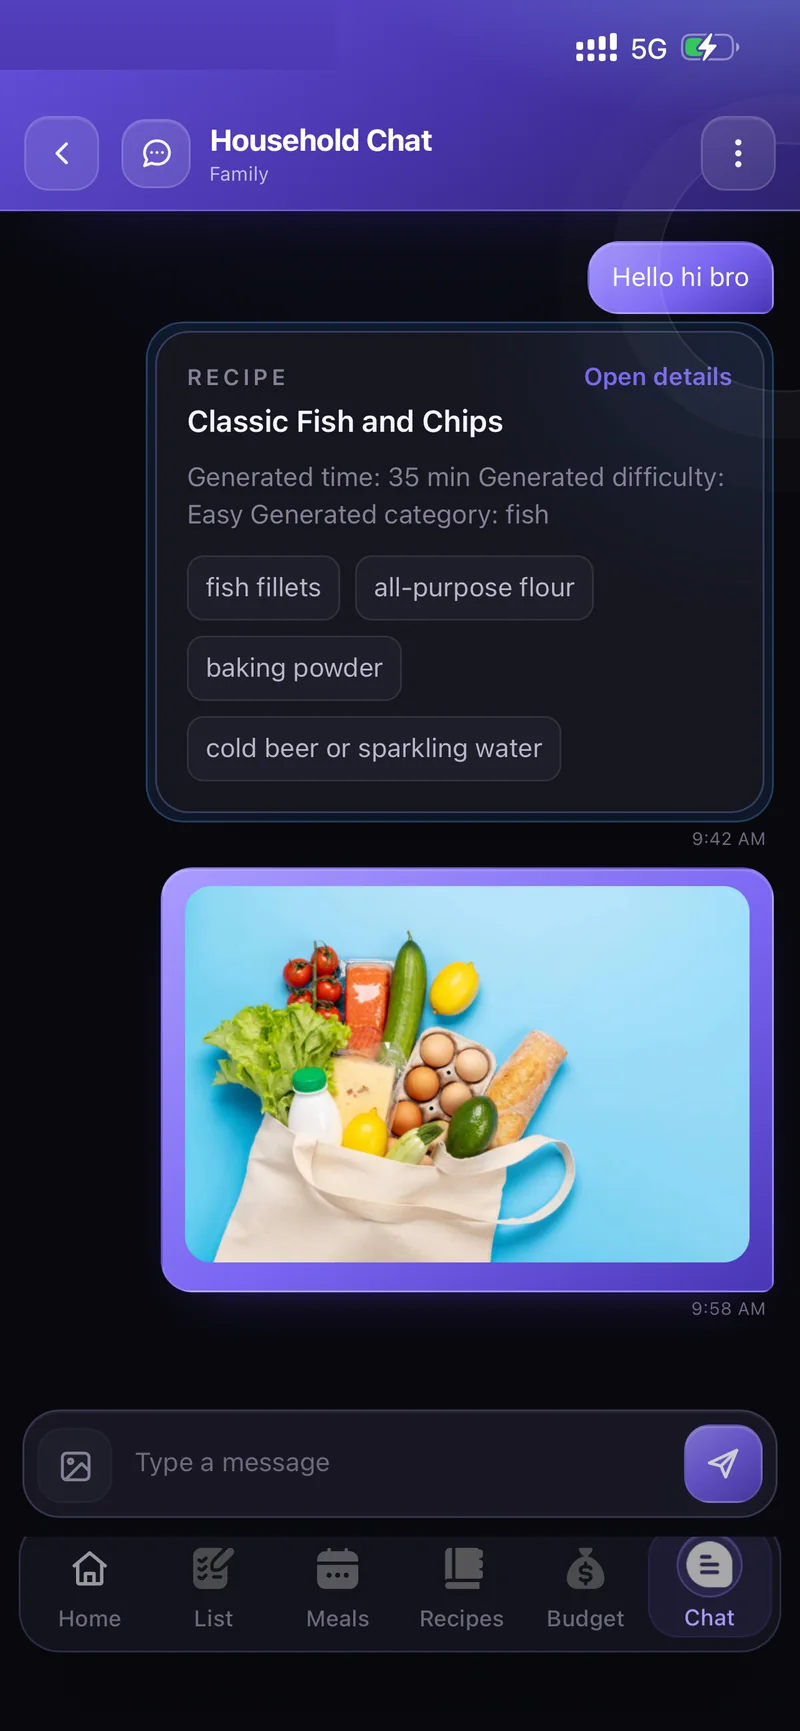
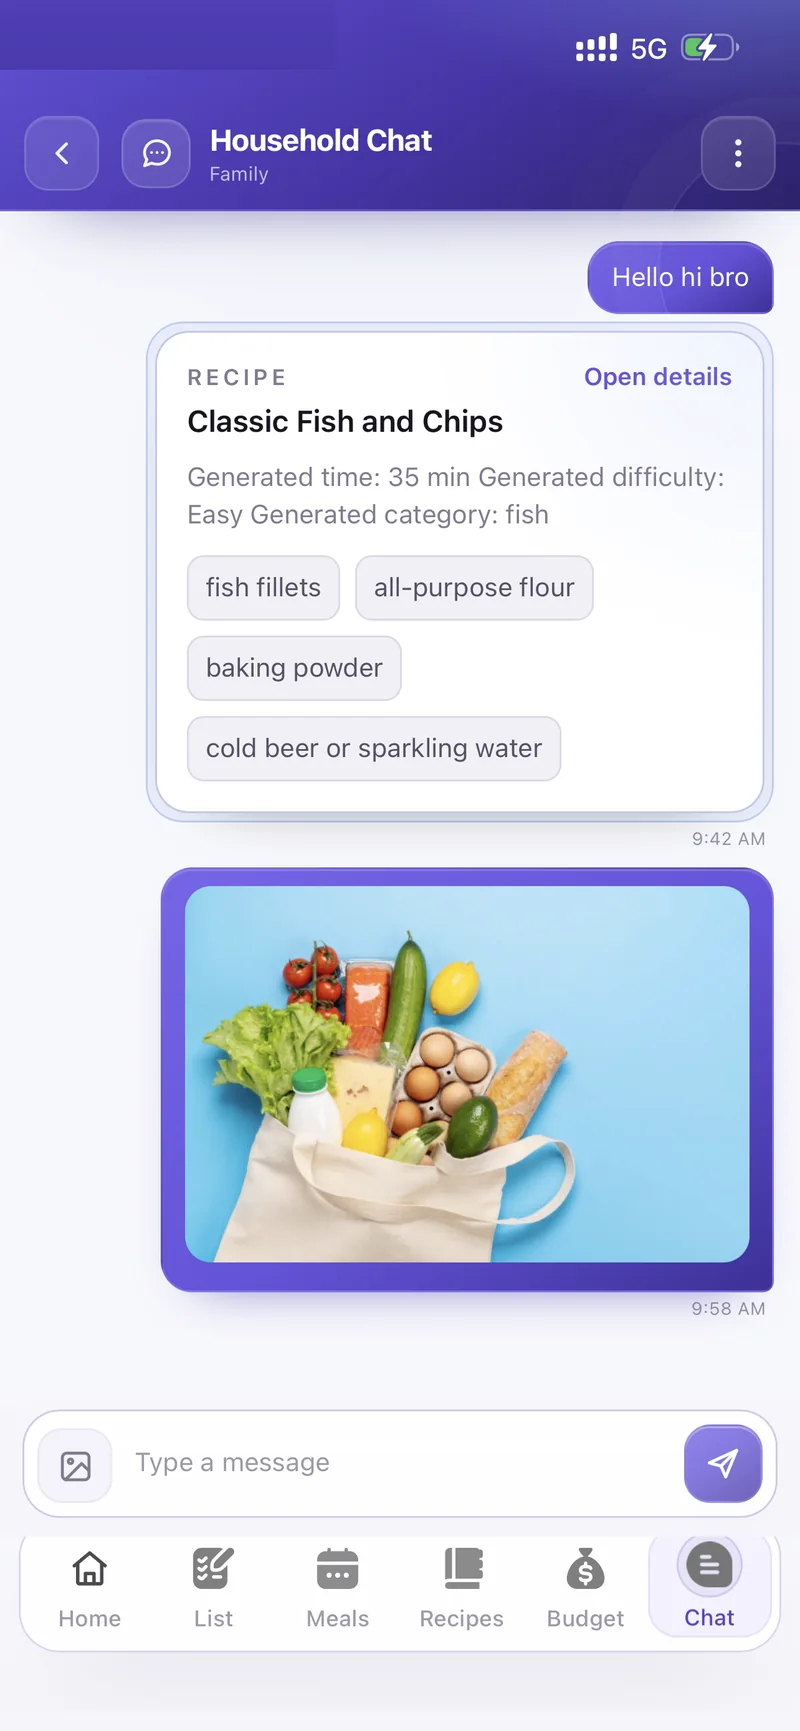
Household Chat belongs to the household you are in. Share a recipe and it arrives as a card with time, difficulty and ingredients — anyone can tap Open details to see the full thing.
Use the image button next to Type a message to send a photo of the shelf or the fridge instead of describing it.
Open Settings → Notifications and start with Enable push notifications, then switch on only what you want.
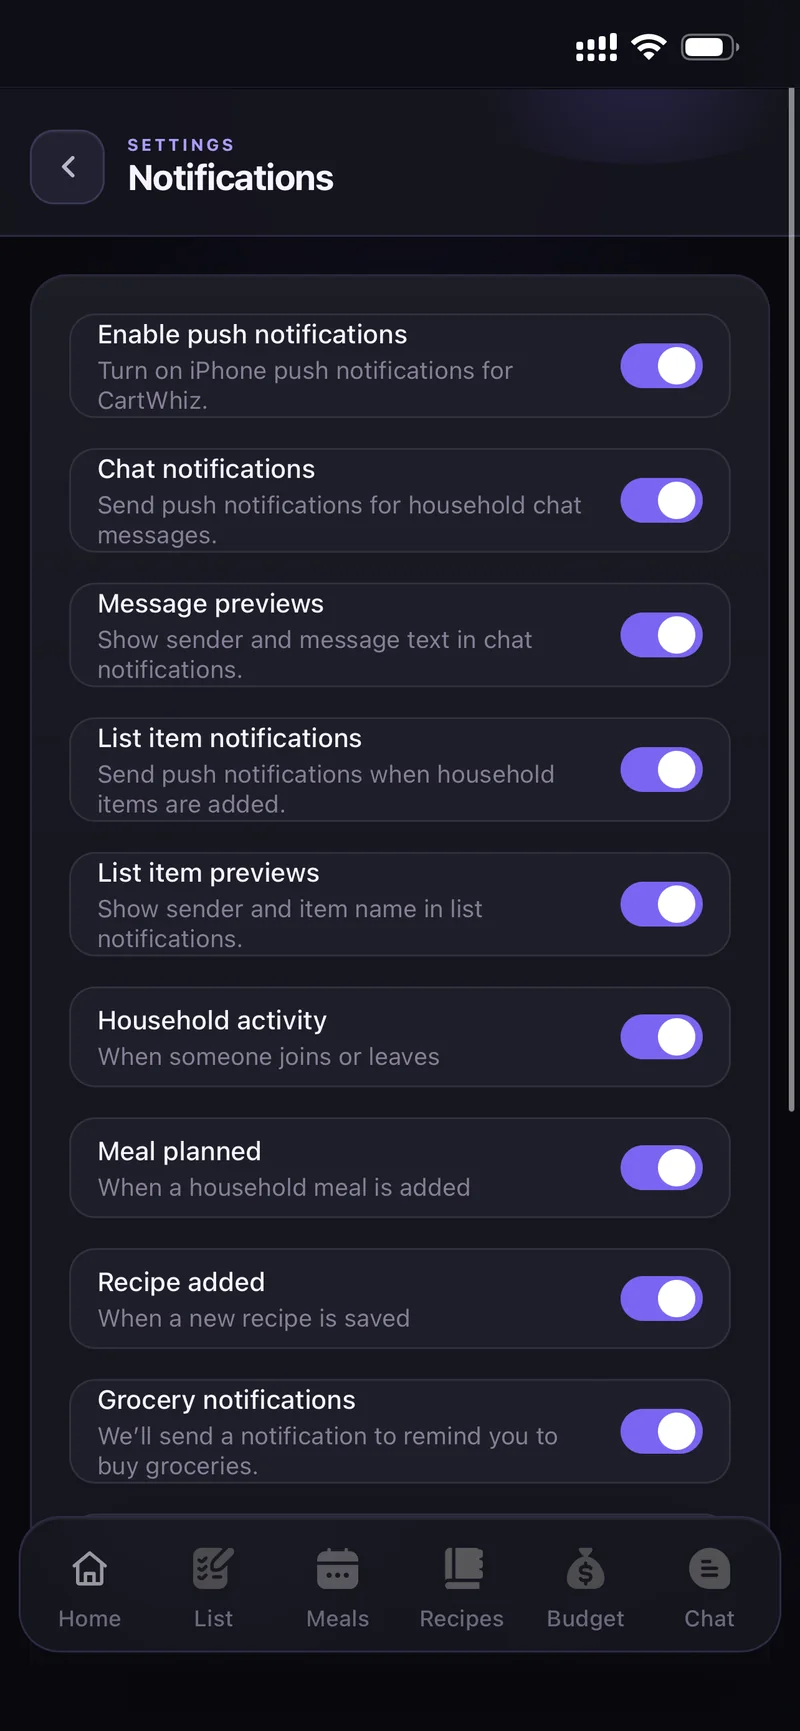
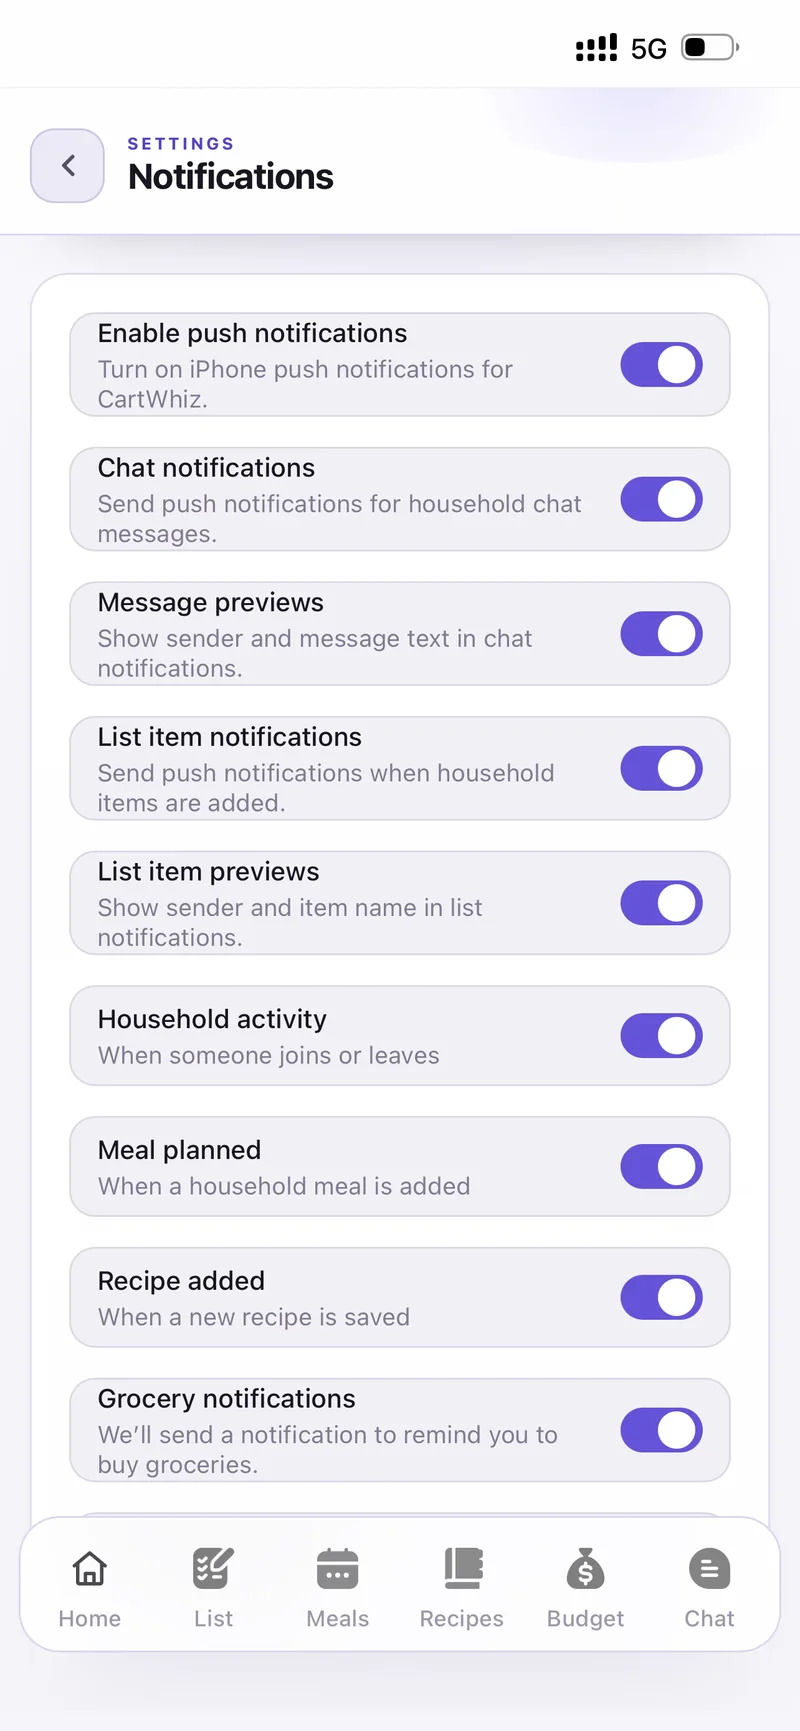
Nine separate switches
- Chat notifications and Message previews
- List item notifications and List item previews
- Household activity — when someone joins or leaves
- Meal planned and Recipe added
- Grocery notifications — a reminder to buy groceries
Under When to notify pick Daily or Weekly and the Time of day.
Two extra switches keep it quiet: Only notify me when I still have items to buy, and Nudge me if I have not opened CartWhiz.
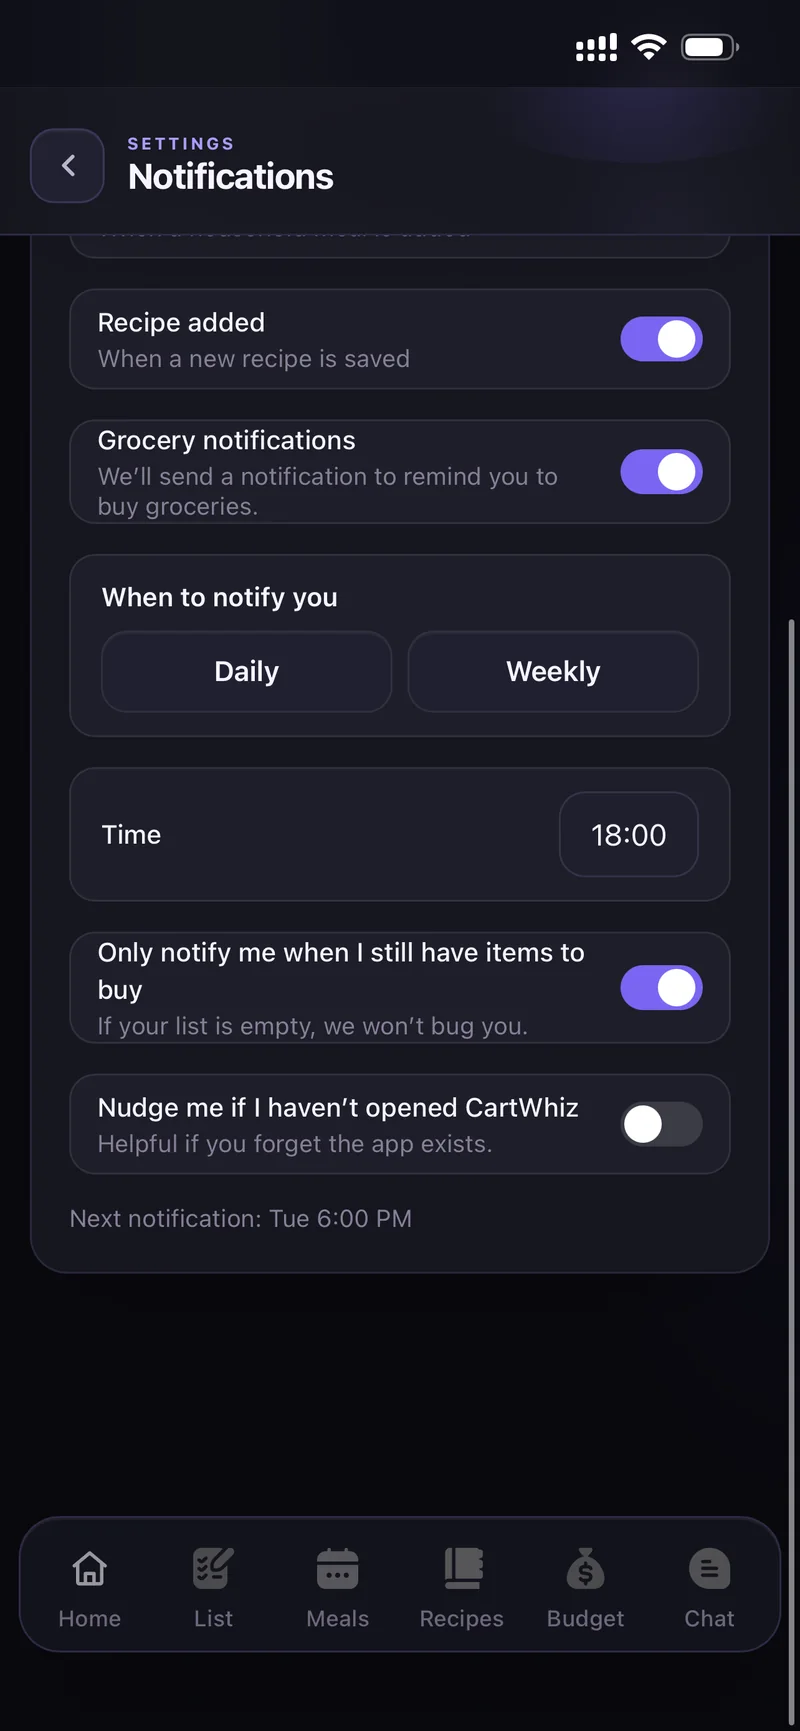
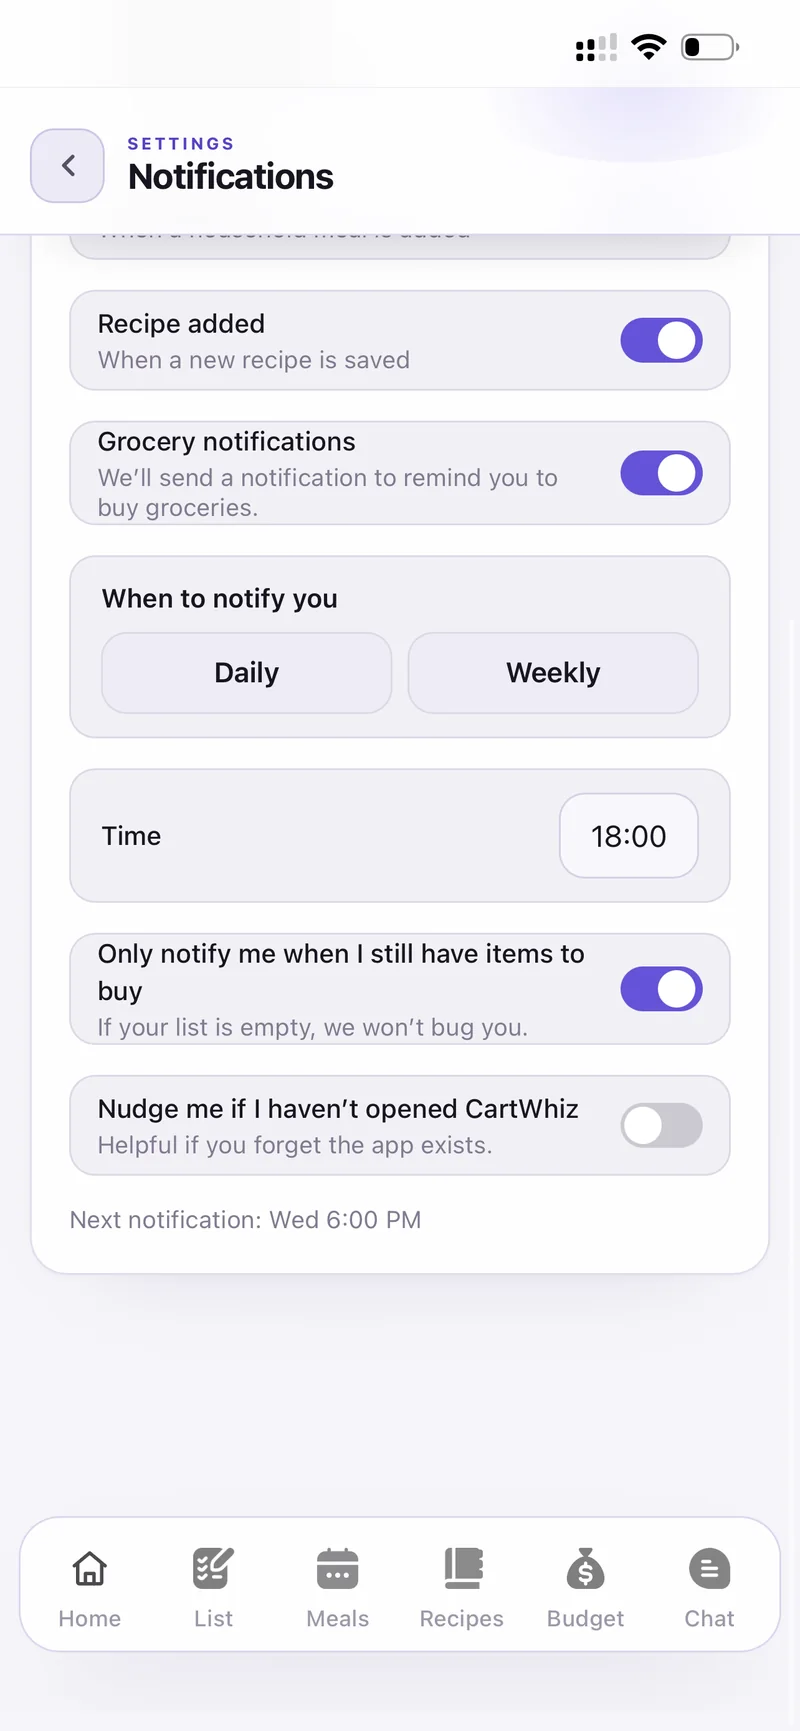
When to notify — day, time and quiet rules
- Check Enable push notifications is on in CartWhiz.
- Check CartWhiz is allowed to send notifications in your iPhone Settings.
- Check the switch for that specific event is on.
- For grocery reminders, confirm the day and time under When to notify.
Settings & Pro
Appearance — System, Light or Dark. Language — pick yours.
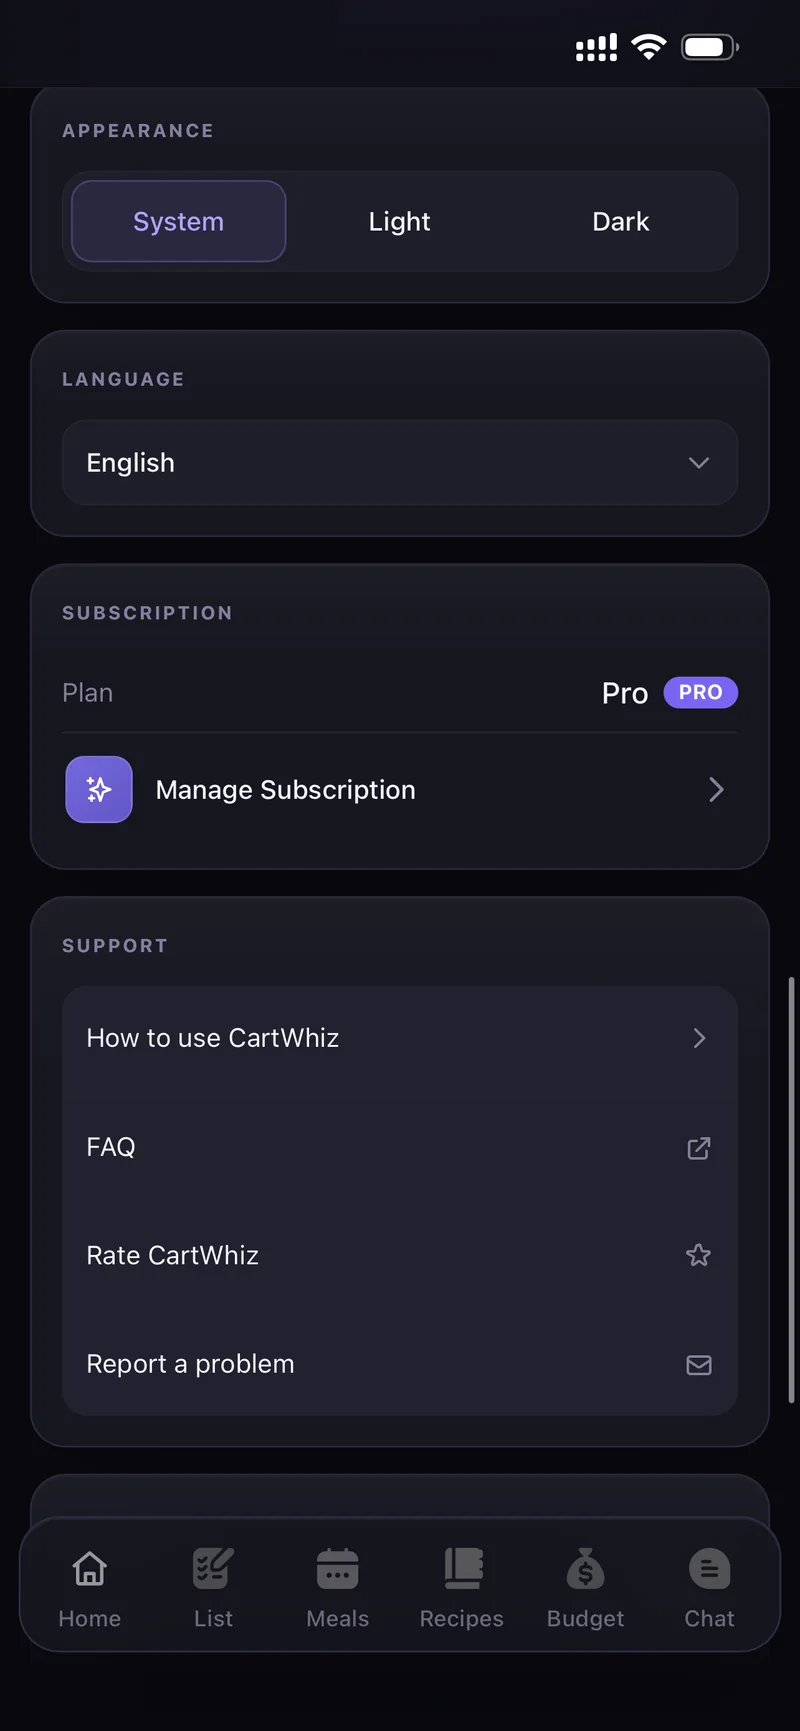
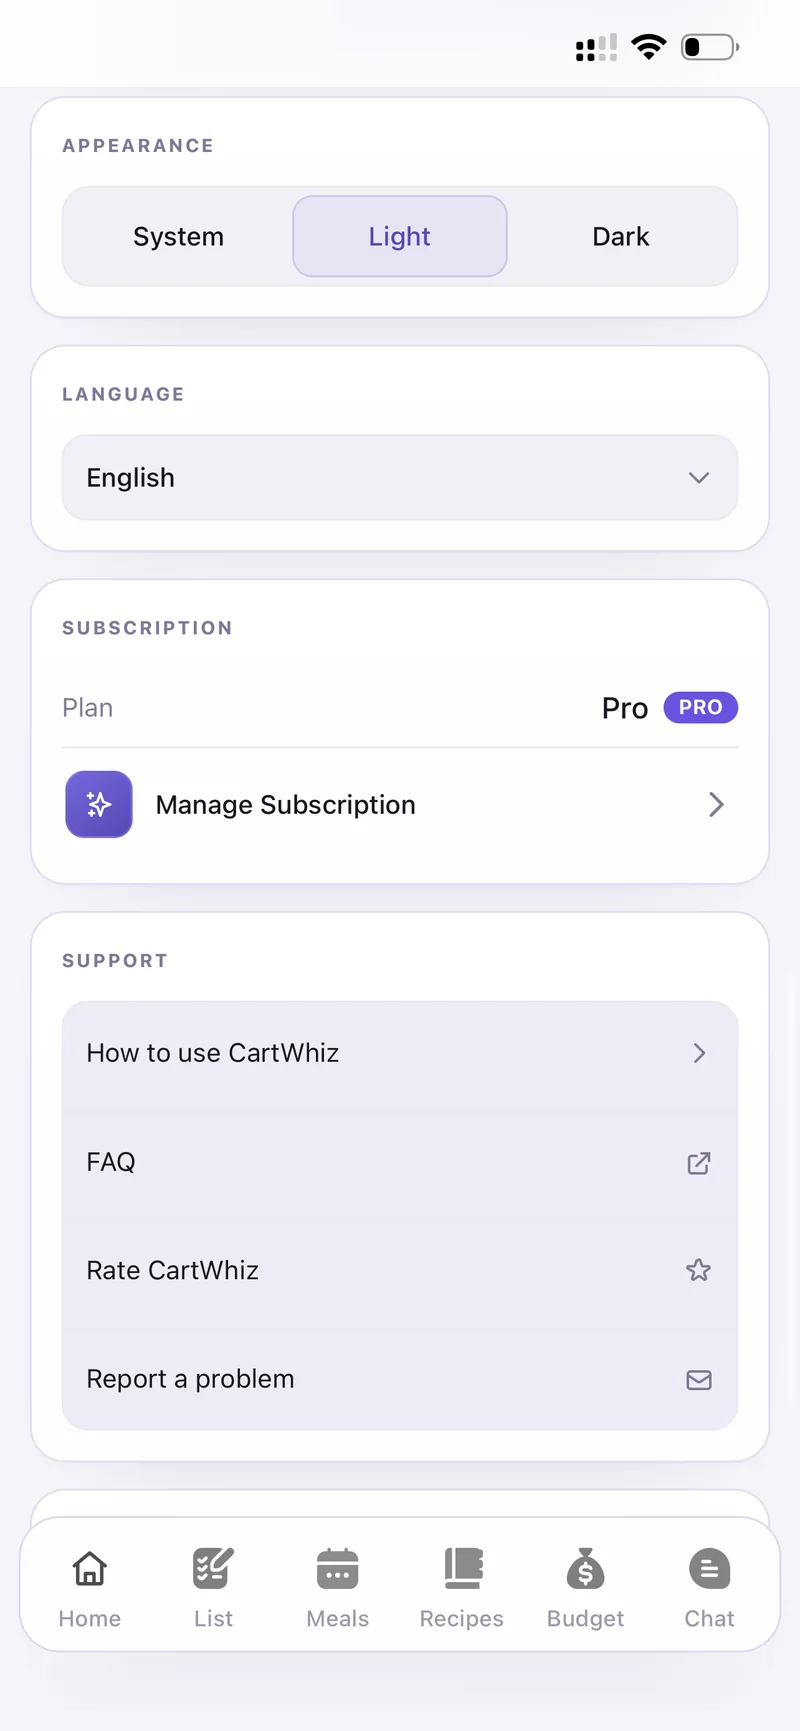
Appearance · Language · Subscription · Support
Under Profile set your timezone, first and last name, display name and avatar. Initials avatar colour is generated automatically if you do not add a photo.
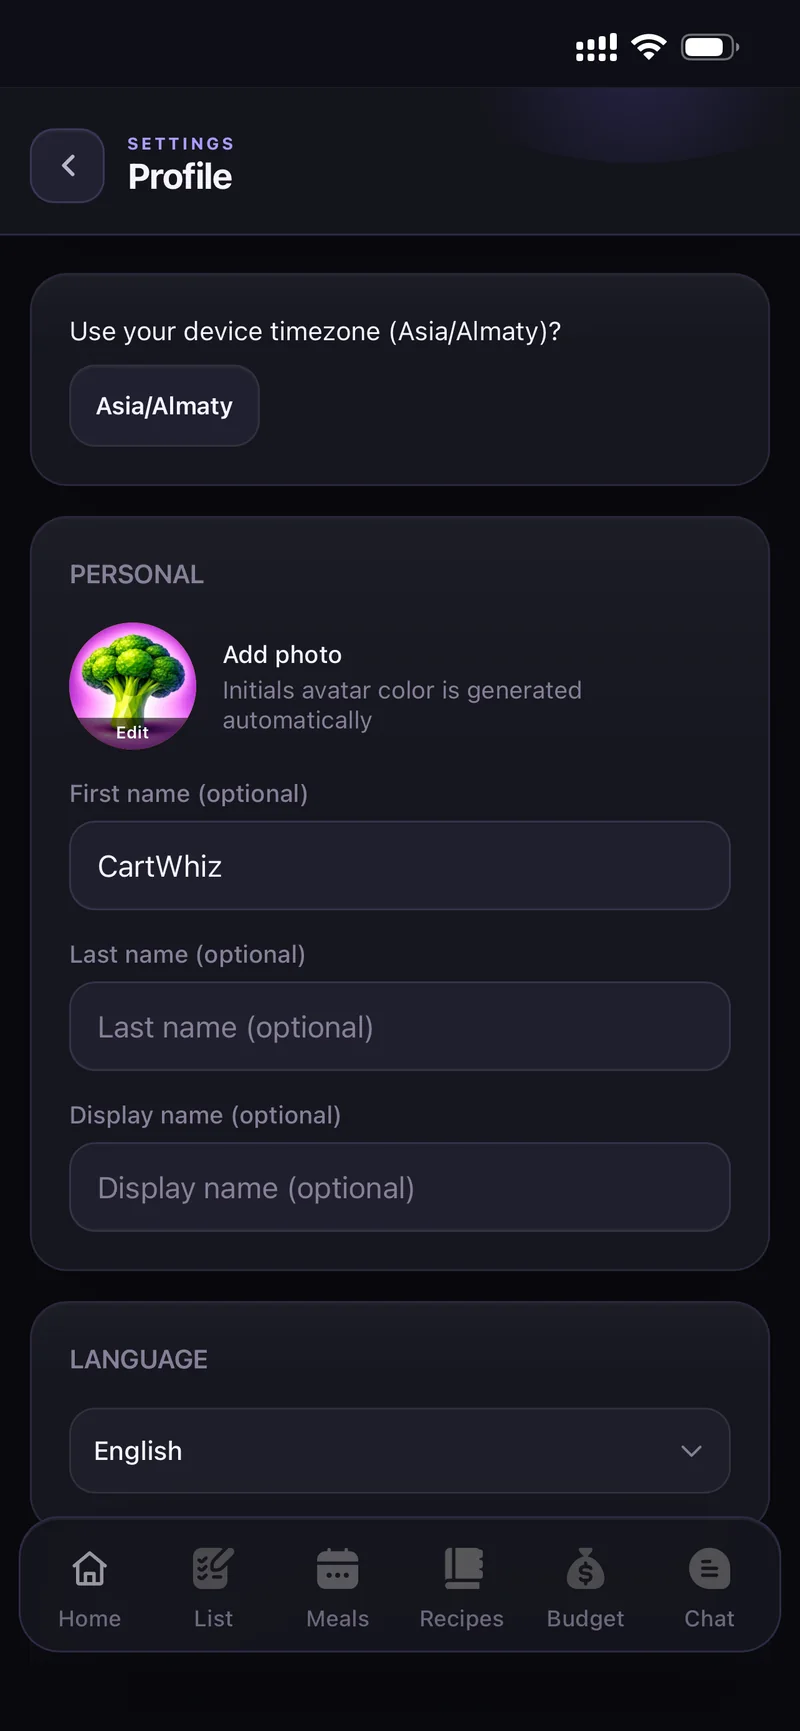
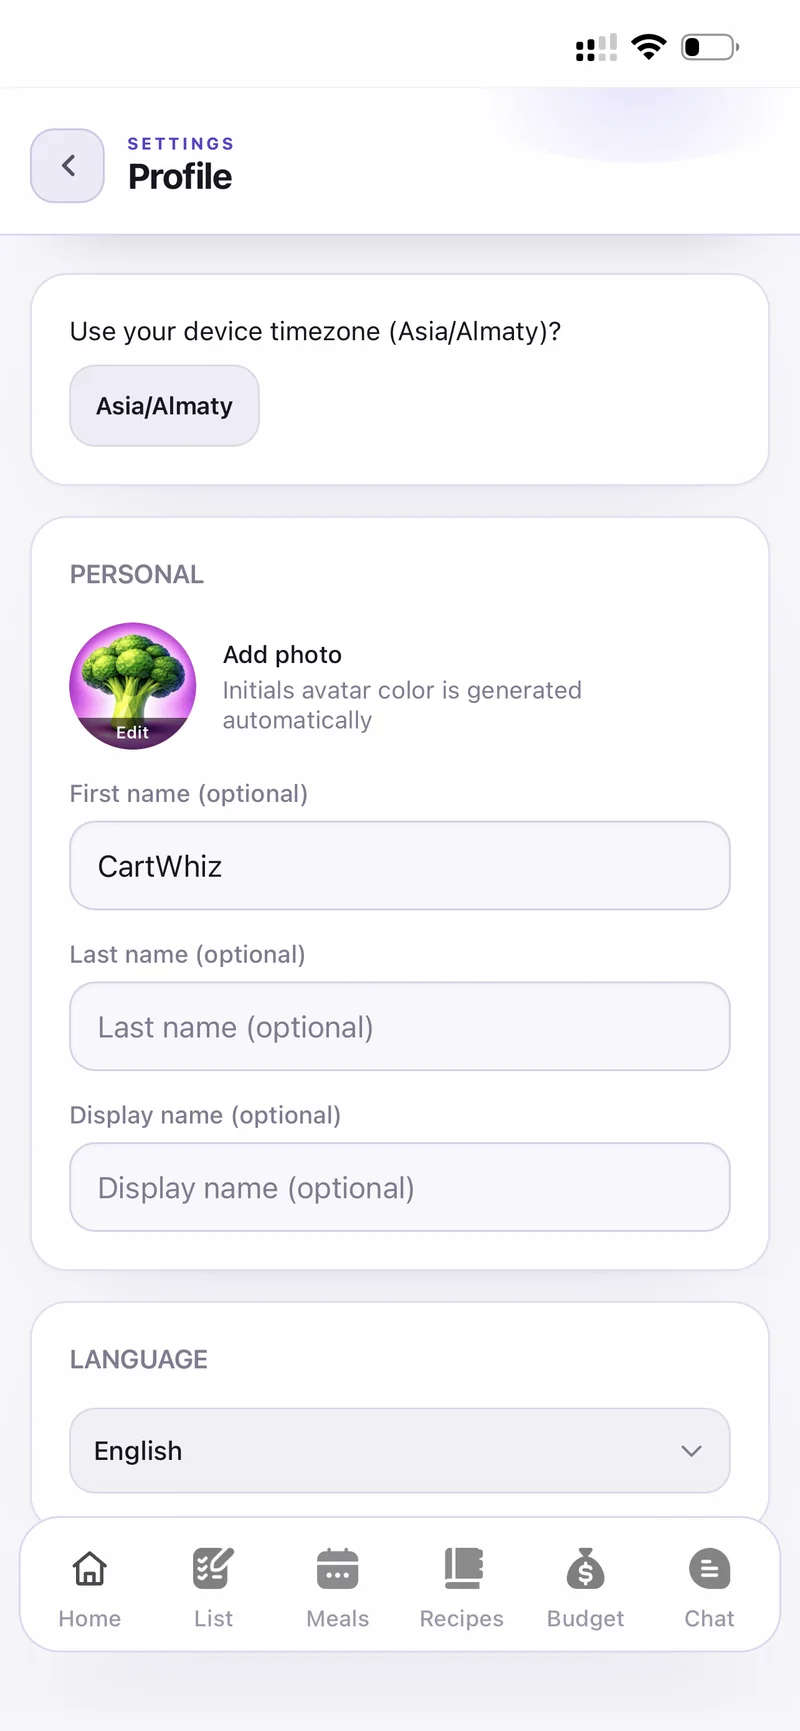
Profile — timezone, names, avatar
Pro unlocks the AI side of CartWhiz and more room to organise:
- Plan Meals ✨ — auto-plan a day or a week to your rules.
- AI recipe and Create from a photo.
- Up to 5 households to own or join.
- Templates, auto grocery lists and Auto-clean for history.
Your plan and billing live under Settings → Subscription → Manage Subscription.
- Check you are in the right household — the active one is marked ACTIVE in Settings.
- Pull to refresh the screen.
- Check your connection, then close and reopen the app.
- Still stuck? Use Report a problem in Settings, or email us.
Settings → Account has both Sign Out and Delete Account.
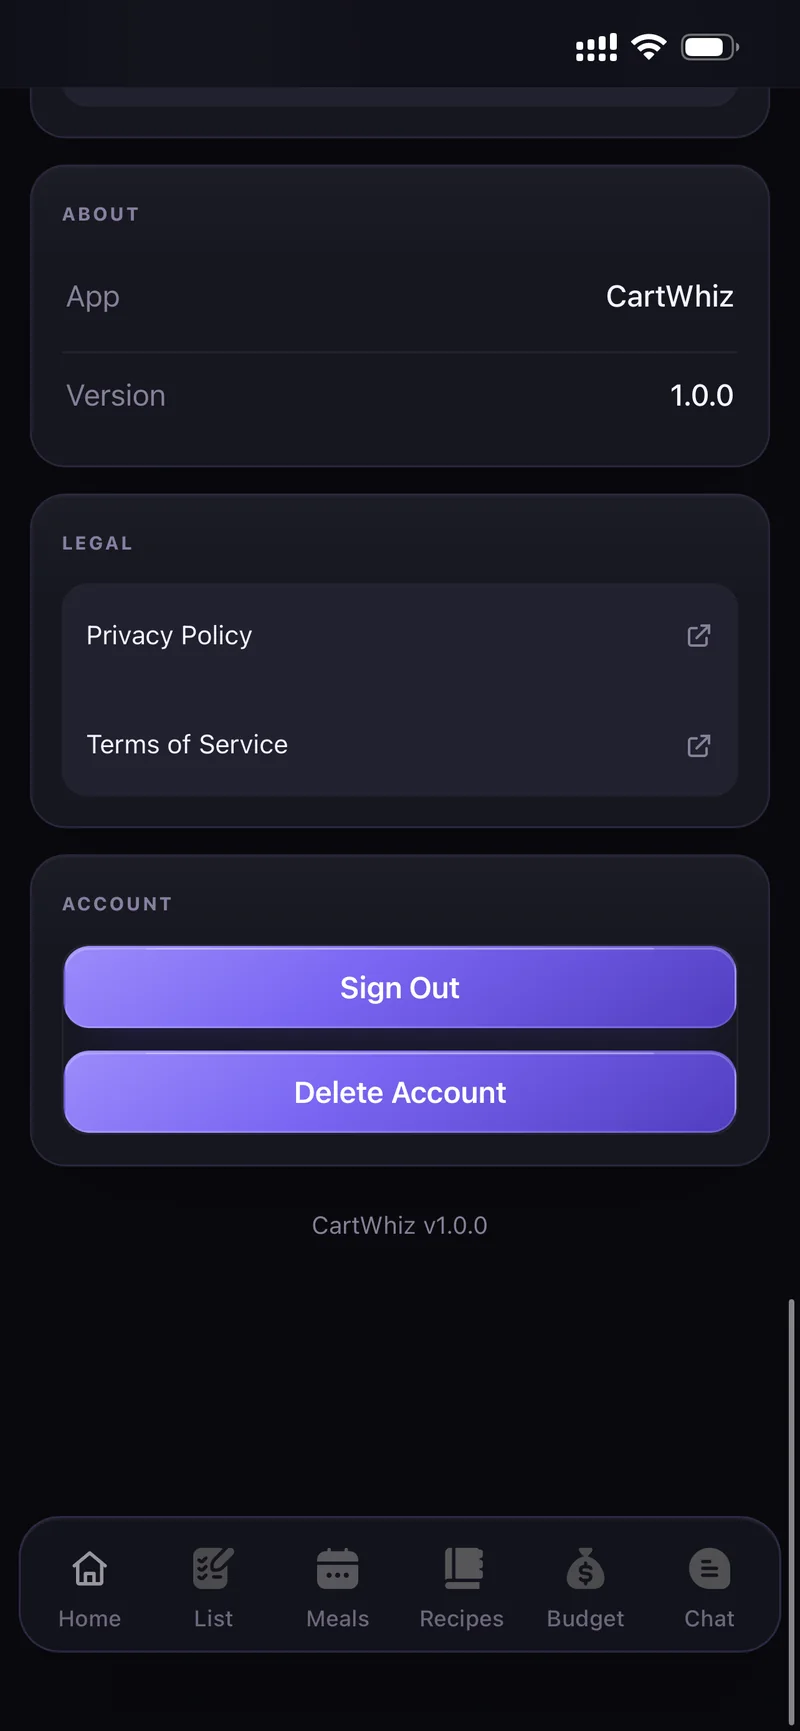
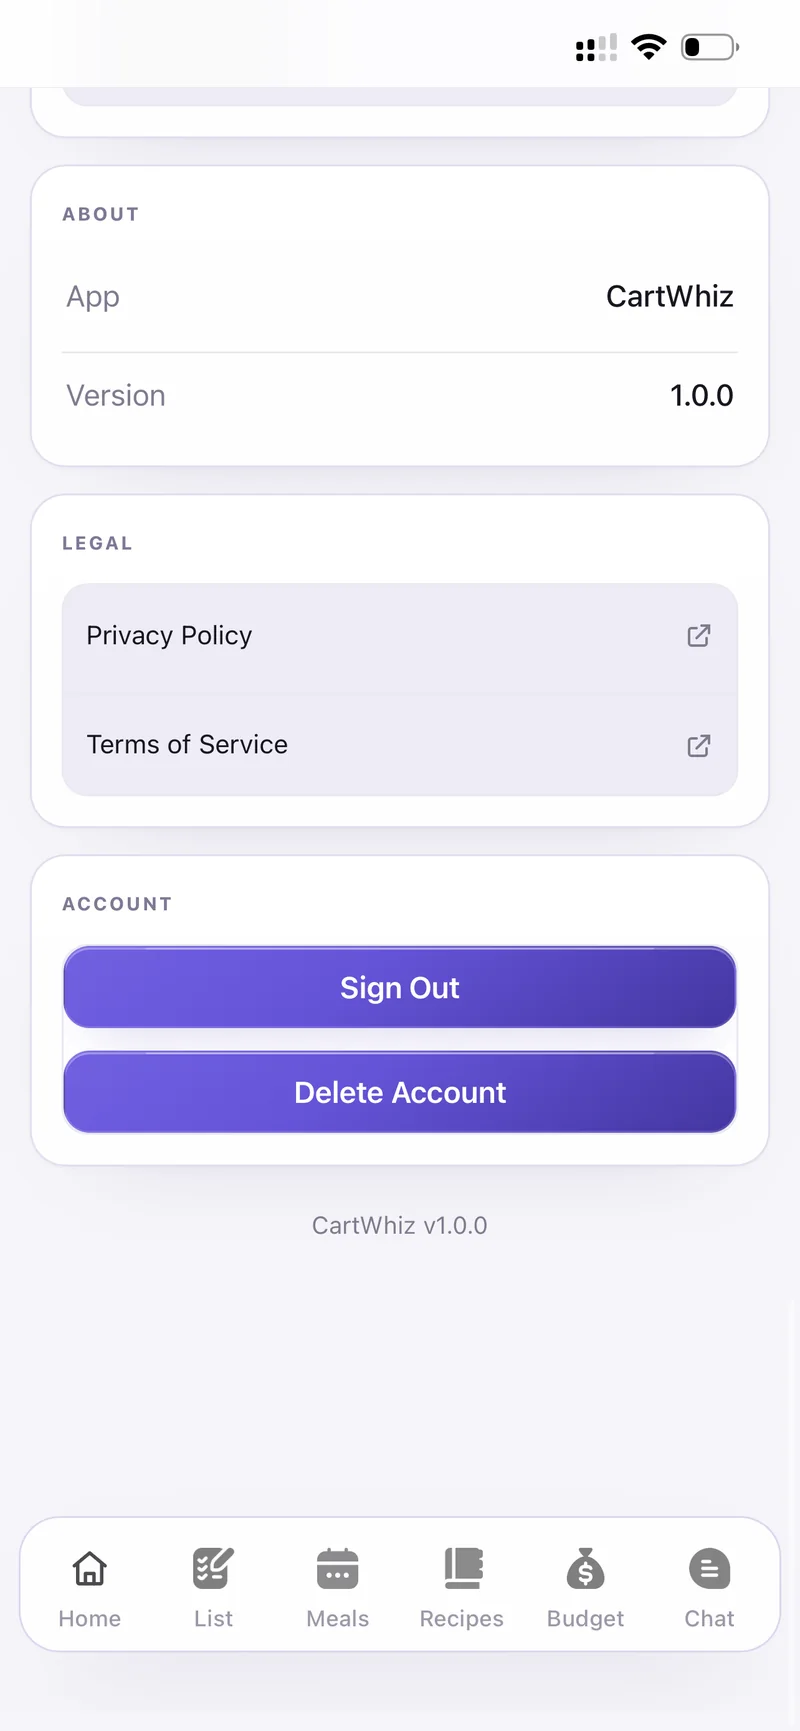
About · Legal · Account
Deleting removes your account and its data permanently. If you own a household with other people in it, hand it over or tell them first.
Still need help?
Can't find what you're looking for? We usually reply within 24 hours.